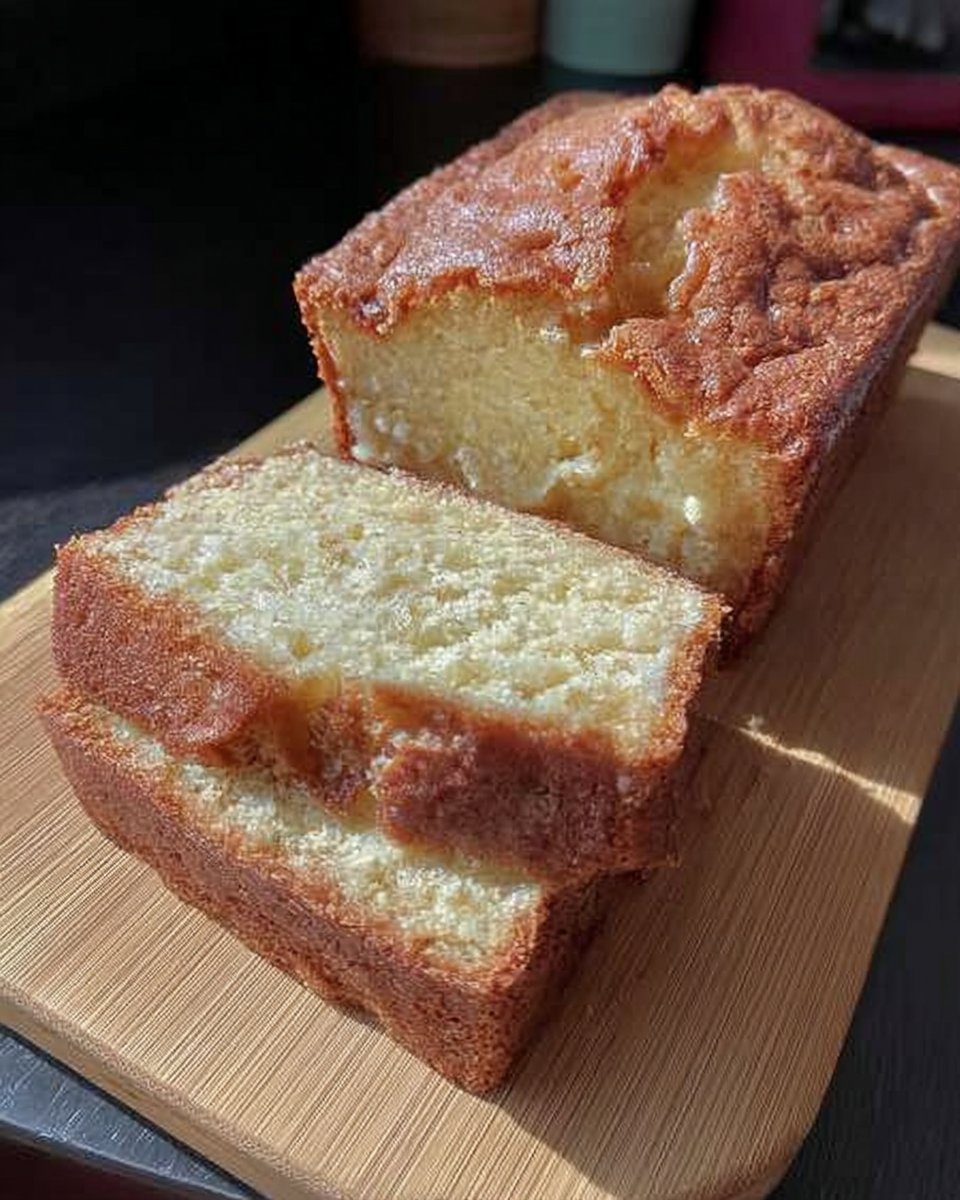
During my early years in a London patisserie, I learned that the secret to a celebration bake isn’t the decor, but the crumb’s structural integrity. Achieving a Birthday Cake 2 with a tender yet resilient crumb requires understanding the delicate emulsion between fats and liquids. It is this technical balance that separates a dry sponge from a masterpiece that melts perfectly on the palate.

This specific Birthday Cake 2 recipe utilizes a high-fat butter base and acidic buttermilk to create a remarkably soft texture. By alternating the dry and wet additions by hand, we protect the aeration achieved during the creaming stage for a superior rise. The resulting layers are sturdy enough for stacking but remain incredibly moist.
Structure Meets Texture
The victory of this recipe lies in its methodical approach to aeration and moisture. Most home bakers struggle with cakes that are either too dense or too fragile to frost. By following this precise technique, you create a sponge with a tight, even crumb that supports the weight of three layers while maintaining a velvet-like mouthfeel.
We focus on the creaming method to build a stable scaffold of sugar and air. When the butter and sugar are beaten correctly, they form tiny pockets that expand in the oven. The inclusion of buttermilk provides a chemical reaction with the leavening agents, breaking down gluten strands to provide that signature melt. This is not just a sweet treat; it is a technical triumph of pastry science.
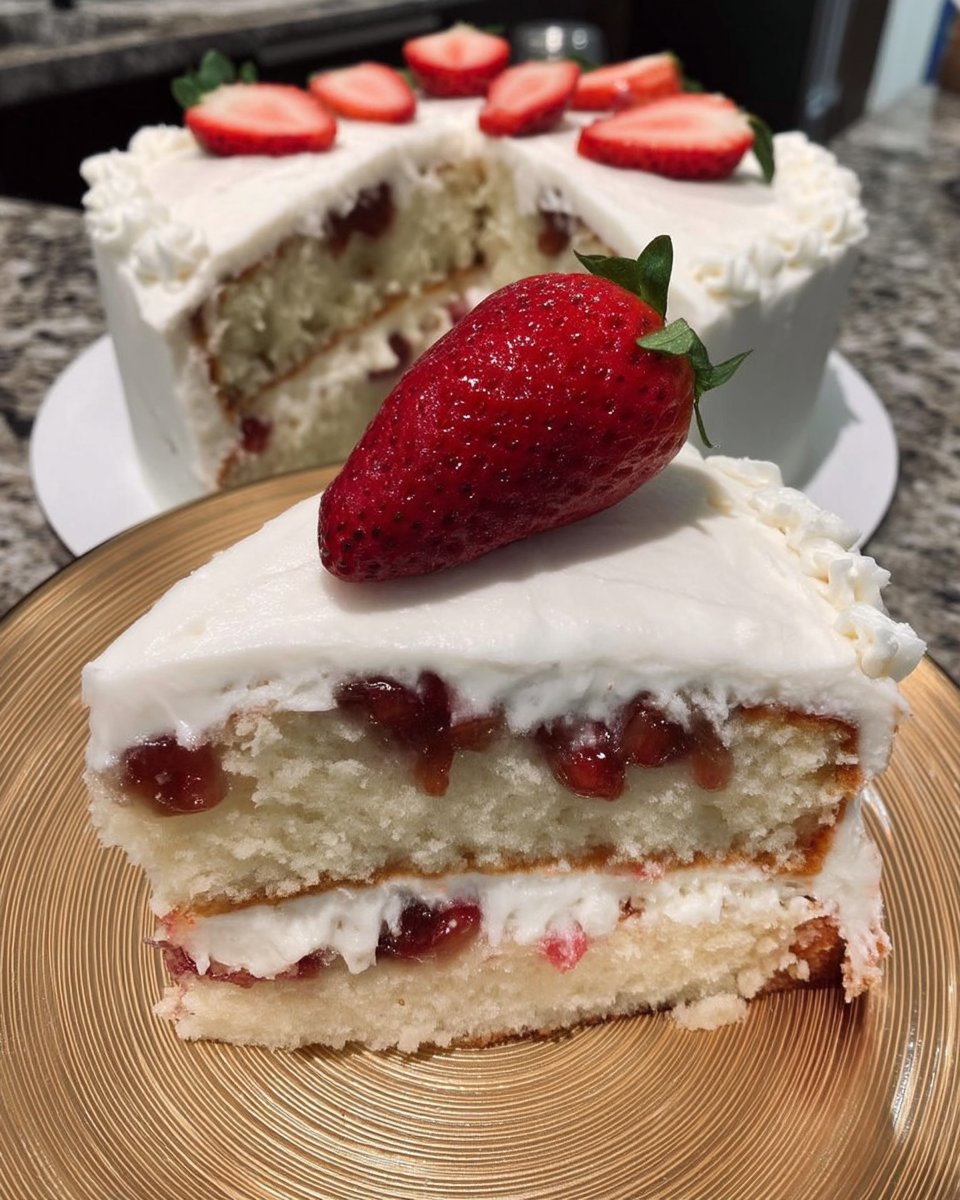
The chocolate cream cheese frosting offers a sophisticated counterpoint. While many frostings are cloyingly sweet, the acidity of the cream cheese cuts through the sugar, creating a balanced profile. This balance of the light, vanilla-flecked sponge and the rich, cocoa-heavy frosting makes every bite a complex experience of textures and flavors.
Print
Birthday Cake 2
- Total Time: 1 hour 4 mins
- Yield: 14 servings
- Diet: Vegetarian
Description
This professional-grade three-layer vanilla sponge is engineered for a perfect balance between a resilient crumb and a tender mouthfeel. Paired with a rich chocolate cream cheese frosting, it provides a sophisticated dessert experience suitable for any celebration.
Ingredients
- 265g plus 2 Tbsp Unsalted Butter, softened to 18°C
- 600g Granulated Sugar
- 3 Large Eggs, room temperature
- 500g All-Purpose Flour
- 475ml Buttermilk
- Baking Soda
- Baking Powder
- Salt
- Vanilla Extract
- Sprinkles (quin or jimmies)
- 340g Full-fat block Cream Cheese
- Powdered Sugar
- Natural Cocoa Powder
Instructions
- Preheat oven to 175°C (350°F). Grease three 8-inch or 9-inch baking pans and line the bottoms with parchment paper.
- Beat softened butter in a stand mixer until smooth, then add granulated sugar and cream for 3-5 minutes until light and fluffy.
- Add eggs one at a time, beating well after each addition to maintain the emulsion, then stir in vanilla extract.
- In a separate bowl, whisk together the flour, baking soda, baking powder, and salt, then sift to aerate.
- Using a spatula, alternately fold the dry ingredients and buttermilk into the butter mixture by hand, beginning and ending with the dry ingredients.
- Gently fold in the sprinkles, ensuring you use quin or jimmies to prevent color bleeding.
- Divide the batter among the pans and bake for 28-34 minutes until a toothpick inserted in the center comes out clean.
- Allow cakes to cool in the pans for 10 minutes before inverting onto a wire rack to cool completely.
- Beat butter and cream cheese until smooth, then gradually incorporate powdered sugar, cocoa powder, salt, and vanilla to finish the frosting.
Notes
To ensure a perfectly level cake, use a digital scale to divide the batter exactly between the three pans. If your kitchen is particularly warm, chill your mixing bowl before creaming the butter to prevent the fat from melting and compromising the cake’s aeration.
- Prep Time: 30 mins
- Cook Time: 34 mins
- Category: Dessert
- Method: Baking
- Cuisine: American
The Technical Foundation

Success in the pastry kitchen begins with ingredient precision. Every component in this Birthday Cake 2 serves a specific structural purpose. Using a high-quality unsalted butter (82% fat content) is vital for the correct mouthfeel and crumb stability.
- Unsalted Butter (265g + 2 Tbsp): Softened to 18°C (64°F) for perfect aeration. This fat provides the primary structure and the rich flavor profile.
- Granulated Sugar (600g): Beyond sweetness, sugar is a liquefier that interferes with gluten development, guaranteeing a tender result.
- Large Eggs (3): Must be room temperature to prevent the butter from seizing, which would ruin the emulsion.
- All-Purpose Flour (500g): Provides the necessary protein (roughly 10-11%) to hold the three-layer structure. For a finer crumb, cake flour is an excellent substitute.
- Buttermilk (475ml): Its acidity reacts with the baking soda, producing carbon dioxide for a light, airy rise while tenderizing the proteins.
- Leavening Agents (Baking Soda & Powder): A dual-leavening system provides both immediate lift and sustained rise during the baking process.
- Natural Cocoa Powder: Chosen for the frosting to provide a deep, earthy chocolate flavor that complements the tang of the cream cheese.
- Cream Cheese (340g): Full-fat blocks are required for structural stability; do not use spreadable versions which contain too much moisture.
The Method
Step 1: Preparation and Pan Priming
Preheat your oven to 175°C (350°F). Grease three 8-inch or 9-inch baking pans thoroughly. To guarantee the structural integrity of your layers, line the bottom of each pan with parchment paper. This prevents the delicate base from sticking, which is the most common cause of cake failure.
Step 2: The Creaming Stage
Place your softened butter in the bowl of a stand mixer fitted with the paddle attachment. Beat on medium speed until smooth and pale. Add the granulated sugar and continue to beat for 3-5 minutes. You are looking for a light, fluffy texture where the sugar is no longer gritty—this is the foundation of your cake’s aeration.
Step 3: Emulsifying the Liquids
Incorporate the eggs one at a time. It is vital to beat well after each addition to maintain the emulsion. If the mixture appears curdled, your eggs may be too cold. Add the vanilla extract at this stage and stir until fully combined.
Step 4: Dry Ingredient Sifting
In a separate vessel, whisk together the flour, baking soda, baking powder, and salt. Sifting is recommended to remove any lumps and to aerate the dry ingredients, which contributes to a more uniform crumb structure.
Step 5: The Hand-Mixing Technique
Switch from the electric mixer to a large spoon or spatula. Add approximately one-quarter of the dry mixture to the butter mixture, stirring by hand until just combined. Follow with one-third of the buttermilk. Repeat this alternating process, ending with the dry ingredients. Mixing by hand at this stage prevents over-development of gluten, which would make the cake tough.
Step 6: Adding the Color
Fold in your colorful sprinkles gently. Use ‘quin’ or ‘jimmies’ rather than nonpareils to avoid color bleeding into the batter. This step adds the visual flair expected of a celebratory bake without compromising the texture.
Step 7: Precision Baking
Divide the batter equally among the prepared pans. Bake for 28 minutes for 9-inch pans or 32-34 minutes for 8-inch pans. Use a toothpick to test for doneness; it should come out clean or with a few moist crumbs. Do not overbake, as the carryover heat will continue to set the structure.
Step 8: Cooling for Stability
Allow the cakes to rest in their pans for 10 minutes. This allows the internal structure to firm up. Run a thin knife around the edges and invert the cakes onto a wire cooling rack. They must be completely cold before you attempt to apply the chocolate cream cheese frosting.
Step 9: Creating the Frosting
Beat the butter and cream cheese together until perfectly smooth and creamy. Gradually add the powdered sugar on low speed to avoid a mess. Finish by stirring in the cocoa powder, salt, and vanilla. Scrape the bowl thoroughly to ensure a uniform color and texture.
Precision Secrets

Temperature is the most critical variable in this recipe. Your butter must be soft enough to hold an indentation but not so warm that it appears greasy. If your kitchen is too hot, chill your mixing bowl for five minutes before starting. This level of temperature control is what separates professional results from amateur attempts.
When testing for doneness, rely on the tactile feedback of the sponge. A light press in the center should result in the cake springing back immediately. For those looking to master even more complex designs, understanding these basics is key, much like the precision needed for a car-cake or other shaped desserts. Always use a digital scale for your measurements to keep the ratios exact.
Technical Tweaks
For a lighter, more citrus-forward profile, you can omit the sprinkles and add two tablespoons of fresh lemon zest to the batter. This creates a bright contrast to the rich chocolate frosting. If you prefer a more vibrant visual, you might consider the techniques used in our lemon-rainbow-cake to layer different colors within the sponge.
Another advanced option is to substitute the chocolate cream cheese frosting with a Swiss Meringue Buttercream. This requires more technical skill—whisking egg whites and sugar over a bain-marie—but results in an exceptionally smooth and less sweet finish. You can also incorporate finely chopped toasted nuts between the layers for added textural contrast.
Presentation Precision

To achieve clean, professional slices, use a long, thin serrated knife dipped in hot water and wiped dry between every cut. This prevents the frosting from dragging through the delicate sponge. For a truly spectacular presentation, serve this cake alongside a small dollop of lightly sweetened whipped cream to balance the intensity of the chocolate.
If you are planning a themed event, you might find inspiration in the bold flavors of our snickers-cake. This cake stands tall on its own, but a glass of cold milk or a strong espresso provides the perfect bitter notes to complement the sweet vanilla and tangy cream cheese. For more information on professional techniques, refer to the original inspiration.
Master the Craft
Precision in the kitchen is the only path to consistent success. By respecting the temperatures of your ingredients and the mechanics of the mixing process, you have created a Birthday Cake 2 that is both a visual and textural triumph. This recipe proves that even the most classic desserts benefit from a methodical, pastry-chef approach. If you enjoyed this project, you will find our old-fashioned-chocolate-cake equally rewarding in its depth of flavor.
I invite you to share your results and technical victories with our community. Connect with us on Pinterest, Instagram, and Facebook to see more structural baking secrets and step-by-step guides.


