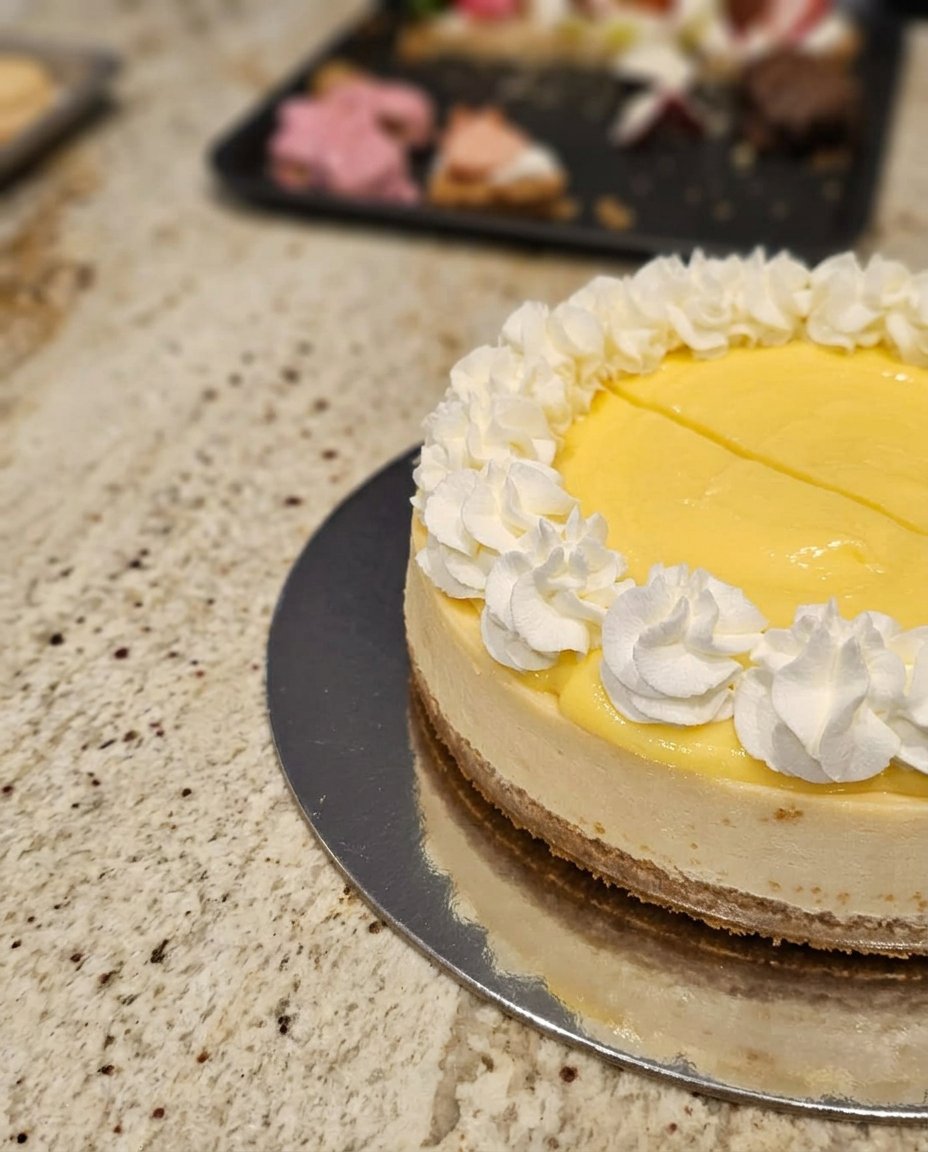
We have all been there—it is a busy Tuesday night and the craving for a perfectly moist, tender cake hits hard. I created the Cake Snap method because I believe that quick assembly should never result in a dry or crumbly dessert. This express technique focuses on locking in moisture while getting your masterpiece ready for the table in record time.

By focusing on a few smart stacking moves and a quick-set crumb coat, you can achieve professional bakery results without the long wait. This recipe is all about that lush, melt-in-your-mouth experience that my readers love, proving that fast can still be incredibly luscious.
A Quick Indulgence for the Busy Baker
You will love this method because it removes the intimidation factor from layer cakes. This Cake Snap approach is designed for the modern kitchen where time is short but expectations for quality are high. We are skipping the hours of fussing and moving straight to the part where you have a gorgeous, gooey-centered treat.
The texture remains the star of the show here. Because we handle the layers efficiently and use a specific frosting technique, the cake stays protected from the air, keeping every bite as soft as the moment it left the oven. It is the perfect solution for last-minute celebrations or just a weeknight win that feels like a weekend project.
Print
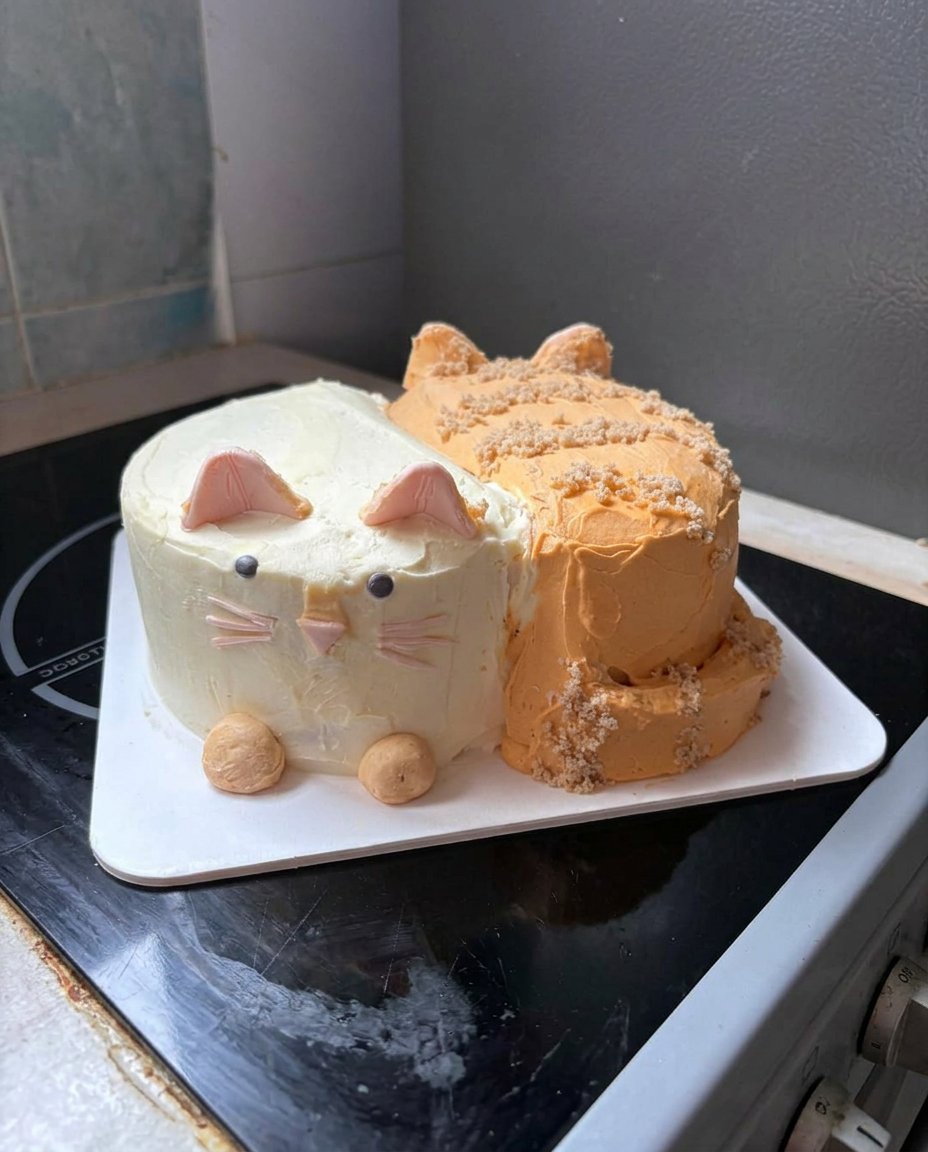
Cake Snap
- Total Time: 45 mins
- Yield: 1 cake (12 servings)
- Diet: Vegetarian
Description
The Cake Snap method is an express assembly technique designed to lock in moisture and create a professional-looking layer cake in record time. Perfect for busy weeknights, this process ensures a luscious, melt-in-your-mouth dessert without the long wait.
Ingredients
- 2–3 baked cake layers, completely cooled
- 4.5 to 6 cups of frosting
- Cake crumbs (reserved from trimming layers)
- Optional simple syrup (sugar and water)
Instructions
- Level your cooled cake layers using a serrated knife or cake leveler to remove the domed tops, reserving the scraps for garnish.
- Place the bottom layer on a turntable, spread 3/4 to 1 cup of frosting to the edges, and stack the next layer upside down for a flat surface.
- Apply a thin crumb coat over the top and sides of the cake to seal in loose crumbs, then refrigerate for 20 to 60 minutes.
- Apply a thicker final layer of frosting, smoothing it with a bench scraper or adding decorative piping with a star tip to finish.
Notes
To achieve the cleanest finish, always stack your top cake layer upside down so the flat bottom of the cake becomes the top surface. If your frosting is difficult to smooth, dip your metal spatula in warm water and wipe it dry before making a final pass over the sides.
- Prep Time: 15 mins
- Cook Time: 0 mins
- Category: Dessert
- Method: Assembly
- Cuisine: American
The Express Ingredients

To make this Cake Snap a success, you only need a few high-quality basics. Having everything ready before you start is the secret to moving quickly.
- Baked Cake Layers: You can use two or three layers. Whether you baked them from scratch or used a high-quality mix, make sure they are completely cool to the touch before you begin.
- Frosting: You will need a generous amount. Aim for about 4.5 cups for a 2-layer cake and up to 6 cups for a 3-layer cake to make sure you have enough for those decorative swirls.
- Cake Crumbs: Do not toss those scraps! The bits you trim off make the most fantastic garnish and add a lovely texture to the top of the finished product.
- Optional Simple Syrup: If you want to guarantee a super-moist bite, a quick brush of sugar water on the layers before frosting works wonders.
The Quick Process
Step 1: Level Your Layers
It is vital that your cake layers are level so your finished project has great stability. Make sure the cakes are totally cool before you start trimming. You can use a dedicated cake leveler or a simple serrated knife. Slice off the domed top of your cakes until the surface is flat. You can discard the bits you slice off, but I prefer to crumble them up for a garnish. They are also wonderful over a bowl of ice cream if you need a quick snack while you work!
Step 2: Stack and Fill
Place your bottom layer right side up on a cake turntable or a sturdy cake stand. Add about 3/4 to 1 cup of frosting to the center. Using an offset spatula, spread the frosting all the way to the edges. Place the second cake layer upside down on top. This creates a perfectly flat base for the next level. If you are doing a third layer, repeat the frosting and stacking process. Double-check that the cake looks straight from all angles before moving forward.
Step 3: Apply the Crumb Coat
A crumb coat is a very thin layer of frosting that acts as a seal. It locks in any loose crumbs and adds amazing stability to the finished structure. Use about 1 cup of frosting for a 3-layer cake and spread it thinly over the top and sides. Run a bench scraper around the edge to smooth it out. Pop the cake into the refrigerator uncovered for 20 minutes to 1 hour to let this layer set firmly.
Step 4: Finish the Decoration
Once your crumb coat is firm, apply a thicker layer of frosting using a straight spatula. You can use your bench scraper again for a smooth look or leave some texture for a rustic feel. If you have leftover frosting, fill a piping bag with a star tip to add a shell border around the top. This gives it that professional touch in just a few extra seconds.
Express Texture Secrets

For the best Cake Snap results, I recommend chilling your cake layers in the freezer for about 15 minutes before leveling. This makes the crumb much tighter and easier to cut without tearing. Also, if your frosting feels too stiff to spread quickly, you can microwave a small portion of it for 5 seconds and mix it back in to soften the consistency. For more ways to achieve that perfect bite, check out our velvet-crumb-collection which focuses on moisture-retention techniques. Always keep your spatula clean by wiping it with a warm, damp cloth between smoothing passes to avoid dragging old frosting across your fresh surface.
Quick Flavor Swaps
You can easily adapt this Cake Snap logic to any flavor profile you enjoy. If you are a fan of deep, rich notes, try using a dark chocolate frosting and adding a teaspoon of espresso powder to the batter. This mimics the intensity found in our old-fashioned-chocolate-cake but with the speed of this assembly method. Another fun twist is to add a thin layer of fruit jam or lemon curd between the frosting layers for an unexpected pop of brightness. You can even stir some crushed cookies into your frosting for an instant cookies-and-cream version that the kids will love.
Instant Enjoyment

This cake is designed to be the centerpiece of your table immediately after the final chill. I recommend letting it sit at room temperature for about 15 minutes before slicing so the frosting softens just enough to melt in your mouth. To balance the sweetness, serve each slice with a handful of fresh berries or a dollop of whipped cream. If you want to see how we pair our bakes with seasonal produce, take a look at our succulent-fruit-fusion guide for fresh ideas. Always use a long, thin knife dipped in hot water for those perfect, clean slices.
The Sweet Truth
Mastering the Cake Snap means you never have to wait for a special occasion to enjoy a decadent, moist dessert. This technique is a game-changer for anyone who loves the process of baking but needs to fit it into a modern, fast-paced schedule. For more texture-focused recipes that respect your time, dive into our cocoa-dream-lab for your next project. Don’t forget to share your creations with us! Follow our journey on TikTok, check us out on Instagram, or join our community on Facebook. Happy baking!

