During my early years of training in a traditional London patisserie, I quickly realized that the most impressive bakes are those that command presence through both height and mouthfeel. This Candle Cake represents the pinnacle of that philosophy, offering a sturdy architectural base that yields to a rich, melting interior. My focus is always on the physical properties of the crumb, where the precise ratio of fats determines the longevity of the moisture.

Achieving the perfect chocolate sponge requires a specific scientific balance of acids and thermal blooming to guarantee a deep, resonant cocoa flavor. This recipe produces a remarkably moist sponge that serves as the perfect canvas for celebratory decorations. By balancing Dutch-process cocoa with hot liquid, we produce a depth of flavor that lingers on the palate long after the final bite.
The Intersection of Structure and Melt
This Candle Cake is far more than a simple chocolate dessert; it is a masterclass in the technical balance between structural integrity and a delicate, melting crumb. Ambitious home bakers often struggle with chocolate cakes being either too fragile to stack or too dense to enjoy, but this method solves both challenges through precise ingredient selection. We use a dual-fat system—melted butter for flavor and oil for moisture—to create a sponge that stays tender for days while maintaining the strength needed for vertical assembly.
Beyond the texture, the flavor profile is remarkably sophisticated. The addition of hot coffee blooms the cocoa solids, breaking down their protective barriers to release aromatic compounds that would otherwise remain dormant. This results in a cake that is not merely sweet, but possesses a complex, smoky undertone that pairs beautifully with high-quality frosting. It is a triumphant bake for anyone looking to prove their technical proficiency in the kitchen.
Print
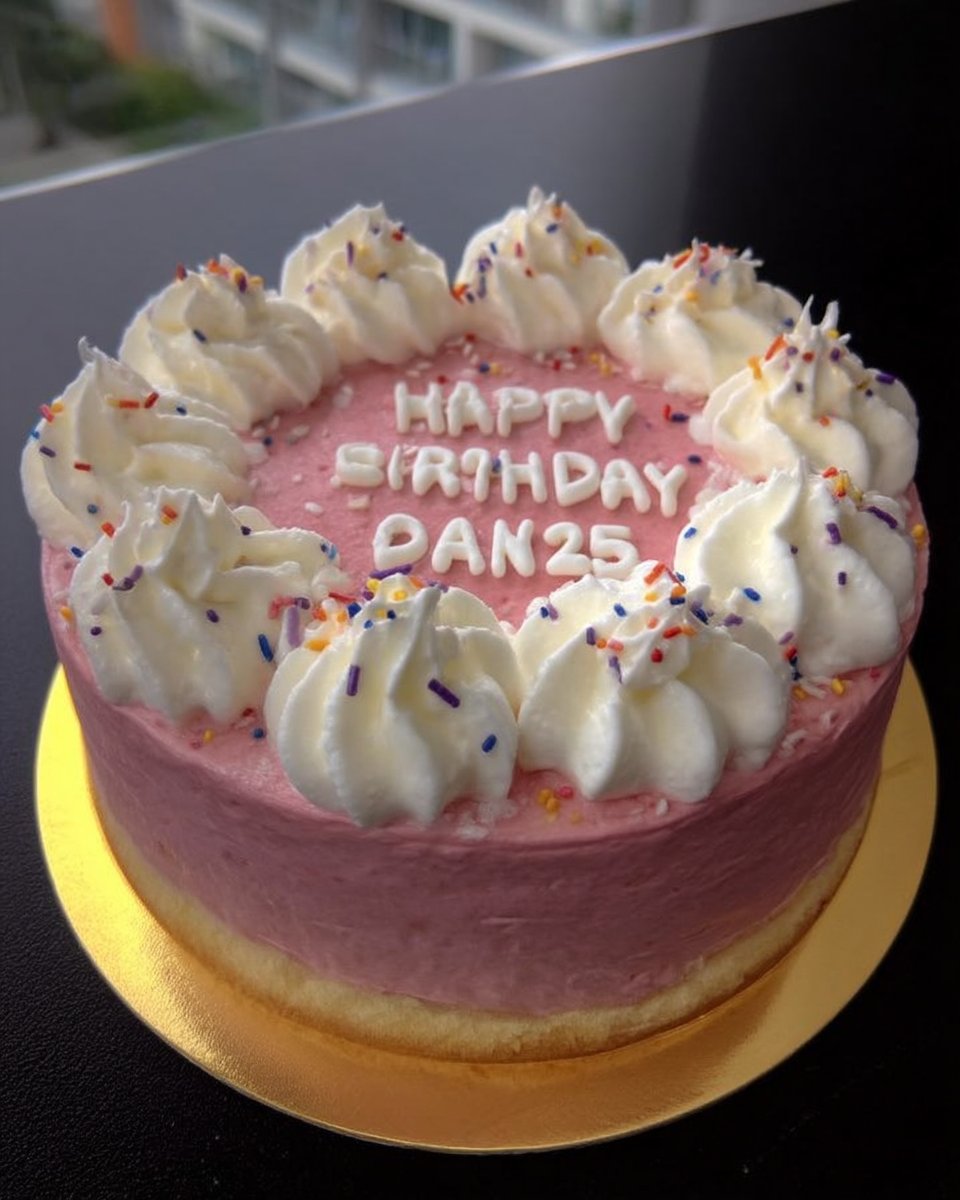
Candle Cake
- Total Time: 1 hour
- Yield: 12 servings
- Diet: Vegetarian
Description
A technically sophisticated chocolate cake engineered for structural height and a luxurious melting crumb. This recipe utilizes a dual-fat system and thermal cocoa blooming to produce a deep, resonant flavor and a remarkably moist sponge.
Ingredients
- 208g all-purpose flour
- 200g light brown sugar
- 200g granulated sugar
- 75g natural cocoa powder
- 1.5 teaspoons baking soda
- 0.75 teaspoons salt
- 113g unsalted butter, melted
- 118ml neutral oil
- 2 large eggs, room temperature
- 1 egg yolk, room temperature
- 2 teaspoons vanilla extract
- 236ml buttermilk, room temperature
- 118ml hot coffee or water
Instructions
- Preheat your oven to 350F (175C) and line two 8-inch round cake pans with parchment paper, lightly greasing the sides.
- In a large mixing bowl, whisk together the flour, brown sugar, granulated sugar, cocoa powder, baking soda, and salt until the color is uniform.
- Add the melted butter and neutral oil to the dry ingredients and stir until the mixture forms a thick, moist paste.
- Incorporate the eggs, egg yolk, and vanilla extract, stirring until the batter is cohesive and scraping the bottom of the bowl.
- Gradually pour in the buttermilk and stir rhythmically until the batter becomes lighter and aerated.
- Carefully stir in the hot coffee or water until the batter is smooth, glossy, and fully combined.
- Divide the batter evenly between the prepared pans and bake for 35 to 40 minutes, or until a toothpick inserted into the center comes out clean.
- Cool the cakes in their pans for 15 minutes before inverting them onto a wire rack to cool completely to room temperature.
Notes
For the cleanest slices and best structural stability when stacking, consider chilling the cooled cake layers in the refrigerator for one hour before frosting. Ensure all dairy and egg ingredients are at room temperature before beginning to prevent the melted butter from seizing during the mixing process.
- Prep Time: 20 mins
- Cook Time: 40 mins
- Category: Dessert
- Method: Baking
- Cuisine: American
The Technical Foundation

To achieve the specific texture required for a professional-grade Candle Cake, each ingredient must be measured by weight to guarantee consistency. The following components form the structural and chemical basis of our bake:
- All-Purpose Flour (208g): We use a flour with approximately 10-11% protein. This provides enough gluten for the cake to hold its shape without becoming tough.
- Light Brown Sugar & Granulated Sugar (200g each): The brown sugar provides hygroscopic properties, pulling moisture from the air to keep the crumb soft, while granulated sugar aids in the aeration of the batter.
- Natural Cocoa Powder (75g): This provides the acidic component necessary to react with our leavening agents, while also delivering a bold chocolate profile.
- Baking Soda (1.5 teaspoons): This alkaline leavener reacts with the buttermilk and cocoa to create carbon dioxide, which provides the lift and height required for a stately cake.
- Unsalted Butter (113g) & Neutral Oil (118ml): Melted butter adds essential dairy fats for a rich mouthfeel, while the oil remains liquid at room temperature, making certain the cake never feels dry.
- Buttermilk (236ml): The acidity in buttermilk tenderizes the gluten strands, creating a ‘short’ crumb that practically melts upon contact with the tongue.
- Hot Coffee or Water (118ml): The high temperature of the liquid ‘blooms’ the cocoa powder. I recommend coffee as it intensifies the chocolate notes without adding a distinct coffee flavor.
The Methodical Process
Step 1: Thermal Preparation and Pan Lining
Preheat your oven to 350F (175C). Precision begins with the environment; make certain your oven is fully calibrated. Prepare two 8-inch round cake pans by lining the bottoms with parchment paper and lightly greasing the sides. This physical barrier guarantees a clean release, which is vital for maintaining the structural beauty of the cake.
Step 2: Combining the Dry Solids
In a large mixing bowl, whisk together the 208g of flour, both sugars, 75g of cocoa powder, 1.5 teaspoons of baking soda, and 0.75 teaspoons of salt. You are looking for a uniform color throughout. Sifting the cocoa powder is highly recommended to remove any stubborn clumps that could create pockets of dry powder in the finished bake.
Step 3: Integrating the Fat Profile
Add the 113g of melted butter and 118ml of neutral oil to the dry mixture. Stir steadily until all dry ingredients are moistened. The batter will appear thick and paste-like at this stage; this is expected. We are coating the flour particles in fat, which inhibits excessive gluten development and leads to a more tender texture.
Step 4: Protein and Emulsification
Incorporate the 2 large eggs, the additional egg yolk, and 2 teaspoons of vanilla extract. Stir until the mixture is cohesive, pausing to scrape the bottom of the bowl. The extra egg yolk is a technical secret that adds lecithin and fat, improving the emulsification of the batter and resulting in a silkier mouthfeel.
Step 5: Acidic Hydration
Gradually pour in the 236ml of buttermilk. Stir with a rhythmic motion to combine. The buttermilk will immediately begin reacting with the baking soda. You should notice the batter becoming slightly lighter and more aerated as the chemical leavening begins its initial work.
Step 6: Thermal Blooming of Cocoa
Carefully pour in the 118ml of hot coffee or water. Stir gently at first to avoid splashing, then more vigorously until the batter is smooth and uniform. The heat will melt the cocoa fats and fully dissolve the sugars, creating a glossy, pourable batter that smells intensely of chocolate.
Step 7: The Bake and Verification
Evenly divide the batter between your prepared pans. Transfer them to the center rack of the oven and bake for 35 to 40 minutes. Do not open the oven door during the first 25 minutes, as this can cause a temperature drop that collapses the fragile structure. The cake is done when a toothpick inserted into the center emerges clean or with a few moist crumbs attached.
Step 8: Cooling and Structural Set
Allow the cakes to rest in their pans for 15 minutes. This ‘carry-over’ cooking time allows the internal structure to firm up. Invert the cakes onto a wire cooling rack and remove the parchment paper. They must be completely cooled to room temperature before you apply any frosting, otherwise, the heat will break the emulsion of your butter-based toppings.
Precision Secrets

To achieve the most professional results with your Candle Cake, I recommend weighing your ingredients using a digital kitchen scale rather than using volumetric cups. The difference between a tender crumb and a dry one often comes down to just 20 grams of excess flour. If you find your cakes are doming too much in the center, you can use wet cake strips around the outside of the pans to slow down the baking of the edges, resulting in a perfectly flat surface for stacking. For those interested in mastering more complex chocolate textures, I suggest reviewing this old-fashioned-chocolate-cake guide which details the importance of fat ratios. You might also find inspiration in these professional chocolate cake techniques for refining your frosting application. Always make certain your eggs and buttermilk are at room temperature before you begin; cold ingredients can cause the melted butter to seize, resulting in a lumpy batter and an uneven bake.
Technical Tweaks
While this chocolate base is a recipe-index staple, there are several ways to modify the recipe while maintaining its structural integrity. For a botanical variation, replace the hot coffee with a strong Earl Grey tea; the bergamot oils react beautifully with the natural acidity of the cocoa. If you require a gluten-free version, several of my students have had success using a high-quality 1:1 baking flour blend, though I recommend adding an extra 1/4 teaspoon of xanthan gum to provide the necessary elasticity that the cocoa solids require. You can also transform this into a ‘Salted Caramel Candle Cake’ by swirling 100ml of thick caramel through the batter just before baking, which creates pockets of molten sweetness within the dark chocolate structure.
Presentation Precision

When serving a tall Candle Cake, the cutting technique is just as important as the bake itself. To achieve clean, professional slices, use a long, thin serrated knife dipped in hot water and wiped dry between every single cut. This prevents the frosting from dragging through the moist crumb. This cake is best served at room temperature to allow the fats in the butter and chocolate to soften, which maximizes the ‘melt’ factor. If you are serving this alongside other desserts like our lemon-rainbow-cake, consider offering a dollop of unsweetened creme fraiche on the side. The tartness of the cream cuts through the richness of the chocolate, creating a perfect textural and flavor balance.
Mastering the Craft
This Candle Cake is a testament to the fact that when you respect the science of baking, the results are always spectacular. By mastering the blooming of cocoa and the balance of fats, you have created a dessert that is as structurally sound as it is delicious. This project is a wonderful car-cake alternative for those who prefer classic elegance over novelty shapes. I would be proud to see your technical triumphs in the kitchen. Please share your progress with our community on Pinterest, Instagram, or Facebook. Precision in the kitchen is the surest path to pastry perfection.

