During my early years of pastry training in London, I became obsessed with the structural relationship between fat and flour, particularly how the reverse creaming method can produce a crumb that is both sturdy and ethereal. This Cow Cake is a technical study in that very balance, utilizing a precise paste method to create distinct chocolate and vanilla marbling that maintains its integrity when sliced. By focusing on the temperature of our lipids and the specific gravity of the two batters, we achieve a visual result that is as structurally sound as it is texturally superior.

This specific Cow Cake formulation is designed for those who value the aesthetics of character cakes but refuse to compromise on the melt-in-the-mouth quality of a professional sponge. It features a six-layer torte for maximum surface area of silk-smooth buttercream, providing a canvas for precision-piped spots and meticulously shaped fondant accents. Whether you are preparing this for a themed event or simply to master the art of the marble, following these exact cues will yield a result that is technically perfect and visually stunning.
Technical Mastery of the Marble Crumb
This Cow Cake is a triumph of structural baking, offering a level of precision that common sponge recipes often lack. The primary reason you will find this recipe so successful is its use of the reverse creaming technique, which yields a flat-topped, tight-crumbed cake that is exceptionally easy to torte into thin, beautiful layers. This method also creates a unique mouthfeel where the cake seems to dissolve on the tongue while providing enough resistance to satisfy the palate.
Beyond the texture, the marbling process in this recipe is calculated to prevent the two flavors from bleeding together, which is a common failure in amateur baking. By matching the viscosity of the vanilla and chocolate batters through precise additions of buttermilk and egg, we preserve the graphic definition of the cow print. This is not just a cake; it is a lesson in the science of suspension and the beauty of high-butterfat emulsions.
Print
Cow Cake
- Total Time: 3 hours
- Yield: 12 servings
- Diet: Vegetarian
Description
This technically advanced six-layer marble cake utilizes the reverse creaming method to achieve a professionally tight and velvety crumb. Featuring distinct chocolate and vanilla “cow spot” patterns both inside the sponge and across the silk-smooth buttercream exterior, it is a masterclass in structural baking and artistic design.
Ingredients
- 2 cups (260g) all-purpose flour
- 2 cups granulated sugar
- 1 1/2 tsp baking powder
- 1/2 tsp fine salt
- 150g unsalted butter, room temperature (65°F)
- 155g egg whites (approx. 5 large whites)
- 1 cup (240g) buttermilk
- 1/4 cup neutral oil
- 1 tsp vanilla extract
- 1/4 cup (20g) unsweetened cocoa powder
- 3 tbsp granulated sugar (for chocolate batter)
- 1/4 tsp baking powder (for chocolate batter)
- 1 large egg (for chocolate batter)
- 3 tbsp (40g) buttermilk (for chocolate batter)
- 2 cups (454g) unsalted butter (for buttercream)
- 7 cups (907g) powdered sugar, sifted
- 1 tsp vanilla extract (for buttercream)
- 1/4 tsp salt
- 3 tbsp heavy cream
- Pink and black food coloring
- Fondant (for horns, ears, and eyes)
Instructions
- Preheat oven to 350°F (175°C) and line three 6-inch cake pans with parchment paper and grease.
- In a stand mixer fitted with a paddle attachment, combine flour, 2 cups sugar, 1 1/2 tsp baking powder, and 1/2 tsp salt on low for 30 seconds.
- Add 150g room-temperature butter chunks and mix on low until the texture resembles fine, damp sand.
- Mix in egg whites, 1 cup buttermilk, oil, and 1 tsp vanilla; increase speed to medium and beat for exactly 30 seconds.
- Transfer half the batter (approx. 625g) to a separate bowl; to the remaining batter in the mixer, add cocoa powder, 3 tbsp sugar, 1/4 tsp baking powder, 1 egg, and 3 tbsp buttermilk and mix until smooth.
- Alternate spoonfuls of chocolate and vanilla batter into pans to create patches; bake for 33-35 minutes and cool on a wire rack.
- Beat 2 cups butter until smooth, then incorporate powdered sugar, 1 tsp vanilla, salt, and heavy cream to create a spreadable buttercream.
- Level and torte the cakes into six thin layers; stack with white buttercream, apply a crumb coat, and chill before adding the final smooth layer.
- Pipe a pink semi-circle for the snout and use black-tinted buttercream to pipe irregular spots; finish with fondant features secured by toothpicks.
Notes
For the cleanest internal marble pattern, ensure your chocolate and vanilla batters are similar in viscosity so they don’t bleed into one another during baking. When decorating, keep the cake well-chilled between steps to prevent the black spots from smearing into the white background, and always use a clean spatula for every stroke when smoothing the finish.
- Prep Time: 45 mins
- Cook Time: 35 mins
- Category: Dessert
- Method: Reverse Creaming
- Cuisine: American
The Technical Foundation of Fat and Flour

Success in this Cow Cake depends on the quality and temperature of your raw materials. Each ingredient plays a specific role in maintaining the structural integrity needed for a six-layer assembly.
- All-Purpose Flour (260g): We use a moderate protein content to ensure enough structure to hold the marble pattern without the toughness associated with bread flour.
- Unsalted Butter (150g): This must be at exactly 65°F (18°C) to properly coat the flour particles during the reverse creaming stage, preventing excess gluten development.
- Egg Whites (155g): By using whites alone in the base batter, we create a bright white canvas for the vanilla portion and a lighter, more delicate structure.
- Buttermilk (240g + 40g): The acidity in the buttermilk tenderizes the crumb and reacts with the baking powder to create the necessary lift.
- Unsweetened Cocoa Powder (20g): This provides the deep contrast for our chocolate batter, and when combined with additional sugar and egg, maintains a consistent specific gravity with the vanilla batter.
- Powdered Sugar (907g): For the buttercream, a high-quality, finely sifted sugar is vital to achieving a silk-smooth finish that allows for clean piping of the cow spots.
The Method of Reverse Creaming
Step 1: Prep Your Ingredients and Environment
Preheat your oven to 350°F (175°C). Line three 6-inch cake pans with parchment paper and grease the sides with professional-grade baking spray or a butter-and-flour coating. Ensure all cold ingredients—butter, egg whites, and buttermilk—have reached a uniform room temperature of approximately 68°F (20°C) to facilitate a perfect emulsion.
Step 2: The Dry Mix Integration
In the bowl of a stand mixer fitted with the paddle attachment, combine the 2 cups of all-purpose flour, 2 cups of sugar, 1 1/2 tsp baking powder, and 1/2 tsp fine salt. Run the mixer on the lowest speed for 30 seconds to distribute the leavening agents evenly through the flour. This aeration is the first step in creating a fine, uniform crumb.
Step 3: Fat Coating and Paste Stage
Add the room-temperature butter in small chunks to the dry mixture while the mixer is on low. Continue mixing until the butter is fully incorporated and the mixture resembles fine, damp sand. This process, known as reverse creaming, coats the flour proteins in fat, which physically prevents the formation of long gluten strands once liquids are added.
Step 4: Hydration and Aeration
Add the egg whites on low speed until just incorporated, then slowly pour in the 1 cup of buttermilk. Scrape the sides and bottom of the bowl meticulously. Add the oil and vanilla, then increase the speed to medium and beat for exactly 30 seconds. This brief period of higher speed develops just enough structure to keep the cake from being too crumbly while aerating the batter.
Step 5: The Chocolate Transformation
Transfer approximately 625 grams (half) of the vanilla batter into a separate bowl. To the remaining batter in the mixer, add 1/4 cup cocoa powder, 3 Tbsp sugar, 1/4 tsp baking powder, 1 egg, and 3 Tbsp of buttermilk. Mix on low until smooth. You now have two batters with nearly identical weights and viscosities, which is crucial for a successful marble.
Step 6: Creating the Marble Pattern
Alternate spoonfuls of the chocolate and vanilla batters into the prepared pans. Do not over-swirl; the goal is distinct ‘cow-like’ patches of flavor, not a muddy grey blend. Fill each pan about one inch high. Bake for 33-35 minutes or until a skewer inserted in the center comes out with just a few moist crumbs. Cool in the pans for 10 minutes before transferring to a wire rack.
Step 7: Buttercream Precision
Beat the 2 cups of butter for 30 seconds until smooth. Add the vanilla and salt, then gradually incorporate the 7 cups of powdered sugar, adding the 3 Tbsp of heavy cream halfway through to maintain a spreadable consistency. Beat on low to prevent the incorporation of too many air bubbles, which would ruin the smooth finish of your Cow Cake.
Step 8: Assembly and Torte
Once fully cooled, level your cakes. For a superior presentation, torte each layer horizontally to create six thin layers. Stack with an even layer of white buttercream between each. Apply a thin crumb coat and chill for 30 minutes. Apply the final smooth layer of white buttercream and chill again until firm before decorating.
Step 9: Final Decorations and Piping
Pipe a large pink semi-circle for the snout using the tinted buttercream. Use the black-tinted chocolate buttercream to pipe irregular spots around the sides and top of the cake, smoothing them with a small offset spatula. Apply the fondant horns, ears, and eyes according to the visual cues, using toothpicks for structural support in the ears.
Precision Secrets for Structural Success

To achieve the smoothest finish on your Cow Cake, you must master the temperature of your buttercream. If the frosting feels too firm, the cow spots will drag and tear the base layer; if it is too soft, they will lose their definition. I recommend a working temperature of 72°F (22°C) for the most control. When smoothing the spots, wipe your offset spatula clean after every single stroke to ensure the black pigment doesn’t bleed into the white background.
If you find your cake layers are too fragile to handle after torting, wrap them in plastic and chill them for two hours. This firms up the butter in the crumb and makes the layers significantly more resilient during the stacking process. For more insights on building multi-layered character cakes, you might find my guide on the car-cake particularly helpful for understanding internal support structures and stability.
Technical Variations for the Ambitious Baker
While the classic vanilla and chocolate marble is traditional, you can modify the flavors while maintaining the structural integrity of the Cow Cake. For a more sophisticated palate, replace the vanilla extract with almond extract and use a dark Dutch-processed cocoa for the black spots. This creates a more intense visual contrast and a deeper flavor profile without altering the specific gravity of the batter.
Another advanced option is to incorporate a fruit-based element. You can replace the buttermilk in the vanilla portion with a strained strawberry puree of the same weight to create a ‘Strawberry Cow’ effect. This requires careful monitoring of the acidity levels to ensure the baking powder still reacts correctly. If you enjoy the depth of a traditional cocoa sponge, consider adapting the techniques found in my old-fashioned-chocolate-cake to create a richer base for your marbled layers.
Presentation Precision and Textural Balance

When serving a cake with six layers like this Cow Cake, the temperature at the moment of slicing is critical. For the cleanest cuts that showcase the internal marble pattern, slice the cake while it is still slightly chilled. Use a long, thin-bladed knife dipped in hot water and wiped dry between every single cut. This prevents the buttercream from smearing across the face of the sponge, preserving the sharp contrast of the crumb.
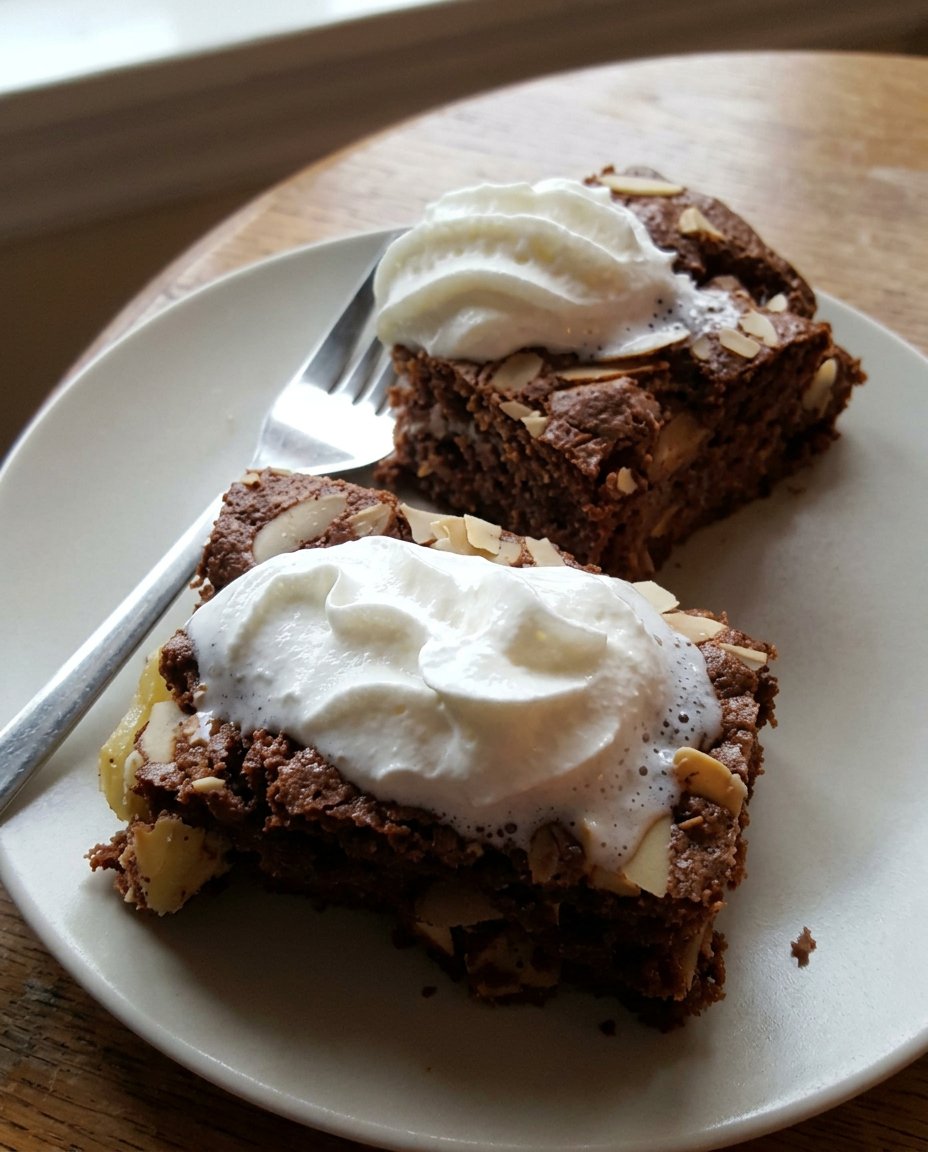
To balance the richness of the buttercream, I suggest serving each slice with a small dollop of lightly sweetened whipped cream or a side of fresh berries. This adds a necessary hit of acidity and a lighter texture that complements the dense, velvety nature of the reverse-creamed sponge. If you are looking for more vibrant presentation ideas, take a look at our lemon-rainbow-cake for tips on color coordination and plating aesthetics.
Master the Craft of Character Cakes
Creating a Cow Cake is a rewarding exercise in both precision baking and artistic decoration. By respecting the science of the reverse creaming method and the importance of batter viscosity, you ensure a dessert that is as stable as it is delicious. Remember that the secret to a professional finish lies in the small details—the temperature of your butter, the cleanliness of your spatula, and the patience required during the chilling stages. I encourage you to keep practicing these techniques to refine your mastery of the craft.
For more technical guides and inspired designs, browse our extensive recipe-index or check out this excellent resource on cow cake decorating. I would love to see your structural triumphs; please share your creations with us on Pinterest, Instagram, and Facebook. Happy baking, and may your crumbs always be tender and your structures always sound.

