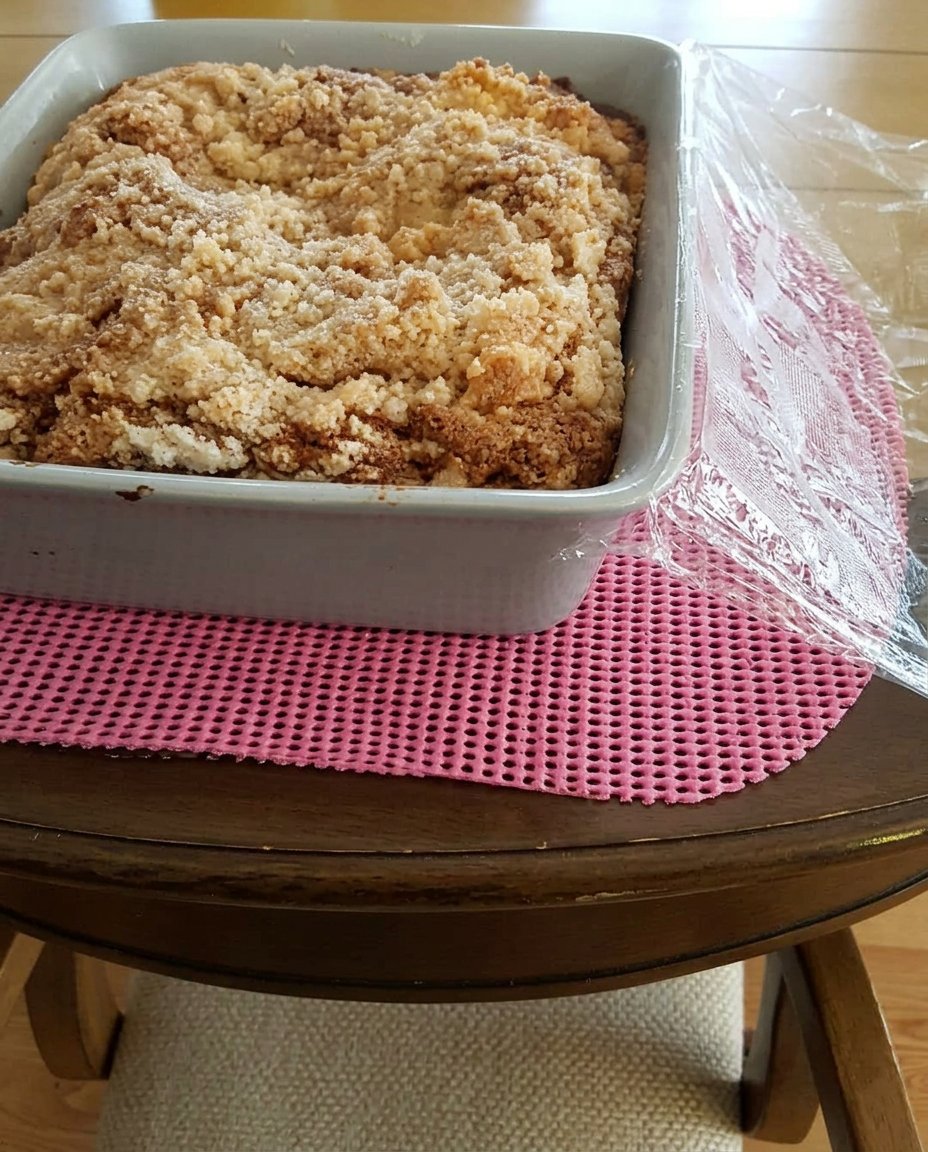
My early training in a high-pressure London patisserie taught me that even the most miniature sponge requires the structural discipline of a wedding cake. We often spent hours perfecting the crumb density to ensure that small-scale desserts maintained their integrity when handled. This Lunch Box Cake is a triumph of that methodical approach, combining a soft, melt-in-the-mouth texture with a reliable structure that survives any journey.

Commonly known as bento cakes, these individual-sized treats are the perfect canvas for practicing your assembly and finishing techniques. By using a controlled simple syrup soak and a stabilized cream, we create a dessert that is as technically sound as it is visually stunning. This recipe focuses on the physics of the sponge and the chemistry of the frosting to guarantee a professional result every time.
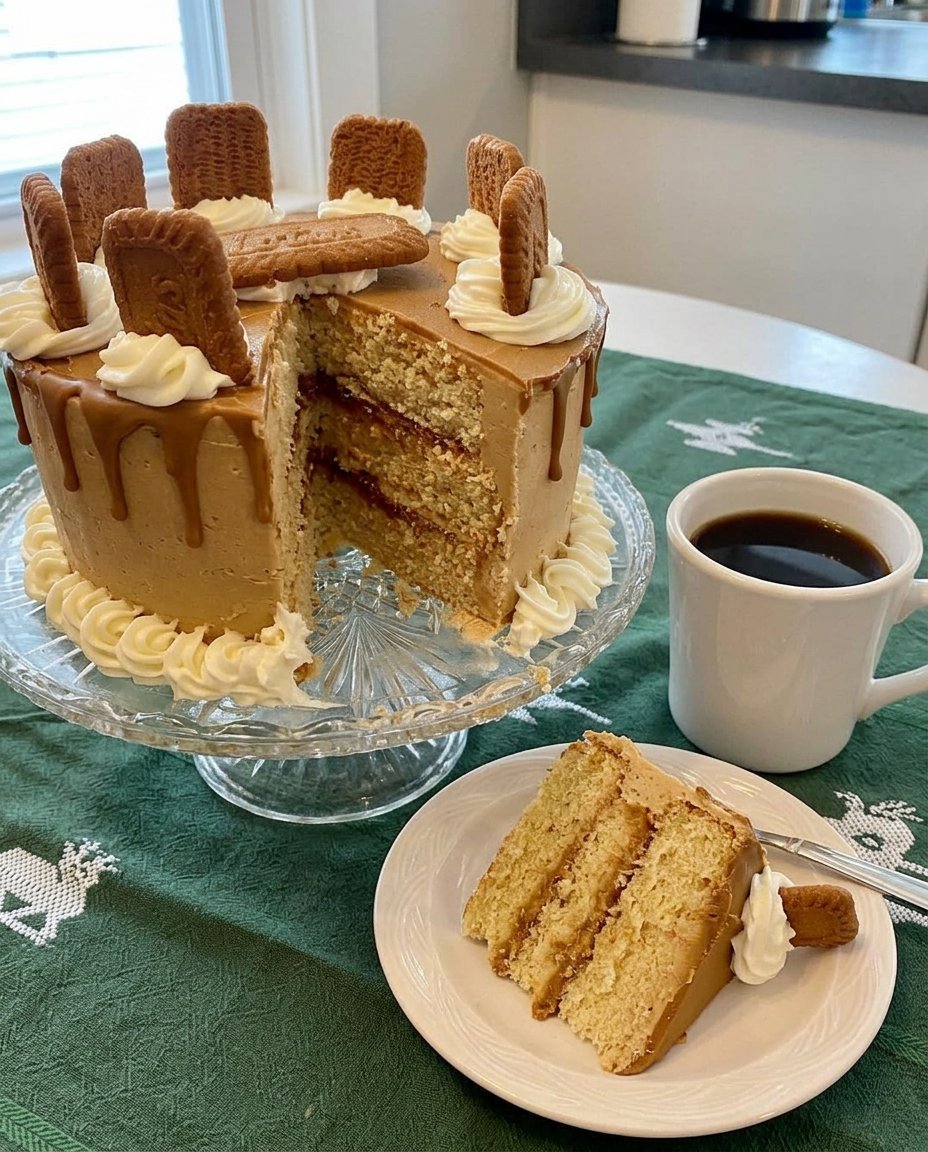
Why You’ll Love This Lunch Box Cake
Precision in baking is the primary driver of a superior mouthfeel, and this recipe proves that point beautifully. You will love this process because it takes the guesswork out of small-scale assembly, allowing you to master the art of the ‘bento’ style with total confidence. The inclusion of a targeted soaking syrup ensures that the sponge remains hydrated without becoming structurally compromised, a common pitfall in miniature cakes.
Furthermore, the stabilized whipped cream provides a clean, sharp finish that mimics the look of heavy buttercream while offering a much lighter, more refined palate experience. This balance of structure and melt is the hallmark of a professional pastry chef. Whether you are preparing these for a gift or a personal celebration, the technical satisfaction of a perfectly level, neatly frosted Lunch Box Cake is unparalleled. The method described here focuses on thermal control and mechanical precision to help you achieve a bakery-standard finish in your own kitchen.
Print
Lunch Box Cake
- Total Time: 1 hour 55 mins
- Yield: 3 individual cakes
- Diet: Vegetarian
Description
This Lunch Box Cake is a technically refined version of the popular bento-style dessert, focusing on a stabilized crumb and light, airy frosting. By using specific ingredient swaps and temperature control, you can create professional-grade miniature cakes that are as structurally sound as they are delicious.
Ingredients
- 1 box high-quality vanilla cake mix
- Whole milk (quantity per cake mix instructions, replacing water)
- 1 extra egg yolk
- 1/2 cup granulated white sugar
- 1/2 cup water
- 1 teaspoon vanilla extract, divided
- 2 cups heavy whipping cream (minimum 36% milk fat)
- 1/4 cup powdered sugar
- 1 pinch salt
Instructions
- Preheat oven to 350°F (177°C) and line a 9×13-inch pan with parchment paper, leaving a 1-inch overhang.
- Prepare the vanilla cake mix according to package directions, substituting milk for water and adding one extra egg yolk; bake until the internal temperature reaches 205°F (96°C) and cool completely on a wire rack.
- In a small saucepan, dissolve 1/2 cup sugar into 1/2 cup water over medium heat until clear; once cooled, stir in 1/2 teaspoon of vanilla extract.
- Whip the cold heavy cream in a pre-chilled bowl until it begins to thicken, then add powdered sugar, 1/2 teaspoon vanilla, and a pinch of salt, beating until stiff peaks form.
- Using a 3-inch round cutter, punch out six circles from the cooled sheet cake.
- Place one cake round on a parchment square, brush with simple syrup, and spread a 1/2-inch layer of cream over the top.
- Add a second cake round, apply syrup, and coat the entire exterior with a thin crumb coat of cream before chilling for 10 minutes.
- Apply the final layer of cream using an offset spatula to smooth the sides and top, then transfer the cake and parchment into a 6×6-inch clamshell container.
- Refrigerate for at least one hour before serving to set the structure.
Notes
To ensure the most stable whipped cream, always use a bowl and whisk attachment that have been chilled in the freezer for at least 15 minutes. For the cleanest cuts when portioning your cake rounds, press the cutter straight down and twist slightly rather than sawing through the sponge.
- Prep Time: 30 mins
- Cook Time: 25 mins
- Category: Dessert
- Method: Baking
- Cuisine: International
The Technical Foundation: Ingredient Precision

To achieve the perfect Lunch Box Cake, every component must be selected for its specific contribution to the cake’s integrity and texture. We start with a high-quality vanilla cake mix, which provides a consistent base of emulsifiers and leavening agents that are difficult to replicate at home with this level of stability. However, we refine this base with technical additions to improve the crumb.
- Vanilla Cake Mix: This serves as our structural scaffolding. Look for a mix that specifies a fine crumb for the best results.
- Whole Milk (Substitution): Using milk instead of water increases the protein and fat content, which strengthens the crumb and creates a richer mouthfeel.
- Extra Egg Yolk: Adding one yolk improves the emulsification of the batter, resulting in a tighter, more uniform cell structure that is easier to cut cleanly.
- Heavy Whipping Cream: Must have a minimum of 36% milk fat. This fat content is crucial for trapping air bubbles and maintaining a firm peak.
- Simple Syrup (1:1 Ratio): A precise mixture of sucrose and water that adds moisture. We use a 1:1 ratio because it is thin enough to penetrate the sponge via capillary action without adding excessive weight.
- Powdered Sugar: Contains a small amount of cornstarch, which acts as a secondary stabilizer for the whipped cream frosting.
The Method: A Technical Process
Step 1: Prepare and Bake the Sponge
Preheat your oven to 350°F (177°C) and confirm the temperature with an oven thermometer for absolute accuracy. Grease a 9×13-inch pan and line it with parchment paper, allowing for a 1-inch overhang on the sides; this mechanical advantage allows for a clean removal without stressing the cake’s structure. Prepare the cake mix according to the instructions, but implement our precision tweaks: swap water for milk and add an extra yolk. Pour the batter into the pan and use an offset spatula to level the surface. Bake until the internal temperature reaches 205°F (96°C) or a toothpick inserted into the center comes out with a few moist crumbs. Cool completely on a wire rack to allow the protein structure to set.
Step 2: Formulate the Simple Syrup
In a small saucepan, combine 1/2 cup water and 1/2 cup white sugar. Heat over medium power, stirring constantly until the solution becomes clear, indicating the sugar has fully dissolved. This occurs at approximately 212°F (100°C). Remove from heat immediately to prevent evaporation, which would alter our 1:1 ratio. Once the liquid has cooled to room temperature, stir in the vanilla extract. This syrup will provide the necessary hydration for the sponge, ensuring a melt-in-your-mouth experience even after refrigeration.
Step 3: Achieve Stabilized Whipped Peaks
Before beginning, place your mixing bowl and whisk attachment in the freezer for 15 minutes. Thermal control is vital here; if the cream rises above 45°F (7°C), the fat globules will not bond effectively, leading to a weak structure. Pour the cold heavy cream into the chilled bowl and beat on medium-high speed. Once the cream begins to thicken, add the powdered sugar, vanilla, and a pinch of salt. Continue whipping only until stiff peaks form—when you lift the whisk, the cream should stand straight up without drooping. Do not overbeat, as this will lead to graininess and eventually butter.
Step 4: Mechanical Cutting and Layering
Use a 3-inch (7.6 cm) round stainless steel cutter to punch out six circles from the cooled sheet cake. For the cleanest edges, press the cutter straight down and twist slightly before lifting. Place a 5×5-inch square of parchment on your workspace and anchor a cake round with a small dab of cream. Using a pastry brush, apply the simple syrup to the sponge until it is damp but not saturated. Spread a precise 1/2-inch layer of whipped cream over the first round. Place the second round on top, repeat the syrup application, and then coat the exterior with a thin ‘crumb coat’ of cream.
Step 5: Final Finishing and Packing
After chilling the crumb coat for 10 minutes to set the surface, apply the final layer of cream. Use an offset spatula to smooth the sides and top, rotating the parchment square to achieve a level finish. You may add decorative piping or sprinkles at this stage. Carefully lift the parchment square and nestle the finished cake into a 6×6-inch clamshell container. Refrigerate for at least one hour before serving to allow the flavors to meld and the structure to firm up.
Jordan’s Precision Secrets

To achieve the ultimate structural success, I recommend using a gelatin stabilizer in your cream if you plan to transport these cakes. Bloom 1/2 teaspoon of unflavored gelatin in 1 tablespoon of water, melt it briefly, and stream it into the cream during the final stages of whipping. This creates a protein network that prevents the cream from weeping. For those looking to master even more complex textures, our old-fashioned-chocolate-cake offers a fantastic comparison in crumb density and moisture management. Always remember that the difference between a good cake and a professional one is often found in the temperature of your ingredients. If your sponge is even slightly warm when you apply the cream, the fat will melt, and the structure will fail. Use an infrared thermometer to confirm the cake is below 70°F (21°C) before you begin the assembly process.
Technical Variations and Precision Tweaks
You can easily modify the flavor profile of your Lunch Box Cake by adjusting the soaking syrup and the cream. For a bright, acidic contrast that cuts through the fat of the cream, try folding 2 tablespoons of freeze-dried raspberry powder into your frosting. This adds a natural vibrant color and a concentrated flavor without introducing excess moisture that could compromise the stability of the peaks. If you enjoy this fruit-forward approach, you might find inspiration in our raspberry-white-chocolate-cake. Another advanced option is to replace the simple syrup with a coffee-based soak for a tiramisu-inspired bento cake. Simply dissolve 1 teaspoon of espresso powder into your warm syrup before cooling. For a gluten-free variation, use a certified gluten-free mix, but increase the resting time of the batter by 10 minutes before baking to allow the alternative flours to hydrate fully.
Presentation and Textural Balance

When serving these miniature wonders, presentation is as important as the bake itself. I suggest serving the cake directly from its parchment square within the box to maintain that ‘handcrafted’ aesthetic. For a beautiful color story, you can reference the vibrant palette of our lemon-rainbow-cake when choosing your sprinkles or gel tints. If you are looking for more creative assembly ideas, Chelsweets offers excellent visual guides on modern piping styles. Pair the cake with a crisp, cold glass of milk or a sharp espresso to balance the sweetness of the vanilla. To ensure the best textural experience, remove the cake from the refrigerator about 10 minutes before eating; this allows the fats in the sponge to soften slightly while keeping the cream firm.
Master the Craft
Mastering the Lunch Box Cake is a significant milestone for any ambitious baker. It requires a blend of mechanical precision, thermal awareness, and an eye for detail. By following these technical steps, you have created a dessert that respects the science of pastry while delivering a truly beautiful result. If you find yourself craving a more robust flavor profile after this vanilla success, I highly recommend trying our snickers-cake for a masterclass in layering textures. Please share your technical triumphs with us on Facebook and Instagram. We look forward to seeing your precision in action as you grow your pastry skills.

