During my early training in a London patisserie, I learned that a Red Cake is not merely a chocolate sponge with dye, but a precise exercise in chemical reactions. The specific interaction between acidic buttermilk, distilled vinegar, and cocoa powder creates a crumb that is remarkably tender yet structurally sound. Achieving this balance requires a methodical approach to temperature and timing.

This particular recipe focuses on a tight, uniform crumb and an incredibly moist mouthfeel that lasts for days. By using an oil-based emulsion rather than creamed butter, we achieve a texture that melts away instantly upon tasting. It is a technical masterpiece for any baker looking to master the art of the velvet sponge.
The Science of the Velvet Crumb
This recipe is a masterclass in structural integrity meeting delicate texture. Unlike standard butter cakes which can become dense when chilled, this oil-based sponge remains soft and supple due to the liquid fat’s ability to coat flour proteins more effectively. This prevents excessive gluten development, resulting in a crumb that is fine-grained and luxurious.
The visual appeal is matched only by the technical satisfaction of seeing the leavening agents react. When the vinegar hits the baking soda in the presence of buttermilk, it creates a carbon dioxide surge that produces a light, airy lift. This provides the necessary height for three substantial layers without compromising the delicate ‘melt’ that defines a superior red sponge.
Print
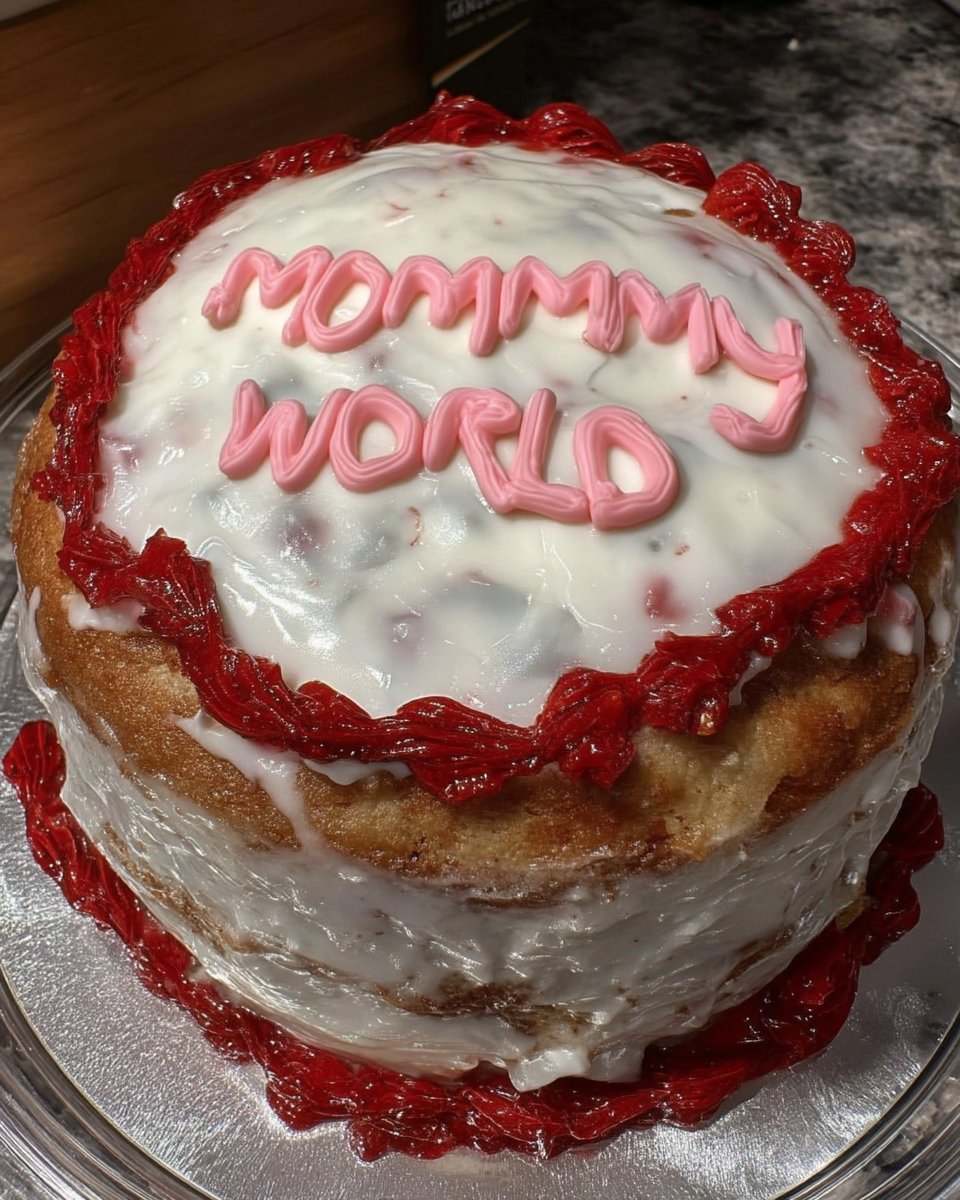
Red Cake
- Total Time: 1 hour 20 mins
- Yield: 12 servings
- Diet: Vegetarian
Description
This sophisticated red cake uses a precision oil-based emulsion and acidic buttermilk to create an exceptionally tender, fine-grained velvet crumb. Topped with a silky whipped cream cheese frosting, it offers a perfect balance of structural integrity and melt-in-the-mouth texture.
Ingredients
- 2 1/2 cups all-purpose flour
- 1 1/2 cups granulated sugar
- 1 teaspoon baking soda
- 1 teaspoon fine salt
- 1 teaspoon cocoa powder
- 1 1/2 cups vegetable oil
- 1 cup buttermilk, room temperature
- 2 large eggs, room temperature
- 2 tablespoons red food coloring
- 1 teaspoon white distilled vinegar
- 1 teaspoon vanilla extract
- 1 pound cream cheese, softened
- 1/2 cup unsalted butter, softened
- 4 cups confectioners’ sugar, sifted
- 1/2 cup crushed pecans, for garnish
Instructions
- Preheat your oven to 350°F (175°C) and sift the flour, sugar, baking soda, salt, and cocoa powder into a large bowl at least twice to ensure aeration and even distribution.
- In a separate vessel, whisk together the vegetable oil, room-temperature buttermilk, large eggs, red food coloring, vinegar, and vanilla extract until a smooth emulsion forms.
- Using a stand mixer fitted with the paddle attachment, slowly incorporate the dry ingredients into the wet mixture on low speed until just combined, taking care not to overmix.
- Divide the batter evenly among three 9-inch round cake pans that have been lightly oiled and floured, using a digital scale for exact distribution.
- Bake for approximately 30 minutes, rotating the pans halfway through, until the cake begins to pull away from the sides and a tester inserted into the center comes out clean.
- Remove pans from the oven and rest for 10 minutes before inverting the cakes onto a wire rack to cool completely.
- Prepare the frosting by beating the softened cream cheese, butter, and sifted confectioners’ sugar on low speed, then whipping on high for 5 minutes until light and aerated.
- Assemble by spreading frosting between layers, applying a thin crumb coat, and chilling for 20 minutes before finishing with the remaining frosting and a garnish of crushed pecans.
Notes
For the cleanest aesthetic and best structural stability, ensure your cream cheese and butter are perfectly softened but not oily before whipping. If the cake layers develop a slight dome during baking, cooling them upside down on the wire rack will help flatten them naturally for easier stacking and a more professional finish without the need for trimming.
- Prep Time: 30 mins
- Cook Time: 30 mins
- Category: Dessert
- Method: Baking
- Cuisine: American
The Structural Foundation of Red Sponge

Every ingredient in this recipe serves a specific technical purpose to ensure the final product holds its shape while remaining tender. Precision in measuring these components is the difference between a dry cake and a professional-grade sponge.
- All-Purpose Flour (2 1/2 cups): Provides the necessary protein structure (approximately 10-11%) to support the height of the three layers.
- Vegetable Oil (1 1/2 cups): Unlike butter, oil remains liquid at room temperature, which is the secret to the signature moistness of this cake.
- Buttermilk (1 cup): The acidity in buttermilk is critical; it breaks down gluten strands for a more tender bite and reacts with the leavening agents.
- Cocoa Powder (1 teaspoon): A small amount is used not for deep chocolate flavor, but to provide a complex background note and a base for the red pigment.
- White Distilled Vinegar (1 teaspoon): This final acidic addition triggers the baking soda, creating a secondary lift during the initial minutes of baking.
- Red Food Coloring (2 tablespoons): For the most vibrant results, use a high-quality liquid or gel that can withstand the heat of the oven without browning.
- Cream Cheese (1 pound): Use full-fat blocks for the frosting to maintain the structural stability required for a tall, layered presentation.
The Methodical Assembly Process
Step 1: Aerating the Dry Base
Preheat your oven to 350°F (175°C). Sift the flour, sugar, baking soda, fine salt, and cocoa powder into a large bowl at least twice. This sifting is not just about removing lumps; it introduces air and ensures the baking soda is perfectly distributed throughout the flour for an even rise.
Step 2: Creating the Liquid Emulsion
In a separate vessel, whisk together the vegetable oil, room-temperature buttermilk, large eggs, red coloring, vinegar, and vanilla extract. It is vital that the eggs and buttermilk are at room temperature to prevent the oil from seizing, which would result in an uneven emulsion and a greasy crumb.
Step 3: Integrating the Phases
Using a stand mixer fitted with the paddle attachment, slowly incorporate the dry ingredients into the wet mixture. Mix on low speed until just combined. The goal is a smooth, homogenous batter without developing the gluten. Stop the mixer the moment the last streaks of flour disappear.
Step 4: Scaling the Tins
Divide the batter evenly among three 9-inch round cake pans that have been lightly oiled and floured. Using a digital scale to ensure each pan has the exact same weight of batter will result in perfectly even layers, which is essential for a professional aesthetic.
Step 5: The Thermal Reaction
Place the pans in the oven, ensuring they are spaced apart to allow for proper heat circulation. Bake for approximately 30 minutes, rotating the pans halfway through the duration. The cake is done when it begins to pull away from the sides and a tester inserted into the center comes out clean.
Step 6: The Controlled Cooling
Remove the pans and let them rest for 10 minutes before running a palette knife around the edges. Invert them onto a wire rack to cool completely. Cooling upside down helps flatten any slight domes, making the assembly process much easier later.
Step 7: Whipping the Frosting
Beat the softened cream cheese, butter, and sifted confectioners’ sugar on low speed until incorporated. Increase the speed to high and whip for exactly 5 minutes until the mixture is light and aerated. This mechanical aeration provides the volume needed to cover three layers without the frosting feeling heavy.
Step 8: Final Structural Assembly
Place the first layer on a rotating stand. Spread a consistent 1/4-inch layer of frosting to the very edge. Repeat with the subsequent layers, ensuring the cake remains perfectly vertical. Apply a thin crumb coat, chill for 20 minutes, then finish with the remaining frosting and a garnish of crushed pecans.
Technical Mastery for Superior Texture

To achieve a professional result, pay close attention to the pH balance of your batter. If your cake turns out a muddy brown rather than a bright red, it often means the cocoa powder was too alkaline or the vinegar was omitted. For a deeper understanding of how these chemical interactions affect your baking, see our velvet-crumb-collection.
Another technical cue is the ‘spring-back’ test. When you lighty press the center of the sponge, it should recover its shape immediately. If the indentation remains, the internal structure hasn’t fully set and requires another 2-3 minutes in the heat. For further technical guidance on achieving vibrant colors in sponge work, you might find the methods at Sugar Geek Show quite useful for advanced color theory.
Structural Modifications and Flavor Tweaks
For those who prefer a more pronounced chocolate profile, you can increase the cocoa powder to 2 tablespoons, though you must offset this by adding an extra tablespoon of buttermilk to maintain the moisture balance. If you are interested in how different fats change the crumb, look at our old-fashioned-chocolate-cake which uses a different fat-to-flour ratio for a heavier, fudge-like consistency.
You may also substitute the pecans for toasted walnuts or even a dusting of freeze-dried raspberry powder to complement the acidity of the buttermilk. If you choose to add fruit, ensure it is thoroughly dried to prevent excess moisture from compromising the frosting’s stability.
Precision Presentation and Slicing

For the cleanest presentation, chill the assembled cake for at least two hours before slicing. This allows the cream cheese frosting to set firmly, preventing the layers from sliding under the pressure of the knife. Use a long, thin serrated knife dipped in hot water and wiped dry between every single cut to maintain the contrast between the white frosting and the red sponge.
This cake pairs beautifully with a slightly tart fruit element to balance the richness of the frosting. For an example of how fruit can contrast with creamy textures, see our raspberry-white-chocolate-cake. Serve at a temperature of about 65°F (18°C) for the best textural experience, as the oil-based crumb is most tender when not straight from the refrigerator.
Mastering the Art of the Red Sponge
Success with a Red Cake comes down to respecting the chemistry of the ingredients. By following these precise steps and focusing on the emulsion and temperature of your components, you can create a dessert that is as structurally impressive as it is delicious. The goal is always a sponge that holds its form on the plate but offers no resistance to the fork. Continue your journey into the science of cocoa and crumb at our cocoa-dream-lab. If you found this technical guide helpful, please share your results with our community on Pinterest, Instagram, or Facebook.
