In the pastry kitchens of London, we were taught that the crumb of a cake is defined by the stability of its emulsion before the flour ever touches the bowl. This recipe demonstrates that principle with exacting clarity, relying on a high volume of eggs and heavy cream to create a dense, velvety structure. It is not merely about mixing ingredients; it is about establishing a suspension of fat and liquid that results in a superior mouthfeel.

This Ribbon Cake is a study in textural contrast—a golden, structured crust protecting an interior that is incredibly tender. By replacing standard milk with heavy whipping cream, we introduce a higher fat content that coats the flour proteins, preventing toughness and guaranteeing a melt-in-your-mouth experience that standard sponge cakes cannot achieve.
Structure Meets Melt-in-the-Mouth Texture
The beauty of this cake lies in its crumb. Unlike aerated sponges that rely heavily on chemical leavening for a loose texture, this cake derives its character from the mechanical aeration of butter and sugar, reinforced by the richness of heavy cream. The addition of cornstarch softens the wheat flour’s protein content, mimicking the tender qualities of cake flour while maintaining the structural integrity needed for a large tube pan. It cuts cleanly without crumbling, yet dissolves instantly on the tongue.
Print
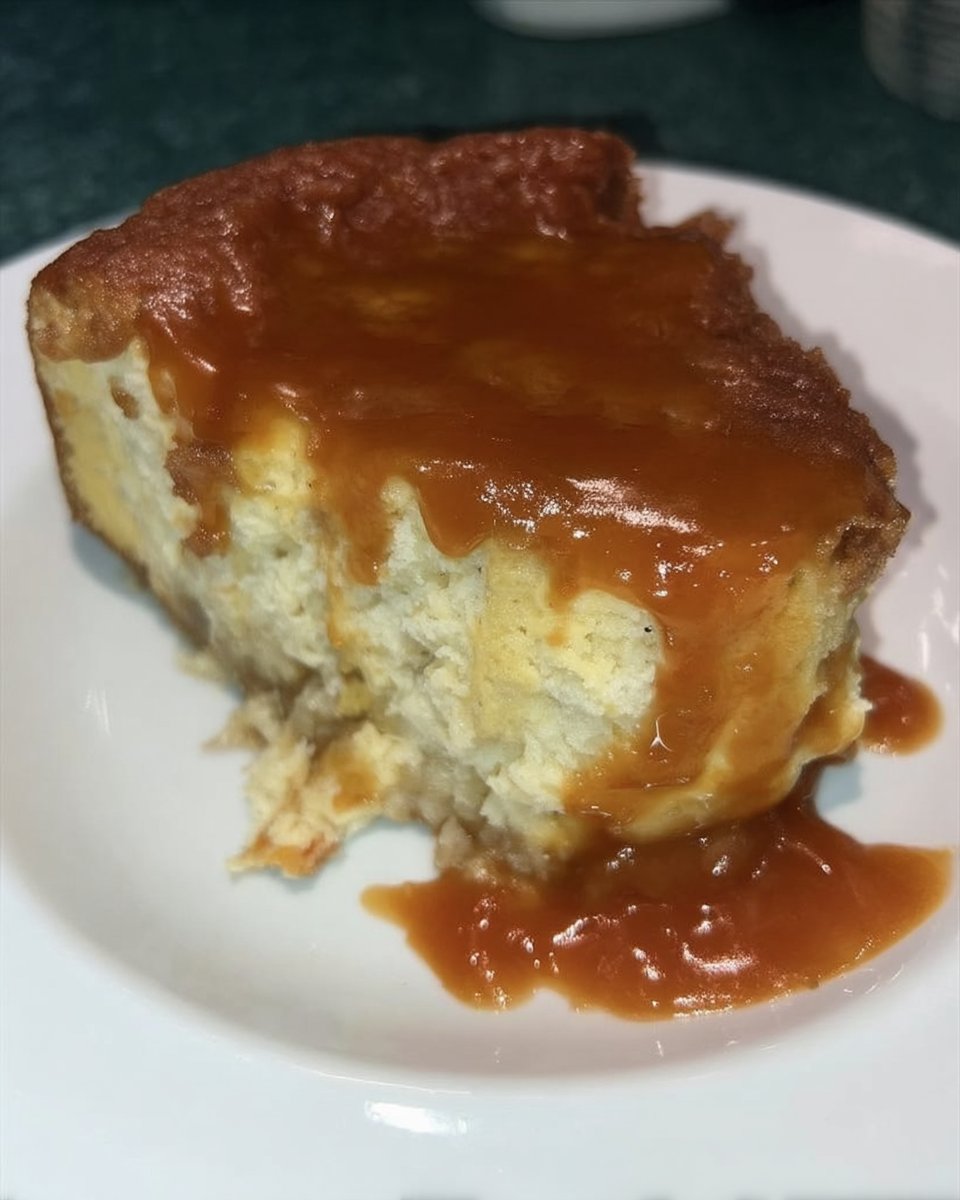
Ribbon Cake
- Total Time: 1 hour 30 mins
- Yield: 12 servings
- Diet: Vegetarian
Description
This Ribbon Cake is a masterclass in texture, featuring a dense and velvety crumb achieved through a high-fat emulsion of butter and heavy cream. Perfectly structured for a tube pan, it offers a sophisticated balance of a golden crust and a tender, melt-in-your-mouth interior.
Ingredients
- Unsalted butter, softened to 65°F (18°C)
- White sugar
- 7 large eggs, room temperature
- All-purpose flour
- Cornstarch
- 1 cup heavy whipping cream
- Vanilla extract
Instructions
- Preheat your oven to 350°F (175°C) and thoroughly grease and flour a 10-inch tube pan to ensure the batter can climb the sides.
- In a stand mixer, cream together the softened butter and sugar on medium-high speed for 5 to 7 minutes until the mixture is pale and fluffy.
- Add the room-temperature eggs one at a time, beating well after each addition to establish a stable emulsion.
- In a separate bowl, whisk together the flour and cornstarch; reduce mixer speed to low and add half of this mixture to the batter.
- Pour in 1/2 cup of the heavy cream, followed by the remaining flour mixture, the rest of the cream, and the vanilla extract, mixing only until the flour streaks disappear.
- Pour the batter into the prepared tube pan, smooth the top with an offset spatula, and bake for 60 to 75 minutes.
- Once a skewer comes out clean, cool the cake on a wire rack for 10 minutes before inverting it onto a serving plate.
Notes
To ensure a perfect emulsion, make sure your eggs and heavy cream are at room temperature before beginning; cold ingredients can cause the butter-fat to seize and result in a grainy texture. For the best flavor development, allow the cake to cool completely, which allows the internal structure to set and the buttery notes to deepen.
- Prep Time: 20 mins
- Cook Time: 70 mins
- Category: Dessert
- Method: Baking
- Cuisine: European
The Architecture of Ingredients

Precision in ingredient selection is critical for the correct chemical reactions to occur in the oven.
- Unsalted Butter: This provides the primary flavor and structure. It must be softened to approximately 65°F (18°C) to aerate properly with the sugar.
- White Sugar: Beyond sweetness, sugar cuts into the butter to create air pockets. The high ratio here ensures a moist crumb and a crisp crust.
- Eggs: Seven large eggs provide the framework. They must be at room temperature to emulsify into the butter without curdling the batter.
- Cornstarch & All-Purpose Flour: We blend cornstarch with all-purpose flour to lower the overall protein percentage. This tenderizes the gluten network, preventing a rubbery texture.
- Heavy Whipping Cream: The fat in the cream shortens gluten strands and adds moisture, creating that signature “velvet” mouthfeel.
- Vanilla Extract: Use a high-quality extract for a pure aromatic finish.
Methodical Production
Step 1: Prepare the Thermal Environment
Preheat your oven to 350°F (175°C). Verify this temperature with an oven thermometer, as fluctuating heat can cause the heavy batter to fall. Thoroughly grease and flour a 10-inch tube pan. Do not use non-stick spray alone; the flour barrier is necessary for the batter to climb the sides of the pan.
Step 2: Aerate the Fat and Sugar
In a large stand mixer bowl, cream together the butter and sugar. Beat on medium-high speed for 5–7 minutes. We are looking for a pale yellow color and a fluffy texture. This step mechanically traps air, which is the primary leavening agent for this dense batter.
Step 3: Establish the Emulsion
Add the eggs one at a time, beating well after each addition. Allow each egg to fully disappear into the emulsion before adding the next. This prevents the fat from separating and breaking the structure.
Step 4: Incorporate Dry and Wet Ingredients
In a separate vessel, whisk together the flour and cornstarch to aerate and combine. Reduce the mixer speed to low. Add half of the flour mixture to the batter. Follow this with 1/2 cup of the whipping cream. Add the remaining flour mixture, and finally, the remaining 1/2 cup of whipping cream and the vanilla extract. Stop mixing the moment the flour streaks disappear to avoid toughening the gluten.
Step 5: Bake and Set Structure
Pour the batter into the prepared tube pan, smoothing the top with an offset spatula. Bake for 60 to 75 minutes. The cake is done when a skewer inserted into the center meets a slight resistance but comes out clean or with a few moist crumbs. Cool on a wire rack for 10 minutes to allow the structure to stabilize before inverting it onto a serving plate.
Precision Secrets for Success

- Room Temperature is Vital: Cold eggs or cold cream will shock the butter, causing the batter to appear curdled. If your batter separates, the cake will be greasy rather than velvety.
- The Ribbon Stage: When adding your eggs, watch for the batter to look smooth and cohesive. While this isn’t a sponge requiring a full ribbon stage whisk, the principle of smooth incorporation remains.
- Respect the Cool Down: This cake is heavy. If you turn it out too early, the steam trapped inside will cause it to collapse. Give it the full 10 minutes in the pan.
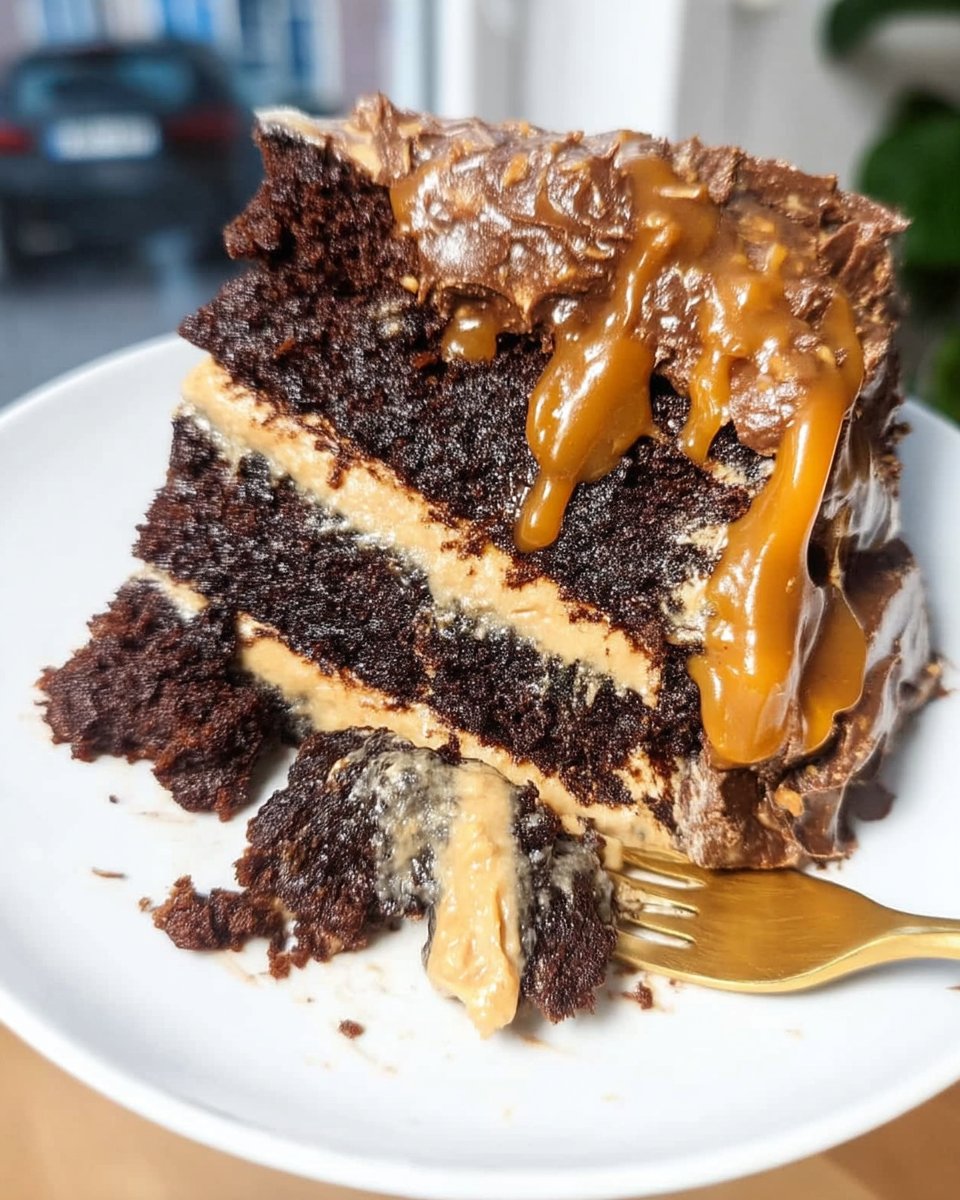
- Texture Comparison: If you appreciate the dense, fudge-like consistency of an old-fashioned chocolate cake, you will value the similar structural density achieved here through heavy cream.
Technical Variations
- Citrus Infusion: Rub the zest of two lemons into the sugar before creaming. The oils release into the sugar crystals, permeating the entire cake with flavor without altering the moisture balance.
- Almond Variation: Substitute one tablespoon of the vanilla extract for almond extract and top with sliced almonds before baking for a textural crunch.
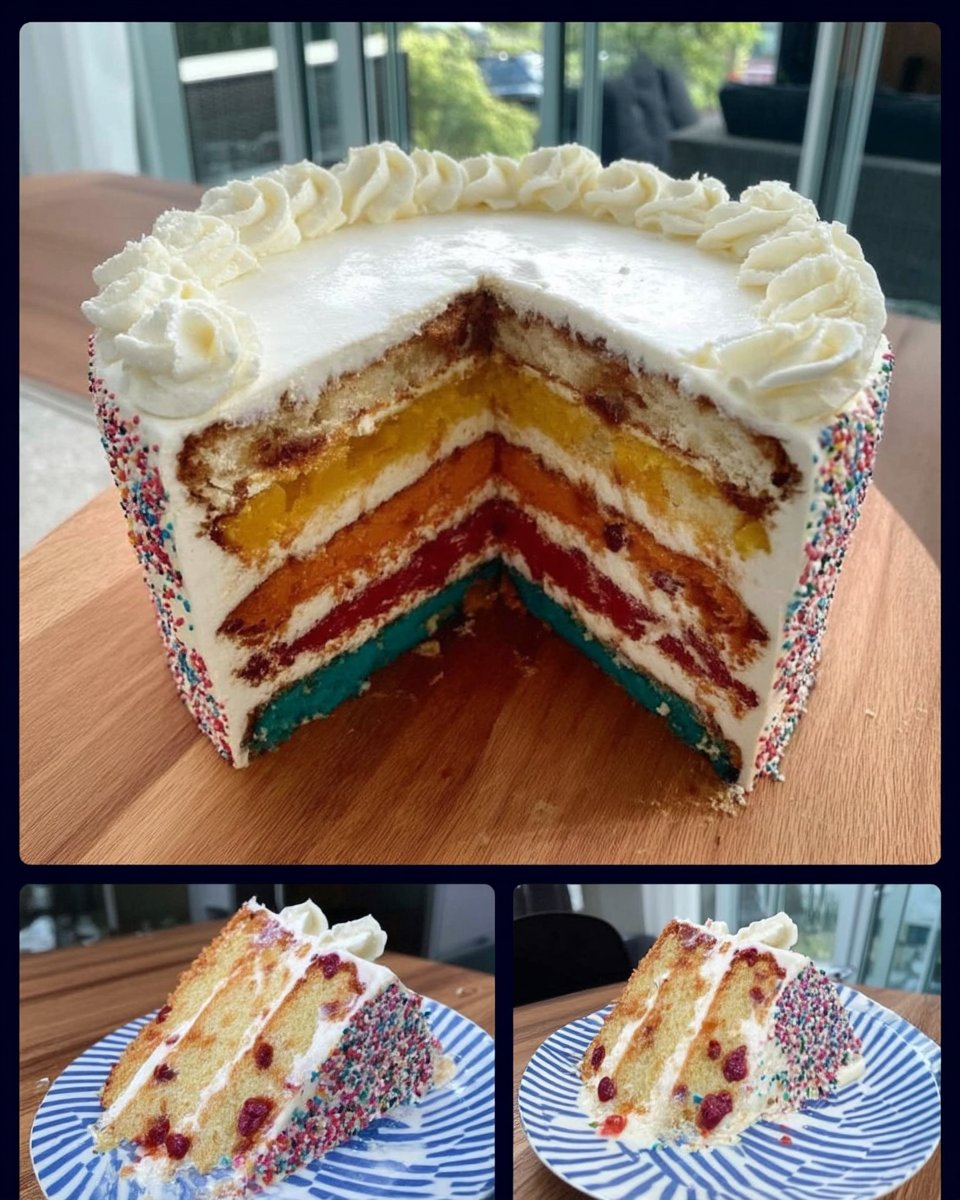
- Marble Effect: To create a visual ribbon effect, remove one cup of batter and fold in 1/4 cup of cocoa powder. Swirl this into the pan for a marbled look similar to a lemon rainbow cake but with chocolate tones.
Presentation and Textural Balance

This cake has a high fat content, which pairs beautifully with acidic or fresh elements. Slice it cleanly with a serrated knife to preserve the crumb.
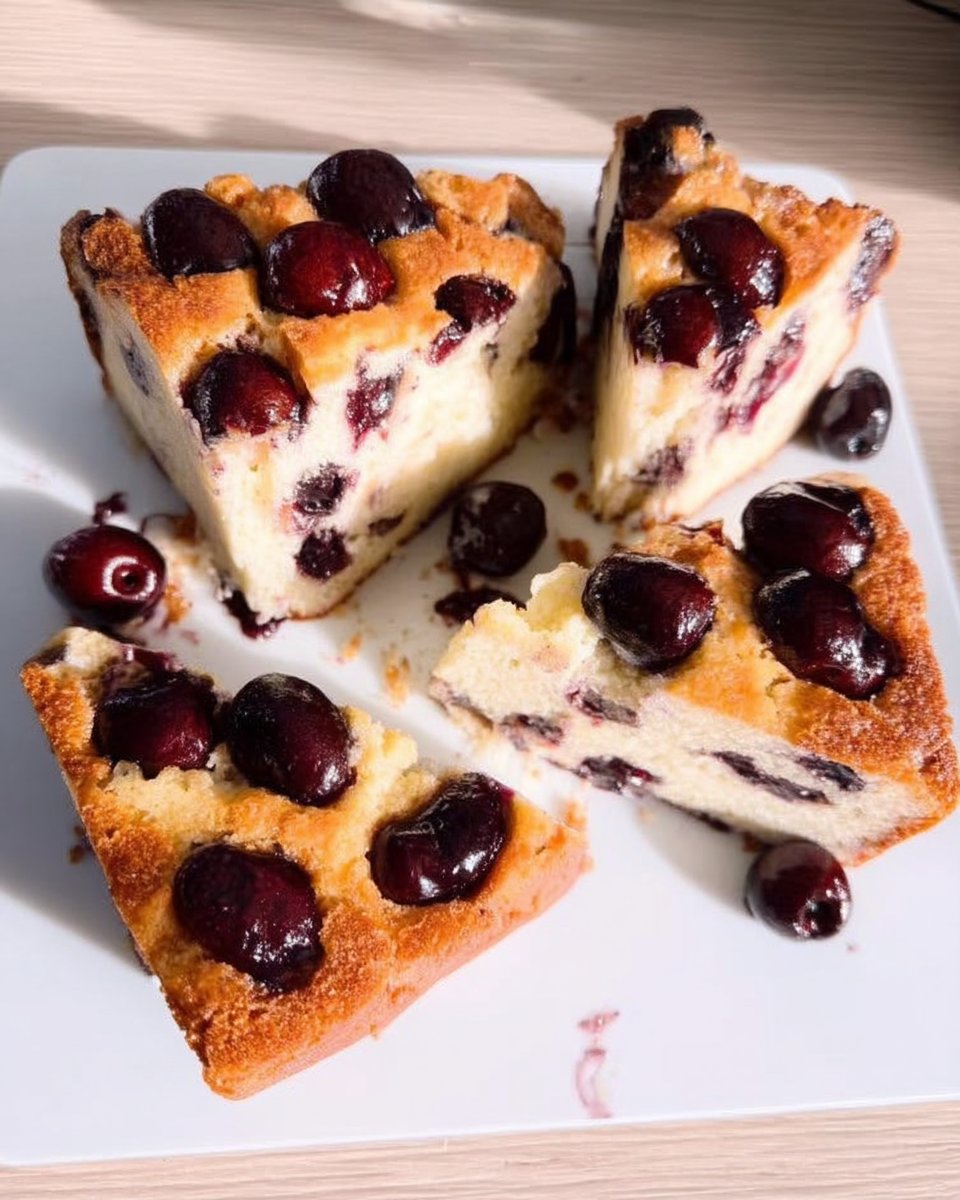
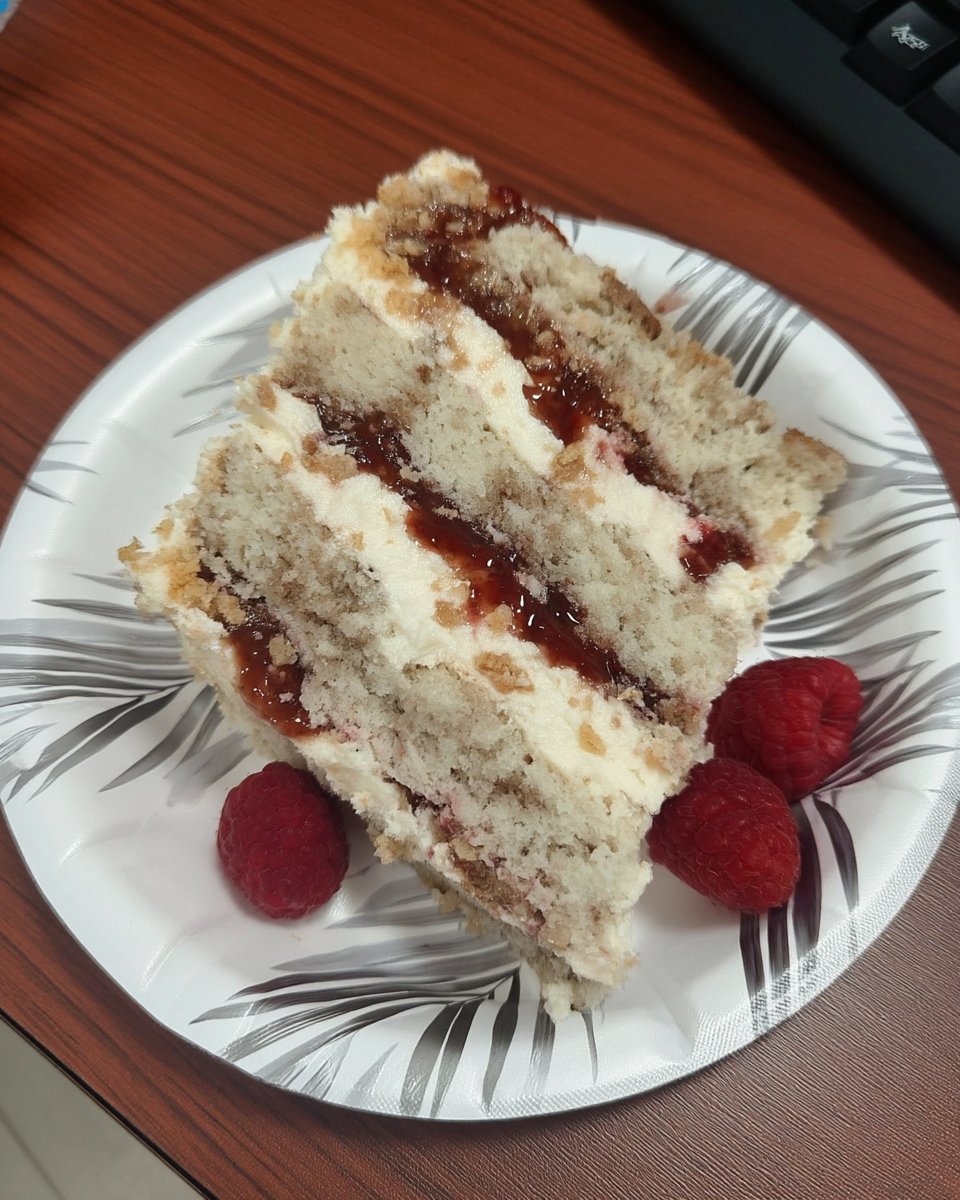
- Macerated Berries: The dense texture holds up well against the juices of strawberries or raspberries.
- Soft Cream: A dollop of lightly sweetened Chantilly cream mirrors the heavy cream inside the cake.
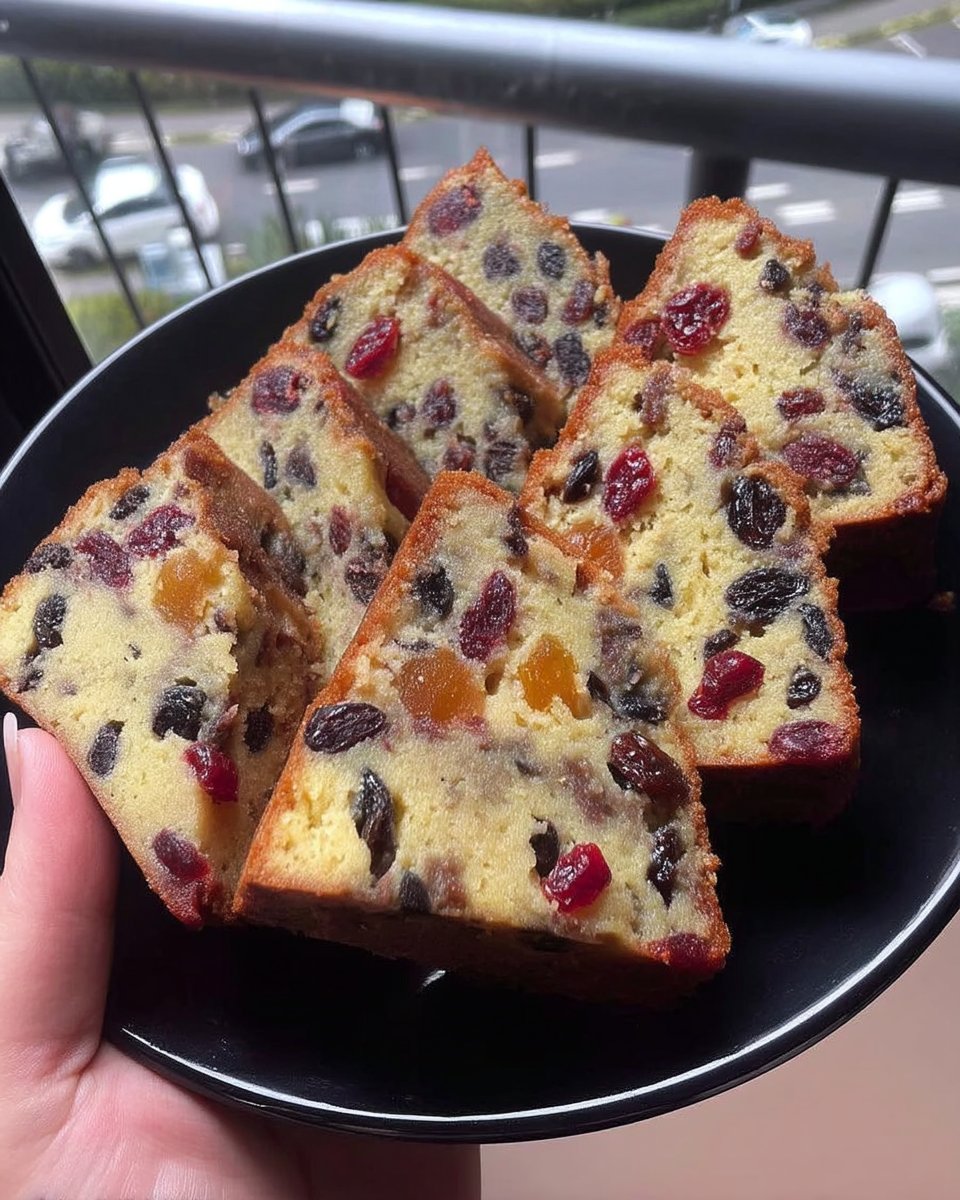
- Dried Fruit Compote: For a winter variation, serve with a warm compote of dried fruits, similar to the flavors found in a traditional fruit cake.
The Technical Truth
Mastering this Ribbon Cake is about understanding the power of emulsification. When you respect the temperature of your ingredients and the timing of the mix, you achieve a result that is technically sound and texturally sublime. It is a testament to the fact that simple ingredients, treated with respect, yield the most sophisticated results. For a lighter, berry-forward challenge next time, consider attempting our raspberry white chocolate cake.
Share your structural triumphs with us on Facebook, Pinterest, or Instagram.
