In my early days training in London pastry kitchens, I learned quickly that baking is not merely cooking; it is chemistry. The difference between a tough, rubbery sponge and a tender, velvet crumb is often just thirty seconds of mixing or a few degrees of temperature. This recipe represents the pinnacle of that technical discipline—a vanilla cake that balances structural integrity with an impossibly tender mouthfeel.

We utilize the reverse creaming method here, coating the flour proteins in fat before introducing liquid to limit gluten development. Combined with a precise blend of butter for flavor and oil for lasting moisture, this technique yields a cake that stays soft for days and stacks beautifully without compromising its delicate texture.
The Science of Structure and Melt
This recipe is a favorite among technical bakers because it solves the age-old dilemma: how to get a cake moist enough to melt in your mouth but sturdy enough to stack. By using the reverse creaming method, we inhibit gluten formation, creating a plush, velvety crumb that traditional creaming simply cannot achieve.
Furthermore, the dual-fat system is a revelation. Butter provides that classic, dairy-rich flavor profile we crave, while oil remains liquid at room temperature, granting the sensation of extreme moisture. It is a precise calibration of ingredients that results in a professional-grade finish every time.
Print
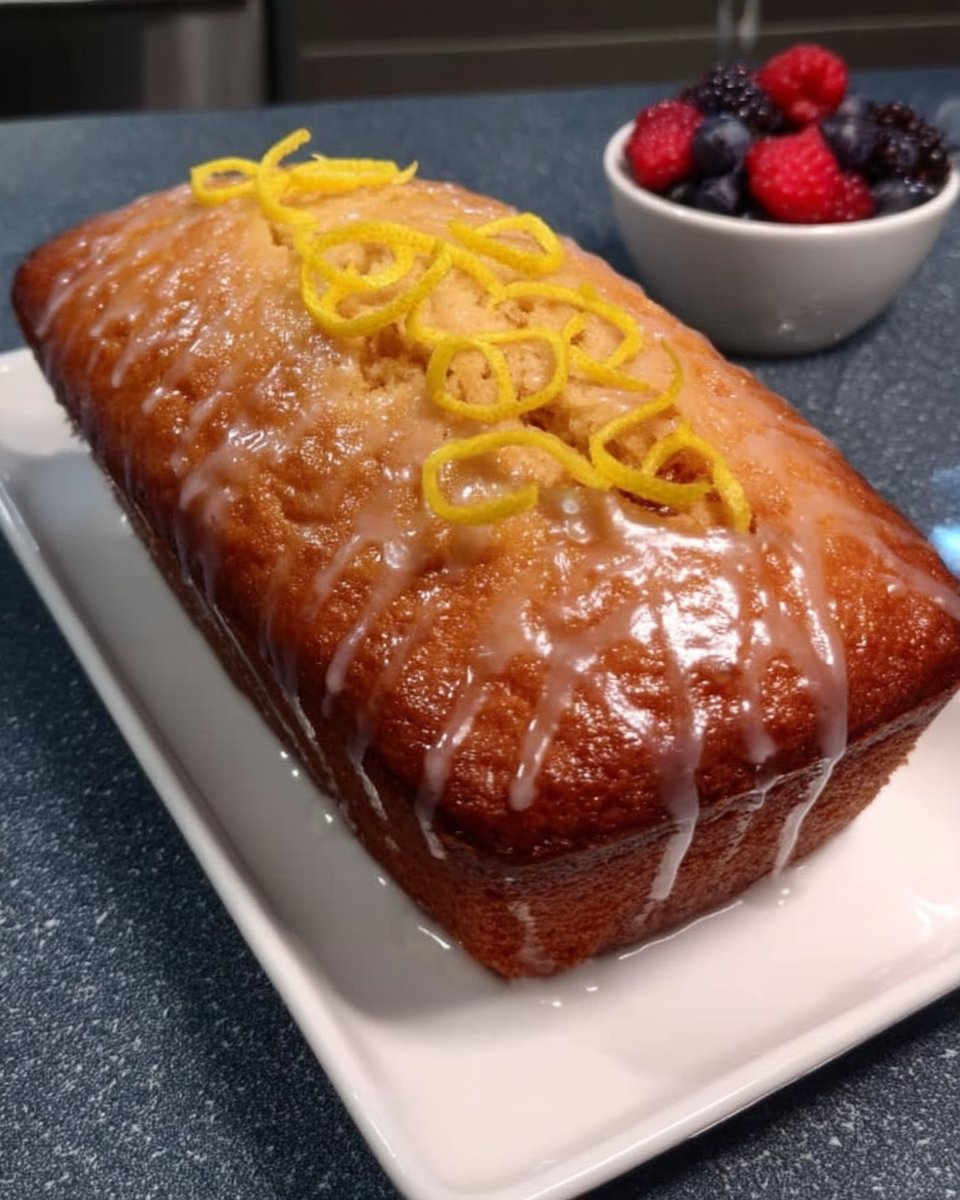
Vanilla Cake
- Total Time: 1 hour
- Yield: 12 servings
- Diet: Vegetarian
Description
This professional-grade vanilla cake utilizes the scientific reverse creaming method to produce an exceptionally tender, velvet-like crumb. By combining high-quality butter for flavor and neutral oil for lasting moisture, this recipe results in a structurally sound sponge perfect for tiered cakes or elegant celebrations.
Ingredients
- Cake flour (7-8% protein)
- Granulated sugar
- Baking powder
- Baking soda
- Fine sea salt
- Unsalted butter (softened to 65°F–68°F)
- Whole milk (divided into two portions)
- Canola oil
- Pasteurized egg whites
- High-quality vanilla extract or bean paste
- Powdered sugar
Instructions
- Preheat your oven to 335ºF (168ºC) and prepare three 8-inch by 2-inch cake pans with pan release.
- Combine cake flour, sugar, baking powder, baking soda, and salt in a stand mixer on low speed, then slowly add softened butter chunks until the mixture resembles coarse sand.
- Add the milk and oil mixture and beat on medium speed for exactly 2 minutes to develop the necessary cake structure.
- Scrape the bowl thoroughly and slowly incorporate the remaining milk, vanilla, and egg mixture on low speed until just combined.
- Divide the batter evenly between pans and bake for 30 minutes until the center springs back or a toothpick comes out clean.
- Cool in pans for 10 minutes before inverting onto wire racks.
- For the buttercream, whip egg whites and powdered sugar on high for 5 minutes, then gradually whip in softened butter until a glossy emulsion forms.
- Finish the buttercream by mixing with a paddle attachment on low for 15 minutes to eliminate air bubbles for a smooth finish.
Notes
For the most successful result, ensure all your refrigerated ingredients like milk and eggs are brought to room temperature before mixing to maintain a stable emulsion. If your buttercream appears to separate while adding the butter, do not worry; simply continue whipping at high speed and the friction will eventually bring the frosting together into a silky consistency.
- Prep Time: 30 mins
- Cook Time: 30 mins
- Category: Dessert
- Method: Reverse Creaming
- Cuisine: British
Precision in the Pantry

To achieve this specific texture, your ingredients must be weighed. Volume measurements are simply too inconsistent for this level of pastry work.
- Cake Flour: You must use cake flour (approx. 7-8% protein). Its lower protein content ensures a tender crumb. All-purpose flour will result in a tougher structure.
- Unsalted Butter: Softened to precisely 65°F–68°F (18°C–20°C). If it is too warm, the emulsion will break; too cold, and it won’t incorporate into the ‘coarse sand’ stage properly.
- Canola Oil: This neutral oil coats the flour particles and provides the sensation of moisture on the palate.
- Pasteurized Egg Whites: For the buttercream, these provide protein structure without the need to heat a sugar syrup, creating a stable, silky emulsion.
- Vanilla: Use a high-quality extract or bean paste. As the primary flavor carrier, it should be robust.
The Reverse Creaming Method
Step 1: Calibration and Prep
Preheat your oven to 335ºF (168ºC). This slightly lower temperature promotes an even rise without doming. Prepare three 8-inch by 2-inch cake pans with pan release. Weigh your milk into two separate portions as indicated in the ingredients.
Step 2: The Dry Incorporation
Place the cake flour, granulated sugar, baking powder, baking soda, and salt into the bowl of a stand mixer fitted with the paddle attachment. Turn to the lowest speed. Slowly add chunks of softened butter. Continue mixing until the butter is fully dispersed and the mixture resembles coarse, damp sand. This step coats the flour proteins in fat, a crucial barrier against toughness.
Step 3: Structural Development
Add the milk and oil mixture to the dry ingredients all at once. Mix on medium speed (Speed 4 on a KitchenAid) for exactly 2 minutes. Set a timer. This is not arbitrary; this specific time builds the necessary structure to hold the cake’s shape without overworking the gluten.
Step 4: Aeration and Emulsification
Scrape the bowl down thoroughly—sides and bottom. If you skip this, you will find unmixed flour pockets later. With the mixer on low, slowly pour in the milk, vanilla, and egg mixture. Stop halfway to scrape again. Mix until just combined; the batter should be homogenous and thick.
Step 5: The Bake
Divide the batter evenly between the prepared pans (weigh them for precision). Bake for 30 minutes. Test for doneness: a toothpick should come out clean, and the center should spring back immediately when gently pressed. If it stays depressed, the protein structure hasn’t set. Cool in pans for 10 minutes before inverting onto racks.
Step 6: The Emulsified Buttercream
Whip the egg whites and powdered sugar on high for 5 minutes. Add salt and vanilla. Begin adding softened butter in chunks while whipping. The mixture may look curdled—keep whipping. This is the emulsion forming. Continue on high for 8–10 minutes until the buttercream is glossy, white, and voluminous. Switch to the paddle attachment and mix on low for 15 minutes to remove air bubbles for a perfectly smooth finish.
Secrets for Structural Integrity

- Temperature is King: Your butter, eggs, and milk must be at room temperature (around 70°F/21°C). Cold ingredients will shock the batter and cause the emulsion to break, leading to a greasy or heavy cake.
- The Power of the Scale: I cannot stress this enough: accurate baking requires mass, not volume. A cup of flour can vary by 20% depending on how it’s scooped. For results like the ones in our velvet crumb collection, please use a digital scale.
- Don’t Fear the Curdle: When making the frosting, the addition of butter often makes the mixture look separated. This is normal physics. Keep whipping; the friction and mechanical action will force the water and fat to emulsify into a smooth cream.
Technical Adaptations
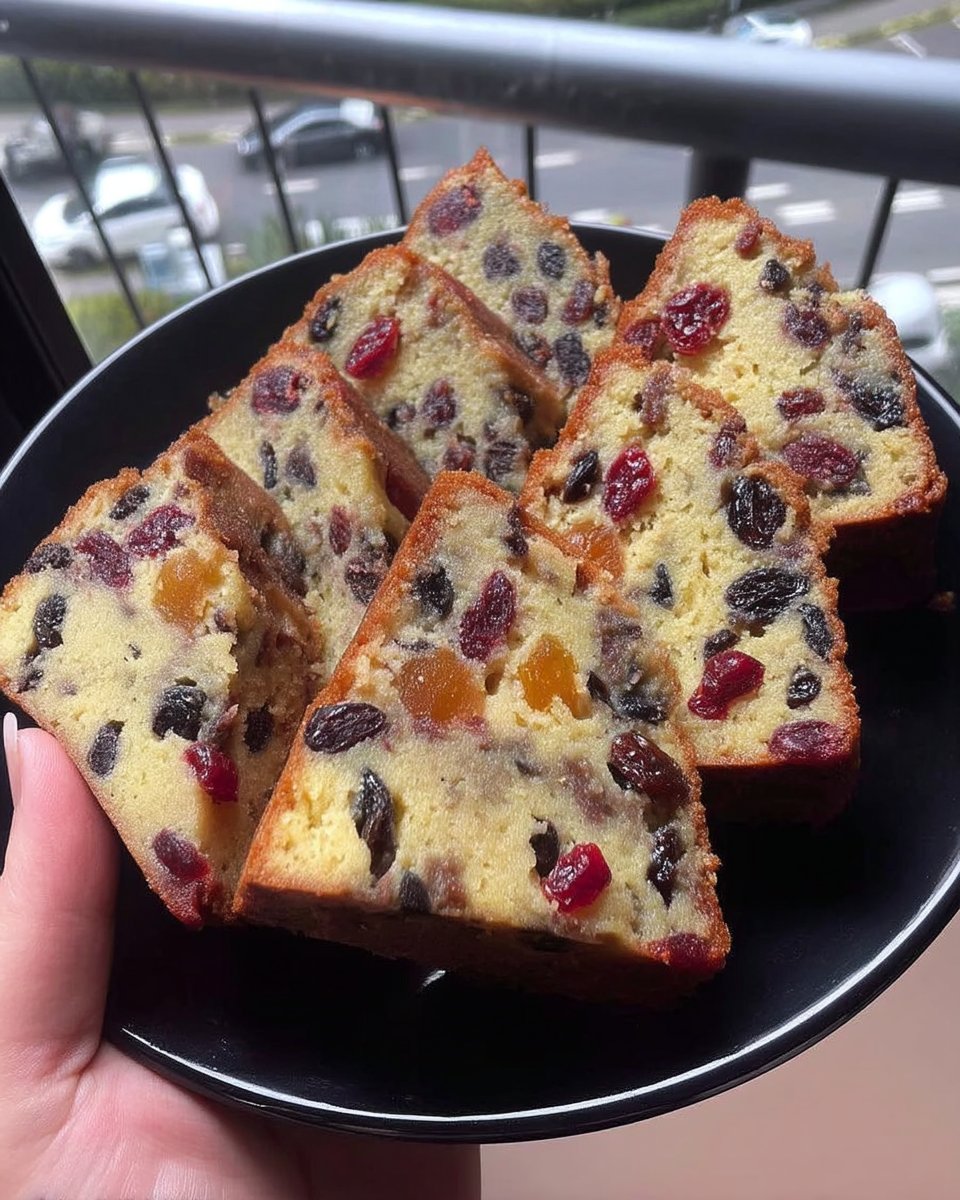
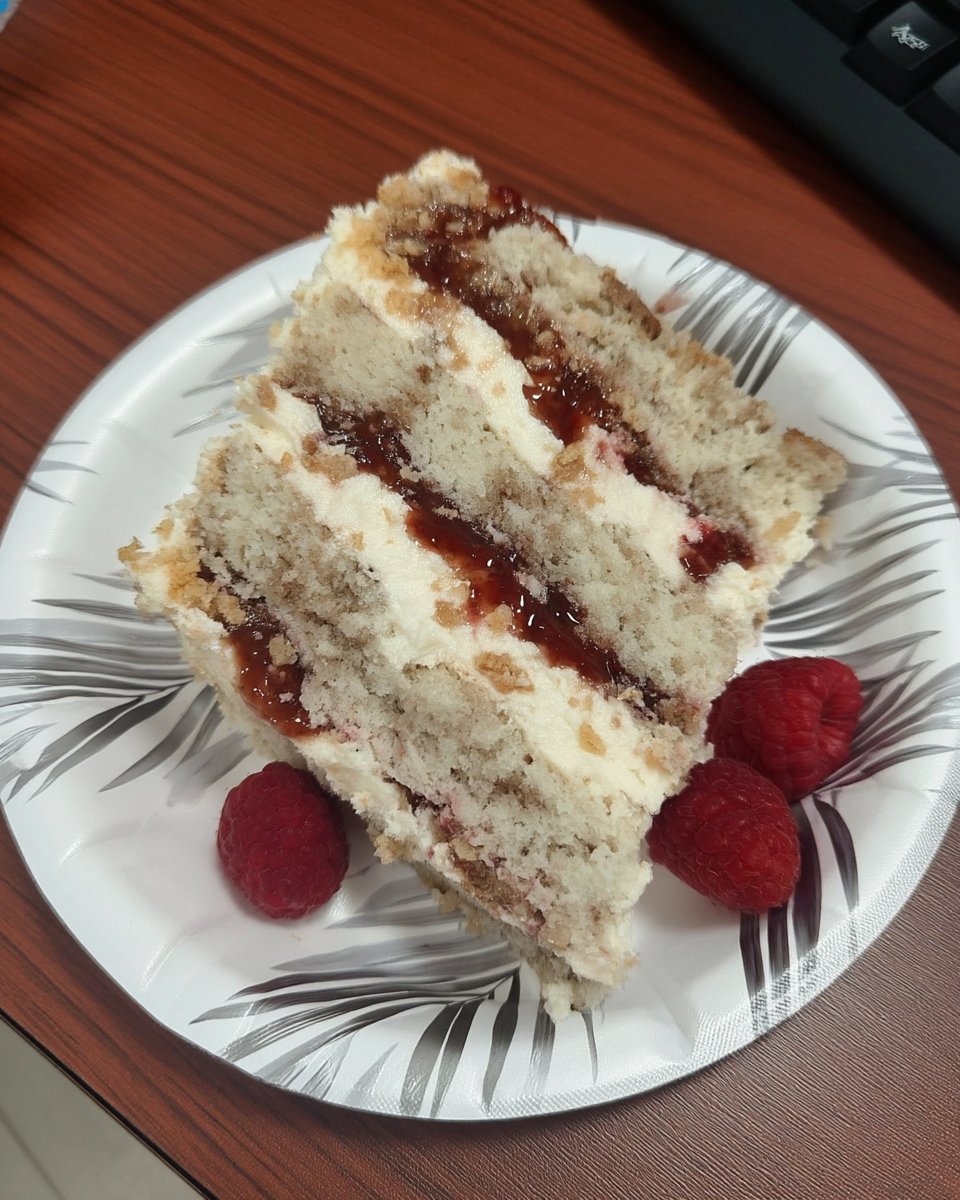
- Berry Infusion: To add fruit without compromising the liquid ratio, fold in freeze-dried fruit powder with the dry ingredients. Fresh fruit releases too much water during the bake, which can lead to soggy pockets. See our raspberry white chocolate cake for a detailed example of fruit integration.
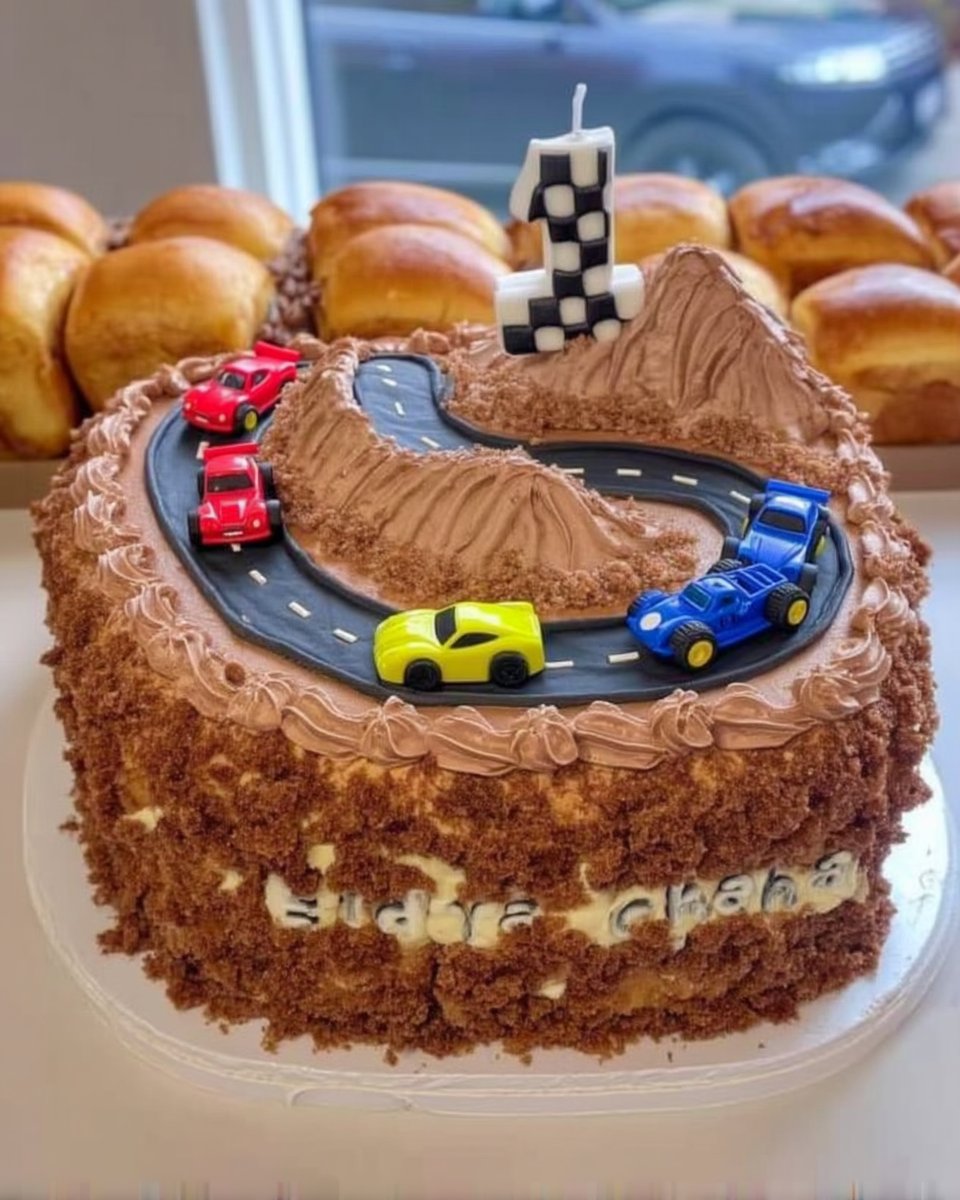
- Wedding Tiers: This recipe is structurally sound enough for tiered cakes. If scaling up for larger tiers (10-inch or 12-inch), lower the oven temperature by 10 degrees and extend the baking time to ensure the center sets before the edges dry out.
Presentation and Palate

For the best textural experience, serve this cake at room temperature. Butter-based cakes solidify in the fridge, resulting in a firm, waxy mouthfeel. allowing the cake to sit at 72°F (22°C) for several hours allows the butter in the crumb and frosting to soften, unlocking the full flavor profile.
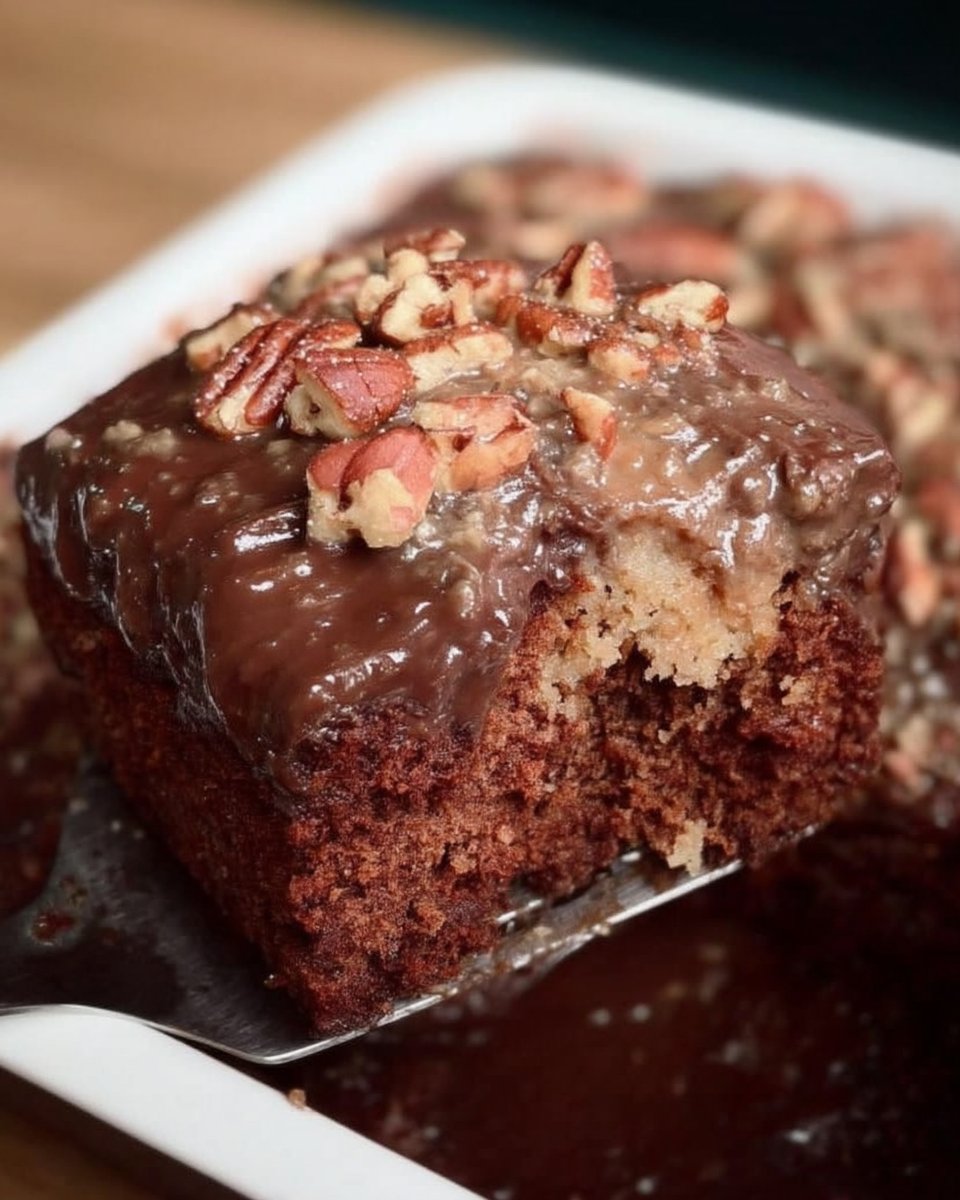
If you are looking for a darker, richer contrast for a dessert table, this pairs excellently alongside our old fashioned chocolate cake. The visual contrast between the stark white vanilla and deep cocoa is stunning.
Mastering the Crumb
Achieving the perfect vanilla cake is less about secret ingredients and more about respecting the physics of baking. By weighing your ingredients and adhering to the mixing times, you guarantee a result that is technically flawless. This is the standard of British pastry precision brought to your home kitchen.
For more technical deep dives into baking science, browse our full recipe index. And for those interested in comparing technical methods, I highly recommend reviewing the work at Sugar Geek Show, whose approach to structure mirrors many of the principles we value here.
Share your structural triumphs with us on social media:
