During my early training in London, the first time I witnessed the application of a velvet finish, I mistook the cake for actual fabric. It wasn’t magic, but rather a masterclass in thermal shock—hot cocoa butter atomized against a frozen surface to create instant, microscopic crystallization. This technique is the hallmark of modern patisserie, offering a visual softness that belies the delicate, crisp snap it adds to the eating experience.

This recipe demystifies the process of creating that professional ‘velour’ effect at home. We are engineering a fluid mixture of couverture chocolate and cocoa butter that, when sprayed, forms a thin, protective shell. It provides a crucial textural contrast to the soft mousse interior, balancing the mouthfeel between creamy and crisp.
Visual Drama Meets Textural Snap
While the velvet finish is visually stunning, giving your entremets a sophisticated, matte appearance, its role is equally functional. That micro-thin layer of crystallized cocoa butter seals the moisture inside the mousse, preserving the structural integrity of your dessert.
From a sensory perspective, the ‘velvet’ creates a fleeting moment of resistance—a delicate crunch—before melting on the tongue. It turns a simple mousse cake into a complex textural experience, proving that precision in finishing is just as important as the bake itself.
Print
Velvet Spray Cake
- Total Time: 6 hours 30 mins
- Yield: 1 cake
- Diet: Gluten-Free
Description
Elevate your pastry skills by mastering the art of the chocolate velour finish, a technique that creates a stunning matte texture through thermal shock. This method provides a delicate, crisp shell that beautifully encases smooth mousse cakes for a professional patisserie appearance.
Ingredients
- 100g Cocoa butter
- 100g Couverture chocolate (white, milk, or dark)
- Fat-soluble food coloring (powder or oil-based)
- 1 Frozen mousse cake or entremet (frozen to -18°C / 0°F)
Instructions
- Melt the cocoa butter and couverture chocolate together in a double boiler or microwave in short bursts.
- Add the fat-soluble food coloring and blend the mixture with an immersion blender to ensure a stable emulsion and uniform color.
- Verify that the mixture is exactly 42°C (107.6°F) and strain it through a fine sieve into the reservoir of your spray gun.
- Set up a protected spray station using a large cardboard box or an empty dishwasher to manage the cocoa butter mist.
- Remove the cake from the freezer, unmold it, and place it on a turntable inside your spray station.
- Spray the cake from a distance of 30cm (12 inches) using steady, sweeping motions while rotating the turntable until an even matte coating is achieved.
- Transfer the finished cake to a serving dish and allow it to thaw in the refrigerator for at least 6 hours before serving.
Notes
To ensure a flawless finish, avoid touching the cake surface after spraying, as the heat from your hands will immediately melt the microscopic cocoa butter crystals. For the cleanest slices, use a thin-bladed knife dipped in hot water and wiped dry between every cut to prevent the velvet shell from cracking.
- Prep Time: 20 mins
- Cook Time: 10 mins
- Category: Dessert
- Method: Atomization
- Cuisine: French
The Trinity of Structure

To achieve a spray that atomizes correctly without clogging your gun, we rely on specific ratios of fat to solids. Precision here ensures the mixture flows at the correct temperature.
- Cocoa Butter: This is the structural backbone. It must be pure and high-quality. Cocoa butter is what allows the mixture to crystallize instantly upon contact with the frozen cake.
- Couverture Chocolate: Whether using white, dark, or milk, choose a chocolate with high fluidity. For white chocolate velvet, we use a slightly higher ratio of chocolate to cocoa butter compared to dark chocolate.
- Fat-Soluble Food Coloring: This is non-negotiable. Water-based coloring will cause the chocolate to seize and clog your equipment. Powdered lakes or oil-based gels are required for vibrant colors.
- The Canvas (The Cake): Your mousse cake or entremets must be frozen solid (-18°C / 0°F) to ensure the thermal shock occurs immediately.
Mastering the Atomization
Step 1: Prepare the Velvet Mixture
Begin by melting your cocoa butter and chocolate. You can do this in a double boiler or a microwave in short bursts. If you are using white chocolate and desire a specific color, add your fat-soluble coloring now. Combine the two melted fats and blend with an immersion blender (like a Bamix) to emulsify the mixture completely. This ensures a uniform color and prevents separation in the spray gun reservoir.
Step 2: Temperature and Equipment Check
This is the critical control point. The mixture must be used at 42°C (107.6°F). If it is too cool, it will clog the nozzle; too hot, and it will slide off the cake rather than crystallizing. Strain the mixture through a fine sieve directly into your spray gun reservoir to catch any unmelted particles.
Step 3: Create the Spray Station
Velvet spraying is notoriously messy. Cocoa butter travels in the air and settles on everything as a fine dust. I recommend placing your cake turntable inside a large cardboard box or, for easier cleanup, inside an empty dishwasher. If using the dishwasher method, you can simply run a hot cycle afterward to clean it.
Step 4: The Application
Remove your mousse cake from the freezer and unmold it immediately. Place it on the turntable. Test the spray on a piece of parchment first to ensure a fine mist. Hold the gun about 30 cm (12 inches) away from the cake. Spray in continuous, sweeping motions—left to right, right to left—while rotating the turntable with your other hand. Aim for a thin, even coating; too thick, and the shell will crack unpleasantly.
Step 5: Defrosting and Serving
Once coated, transfer the cake to a serving dish. The velvet sets instantly, but the cake inside is still frozen. Allow it to thaw in the refrigerator for at least 6 hours. This slow defrosting preserves the texture of the mousse and prevents condensation from ruining the matte finish.
Precision in Temperature

Success with velvet spray relies entirely on the temperature differential. The mixture must be warm (40°C–45°C) and the cake must be freezing cold. If your cake has been out of the freezer for even 10 minutes, the surface may be too soft, and the cocoa butter won’t bead up correctly to create that fuzzy texture.
For those interested in the deeper science of chocolate tempering and crystallization, our cocoa dream lab offers extensive resources on how fat structures behavior under thermal stress. Also, always clean your spray gun immediately after use; once the cocoa butter hardens in the nozzle, it is incredibly difficult to remove without damaging the equipment.
Shades and Flavors
While the technique remains constant, the ingredients can be adjusted for flavor and visual impact.
- Dark Chocolate Velvet: Use a 50/50 or 60/40 ratio of dark chocolate to cocoa butter. This adds a bitter, crisp shell that pairs wonderfully with sweet fillings like vanilla or caramel.
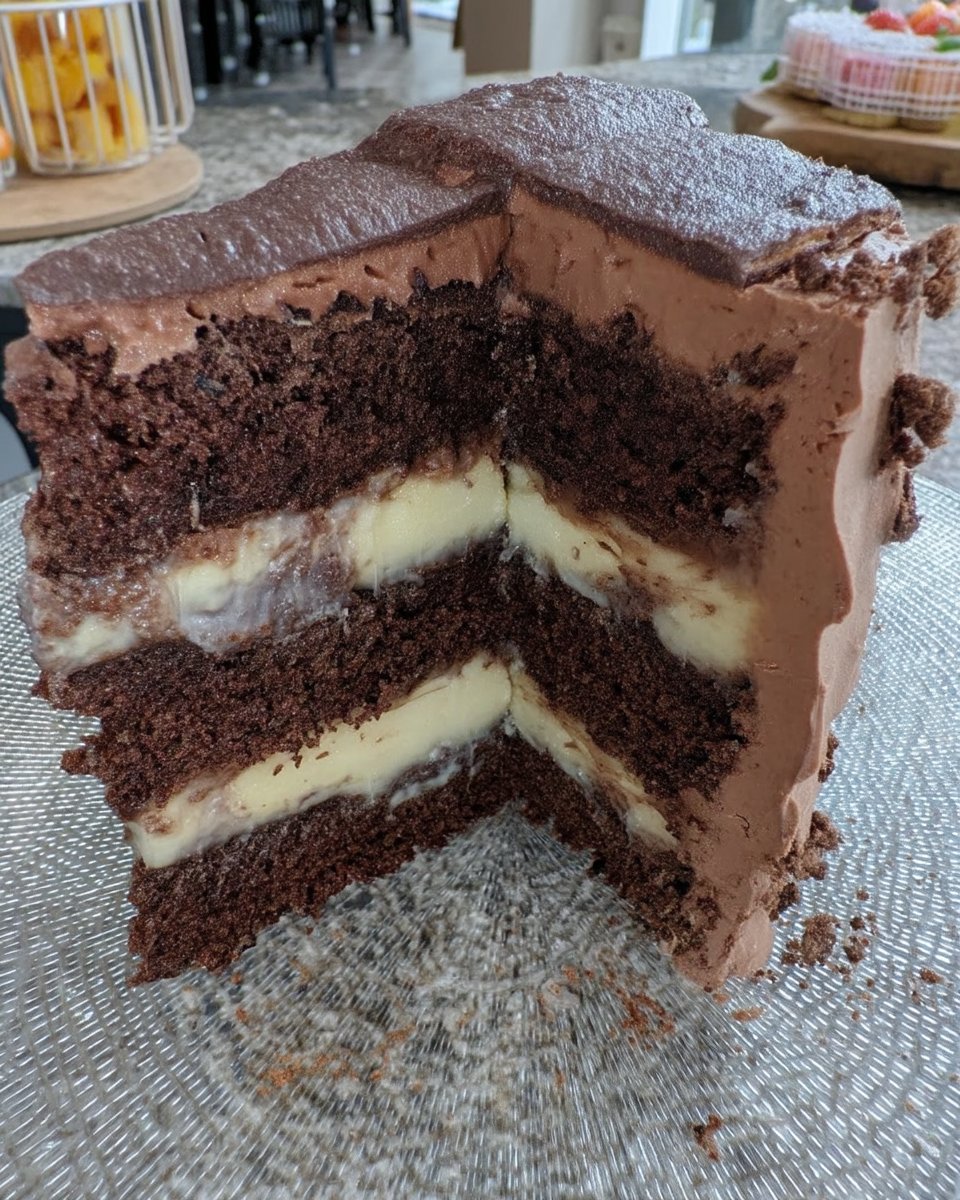
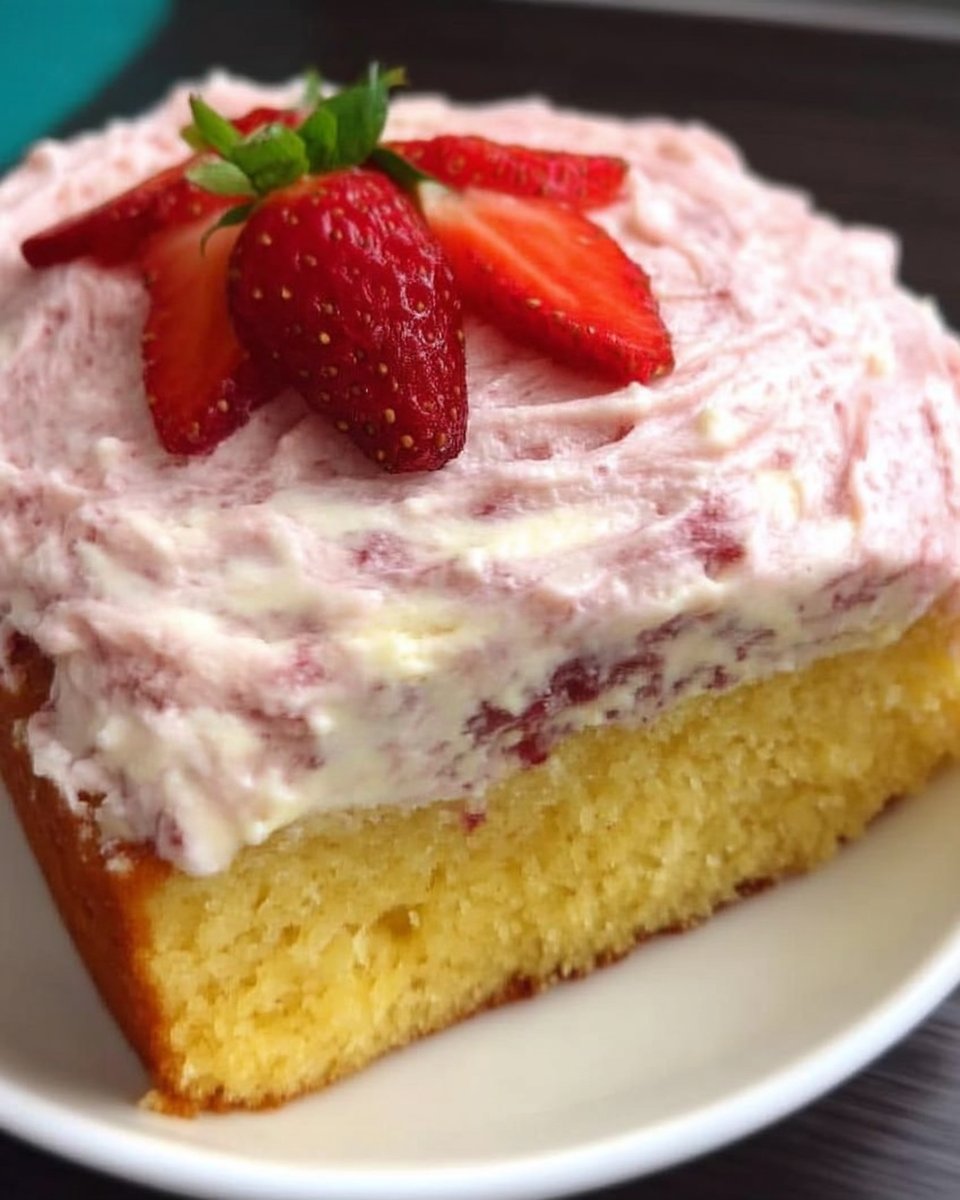
- White Chocolate Base: This is the standard for colored cakes. The neutral base allows for vivid reds or pastels. It pairs exceptionally well with a tart interior, such as our raspberry white chocolate cake, where the crisp shell balances the soft fruit mousse.
- Dulcey or Caramel: Use caramelized white chocolate for a warm, biscuit-colored finish that tastes of toasted sugar.
Preserving the Finish

When serving a velvet-sprayed cake, the cut is everything. Use a hot, dry knife to slice through the crisp shell without shattering it. Wipe the blade between every single cut to keep the layers distinct and the velvet edge sharp.
Serve this cake slightly chilled, but not cold, to allow the flavors of the mousse to release. The texture of the velvet shell stands out best against a creamy interior, similar to the contrast found in our velvet crumb collection. Avoid touching the surface of the cake, as the heat from your fingers will melt the delicate crystals instantly, leaving fingerprints on your matte masterpiece.
The Final Polish
Mastering the velvet spray technique is a significant milestone for any home pastry chef. It demonstrates a control over temperature and structure that moves you beyond simple baking into the realm of patisserie art. The result is a dessert that looks tailored and tastes texturally complete, much like a perfectly glazed old fashioned chocolate cake.
For further technical reading on glazing ratios, I often refer to professional resources like this glazing guide which breaks down alternative chocolate percentages. Remember, the beauty of this finish lies in its precision—respect the temperatures, and the physics will do the rest.
If you attempt this finish, I’d love to see your results. Tag us on Instagram or Pinterest to share your structural triumphs.
