The air fills with a heavy, golden scent as the warm peach syrup meets the buttered batter, signaling that the most patient part of the baking process is finally beginning.

This Peach Cobbler with Canned Peaches is a study in textures, where the syrup from the fruit melds with the batter to create a base that is tender and melting. It reminds me of the desserts from my childhood, where the cake doesn’t just sit on the plate but hums with the moisture of its own sweet soak. Achieving that specific mouthfeel requires no complicated machinery, only the simple harmony of a well-timed pour and the willingness to let it rest. When the fork glides through, the bottom of the pan should be glossed with a syrup that is sweet, never cloying.
The Heart of the Soak for Peach Cobbler with Canned Peaches
Prep: 10 min · Serves: 6 · Difficulty: Easy
- Tender crumb that melts upon the tongue
- Glossy fruit syrup creating a moist base
- Golden crust with a subtle buttery crunch
- Pantry staples transformed into a warm luxury
- Reliable results for the patient home baker
This method mirrors the peach dump cake in its ease while delivering the specific soaked texture of a traditional Mediterranean tray cake. Let it soak and melt into something truly memorable.
Get The Full Cake Recipe
Print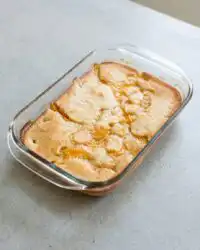
Peach Cobbler with Canned Peaches
- Total Time: 55 mins
- Yield: 6 servings
- Diet: Vegetarian
Description
This easy peach cobbler creates a tender, moist cake base that perfectly absorbs the sweet, fragrant syrup of canned peaches. It is a comforting, rustic dessert that delivers a beautiful golden crust and a melt-in-your-mouth interior with minimal effort.
Ingredients
- 1 can (29 oz) sliced peaches in syrup
- 1 cup all-purpose flour
- 1 cup granulated sugar
- 1 tablespoon baking powder
- 1/2 teaspoon fine salt
- 1 cup whole milk
- 1/2 cup (1 stick) unsalted butter
Instructions
- Preheat the oven. Set your oven to 350°F (175°C) and allow it to fully saturate with heat.
- Melt the butter. Place the butter into a 9×13 baking dish and melt it in the oven until liquid, but not browned.
- Whisk the batter. In a large bowl, whisk together the flour, sugar, baking powder, and salt, then stir in the milk until smooth.
- Pour the batter. Pour the batter directly into the center of the melted butter in the baking dish without stirring.
- Arrange the peaches. Gently distribute the peach slices over the batter and pour a small amount of the reserved syrup over the top.
- Bake the cobbler. Bake for 45 minutes until the batter rises through the peaches and the top turns a deep, burnished gold.
- Rest before serving. Let the cobbler cool on a wire rack for 15 to 20 minutes to allow the syrups to thicken and settle.
Notes
- Use room temperature milk to ensure the butter stays liquid when combined with the batter.
- Avoid over-mixing the batter to keep the crumb tender rather than tough or chewy.
- Do not stir the batter after pouring it into the butter to maintain the correct layered texture.
- Check that your baking powder is fresh to guarantee the cake has enough lift to rise through the fruit.
- Prep Time: 10 mins
- Cook Time: 45 mins
- Category: Dessert
- Method: Baking
- Cuisine: American
Pantry & Syrup
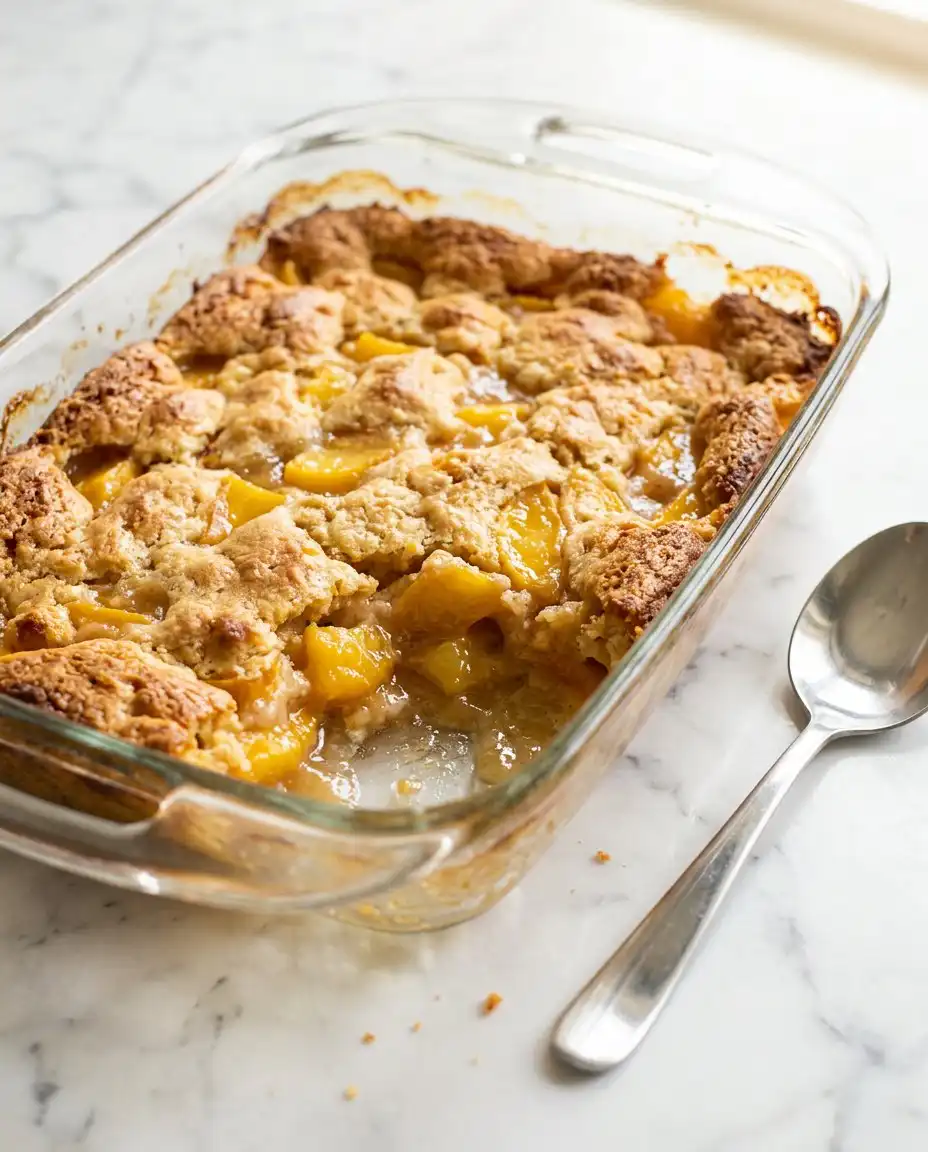
The foundation of this dessert relies on the interaction between cold milk and the rich weight of melted butter. Using fruit preserved in its own juices allows us to control the moisture levels while providing a consistent, honeyed flavor regardless of the season. These humble elements work together to create a crumb that is soft, heavy with syrup, and deeply comforting.
- Sliced Peaches: Use the syrup from the can to provide the essential soak that keeps the fruit tender and the cake moist.
- All-Purpose Flour: This provides the necessary structure to hold the fruit without becoming heavy or dense.
- Unsalted Butter: High-quality butter creates a glossy finish at the bottom of the pan and a rich, savory contrast to the sugar.
- Whole Milk: The fat content in whole milk is vital for a crumb that feels velvety rather than dry or crumbly.
- Granulated Sugar: Beyond sweetness, sugar helps the edges caramelize into a delicate, thin crust that shatters softly.
- Baking Powder: This is the lift that allows the batter to rise through the fruit, creating those characteristic islands of cake.
| Ingredient | Why It Matters |
|---|---|
| Sliced Peaches | Provides the jammy texture and the fragrant syrup for the soak. |
| Melted Butter | Creates a savory, glossy barrier that prevents sticking and adds richness. |
| Baking Powder | Reacts with the milk to lift the batter through the heavy fruit layers. |
| Granulated Sugar | Caramelizes the edges for a textural contrast against the soft center. |
| Fine Salt | Sharpens the sweetness and balances the floral notes of the peaches. |
Cake, Syrup, Rest
Step 1: Prepare the Heat and the Hearth
Begin by setting your oven to 350°F (175°C), allowing the heat to saturate the chamber fully before you introduce the dish. A properly heated oven makes certain that the butter melts evenly and the baking powder activates the moment the batter touches the pan. This initial warmth is the catalyst for the golden edges we seek, which should look like toasted honey once finished.
Step 2: Melt the Butter Foundation
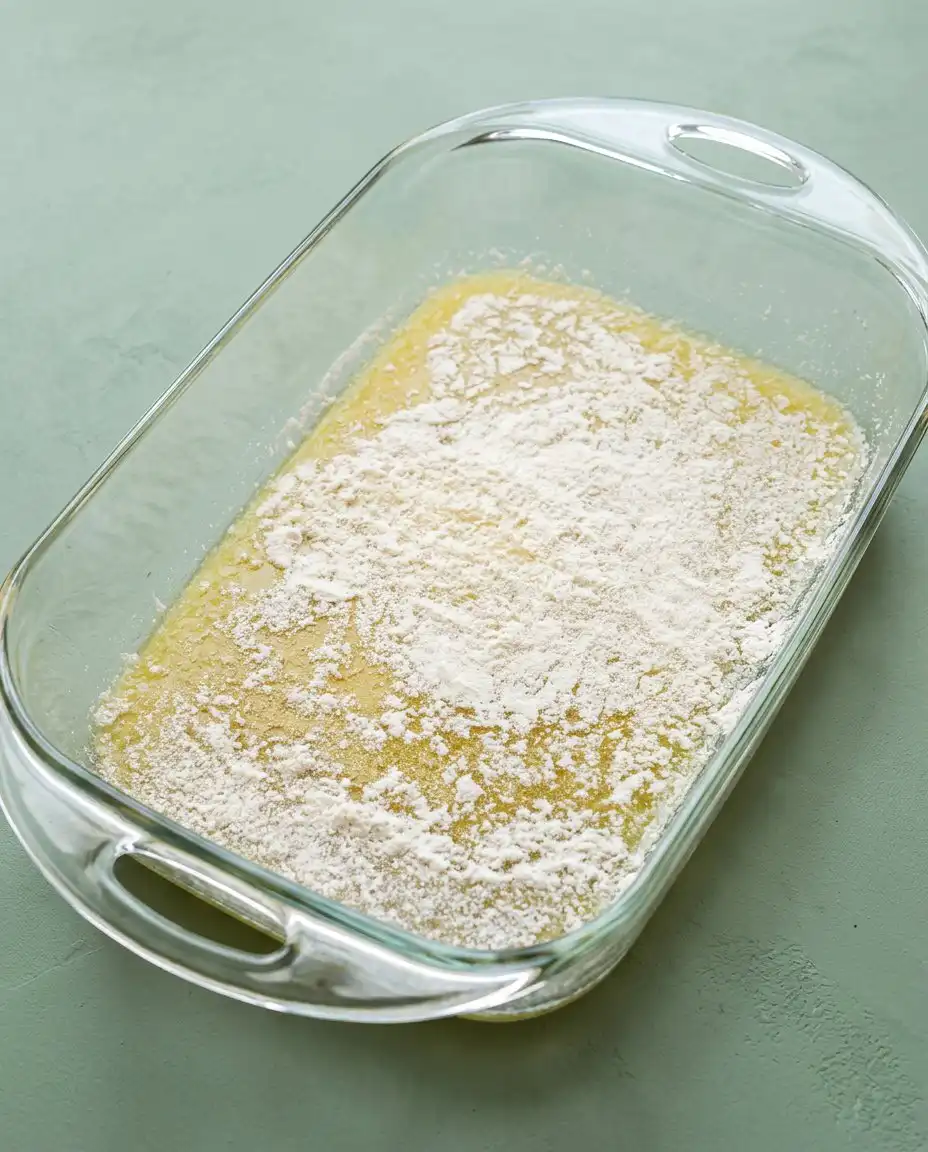
Place the stick of butter, cut into small chunks, into your 9×13 baking dish and set it in the oven. Watch through the glass as the solid fats turn into a liquid, golden pool that sizzles ever so slightly at the edges. Remove the pan once the butter is completely melted but before it begins to brown, as we want a clean, dairy scent rather than a nutty one.
Step 3: Whisk the Tender Batter
In a large bowl, whisk together the flour, sugar, baking powder, and salt until they are indistinguishable from one another. Slowly pour in the milk, stirring with a gentle hand until the mixture is smooth and resembles a thick, heavy cream. Avoid overworking the batter; we want to keep the gluten relaxed so the final texture remains melting and soft rather than tough.
Step 4: The Center Pour
Bring the hot baking dish to your workspace and pour the batter directly into the center of the melted butter. It is vital that you do not stir the mixture at this stage, as the batter needs to sit on top of the fat to develop its unique texture. The white batter will slowly spread toward the corners, pushed by the weight of the golden butter rising around the sides.
Step 5: Arrange Your Peach Cobbler with Canned Peaches
Take the sliced peaches and gently lay them over the surface of the batter, distributing them so every slice of cake will have a piece of fruit. The weight of the peaches will cause the batter to swell and rise around them during the bake, creating a rustic, uneven surface. Pour a small amount of the reserved syrup over the top to make certain the fruit remains glossy and the cake absorbs that extra moisture.
Step 6: The Slow Golden Bake
Slide the pan into the center of the oven and wait for forty-five minutes as the kitchen fills with the scent of warm sugar. The batter will climb through the peaches, turning from a pale cream color to a deep, burnished gold that looks like sun-soaked stone. Verify the center is set by watching for a slight wobble that indicates the interior is moist but no longer raw.
Step 7: The Essential Rest
Once you remove the pan from the oven, the most important phase begins: the waiting. Allow the cobbler to sit on a wire rack for at least fifteen to twenty minutes so the internal syrups can thicken and settle into the crumb. This patience is the secret to a slice that holds its shape while remaining drippingly tender.
Patience-Pays-Off Tips
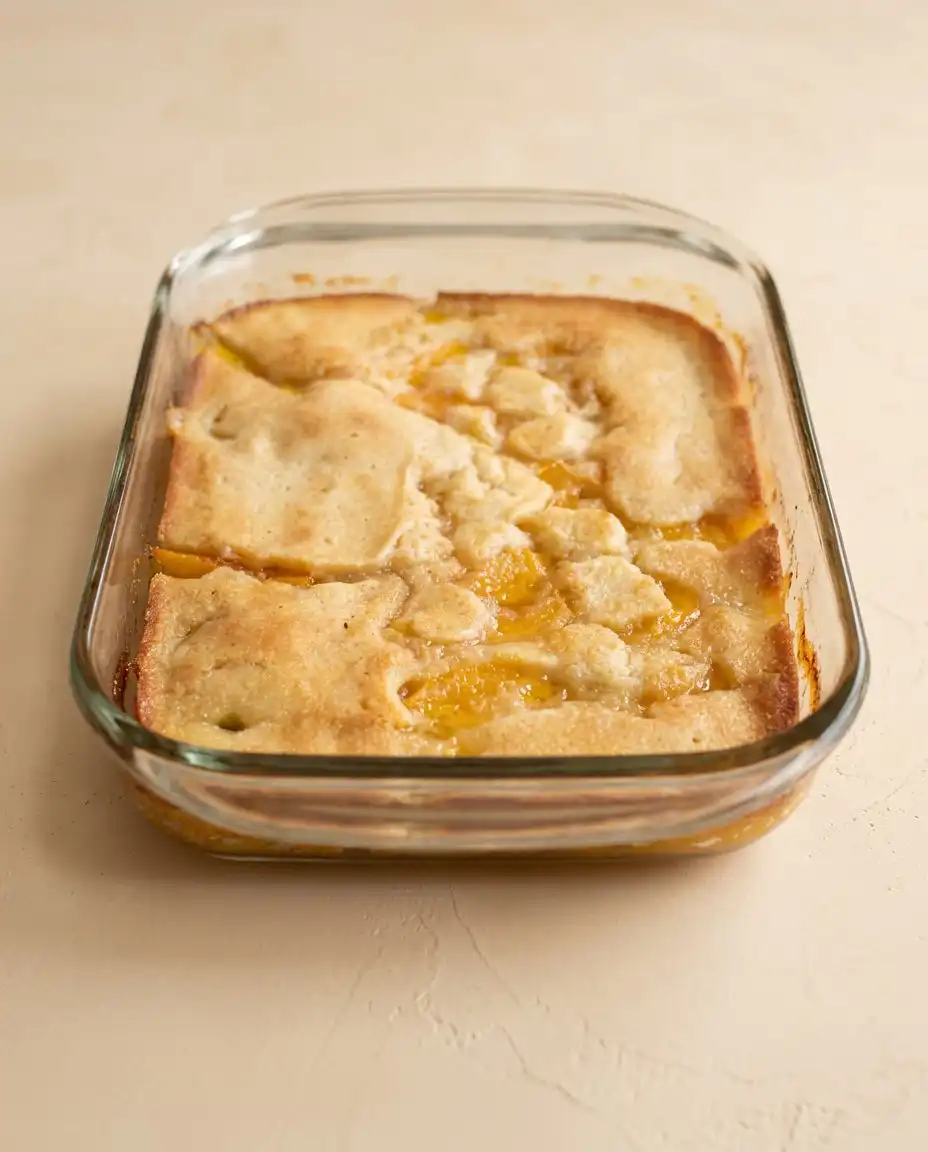
Temperature is the silent partner in this recipe, so always use room temperature milk to prevent the melted butter from seizing when they meet. If the milk is too cold, the butter will form small, solid clumps that prevent the batter from spreading evenly across the pan. This balance of heat allows the batter to remain fluid enough to rise beautifully around the heavy peach slices.
If your cobbler comes out with a gummy or rubbery texture, it is often a sign that the batter was stirred too vigorously after the milk was added. To fix this in future bakes, use a light hand and stop whisking the moment the large lumps disappear, as a few small streaks of flour are better than a tough cake. You can learn more about paula deen peach cobbler techniques to see how different fat ratios affect the final crumb.
For those who prefer a more structured fruit, always drain at least half of the syrup from the can before adding the peaches to the batter. While the syrup is the heart of the soak, too much liquid can overwhelm the flour and lead to a bottom layer that feels soggy rather than syrupy. You might find guidance on how to handle peach fruit helpful for managing the moisture levels in canned ingredients.
Verify that your baking powder is fresh by dropping a small spoonful into warm water to see if it bubbles vigorously. Using expired leavening will result in a flat, dense cake that cannot fight its way through the peaches and the butter. This lift is what creates the contrast between the soft fruit and the airy pockets of golden batter.
Always melt the butter in the actual baking dish rather than a separate bowl to make certain the pan is well-greased and hot. This heat helps the batter start cooking immediately from the bottom up, which is how we achieve those crisp, buttery edges that provide a necessary crunch. The fork should glide through like butter when the temperature and timing are in perfect alignment.
Frequently Asked Questions
Do you drain canned peaches for peach cobbler?
It depends on the specific texture you wish to achieve with your soak. For a very moist and syrupy cake, use about half of the liquid from the can, as this syrup melds with the batter to create a melting mouthfeel. If you prefer a firmer crust and more distinct fruit pieces, draining the peaches entirely is the best course of action.
Do you mix the batter and the peaches?
No, you should never stir the peaches into the batter if you want the traditional layered effect. Placing the peaches gently on top allows the batter to rise around them, creating a rustic surface with islands of cake and pools of fruit. Stirring will make the texture heavy and may prevent the cake from rising properly in the oven.
Can you use canned peaches for a traditional cobbler crust?
Canned peaches are actually ideal for a traditional crust because they are already softened and surrounded by flavor-infused syrup. This allows the fruit to integrate into the cake much faster than fresh fruit, which would require a longer bake time to reach the same level of tenderness. The result is a dessert where the fruit and cake feel like a single, unified bite.
How do you know when peach cobbler is done?
Look for a deep golden brown color on the surface and edges that have pulled away slightly from the sides of the pan. The center should be set but still moist, and if you gently press a finger to a cake portion, it should spring back slowly. If the top is pale, the batter will likely be raw and gummy inside, so give it a few more minutes.
How should I store leftover peach cobbler?
The best way to preserve the moisture is to keep the cobbler in an airtight container in the refrigerator for up to four days. Because of the high sugar and butter content, the cake will stay tender, though it may become slightly more dense as it chills. Always allow it to come to room temperature or warm it slightly before serving to revive the glossy syrup.
Can I make this recipe gluten-free?
Yes, you can substitute the all-purpose flour with a high-quality gluten-free baking blend that includes xanthan gum. The texture may be slightly different, perhaps a bit more fragile, but the peaches and syrup will still provide that essential melting quality. Ensure you do not over-mix, as gluten-free flours can sometimes become gritty if handled too much.
Across the Mediterranean
While this recipe is a classic American staple, you can bring the flavors of my heritage to the table by adding a few drops of orange blossom water to the batter. This floral note bridges the gap between the heavy sweetness of the peaches and the richness of the butter, creating a scent that feels like a late afternoon in a citrus grove. You might also consider the textures found in a traditional peach cake when deciding how much syrup to include.
Introducing a scatter of toasted pistachios or slivered almonds over the top before baking adds a textural contrast that I find essential in any tray dessert. The nuts toast in the oven heat, providing a savory crunch that cuts through the jammy fruit and the soft, melting crumb. For a version that requires even less active time, you can look at the how to bake with fruit guides that focus on slow-cooked methods.
If you find yourself with an abundance of spices, a pinch of ground cardamom or freshly grated nutmeg in the flour mixture can transform the dish entirely. These warm spices highlight the natural stone-fruit flavors and make the kitchen smell like an autumn bazaar. This variation pairs beautifully with a thick dollop of yogurt on the side, providing a tangy finish to the sweet, syrupy bake.
Serving the Soaked Slice
When the cake is still warm from its rest, the traditional way to serve it is with a cold scoop of vanilla bean ice cream sitting right in the center. As the cream melts, it mixes with the peach syrup to create a rich sauce that coats the tongue and balances the warmth of the batter. You can also explore the best slow cooker peach cobbler for more ideas on serving moist, fruit-forward desserts at large family gatherings.
I often prefer a square of this cake with a small cup of bitter Turkish coffee, which provides a grounding contrast to the intense sweetness of the peaches. The dark, earthy notes of the coffee help to cleanse the palate between bites, allowing you to appreciate the floral scent of the fruit and the savory notes of the butter. This combination is best enjoyed during the late afternoon when the sun is low and the pace of the day has slowed.
For a lighter finish, a dollop of unsweetened whipped cream or a spoonful of thick Greek yogurt can provide a refreshing acidity. This prevents the dessert from feeling too heavy and highlights the natural brightness of the fruit. Regardless of your choice, make certain to serve each portion with a bit of the syrup from the bottom of the pan to keep every bite glossy and tender.
Let It Rest, Then Slice
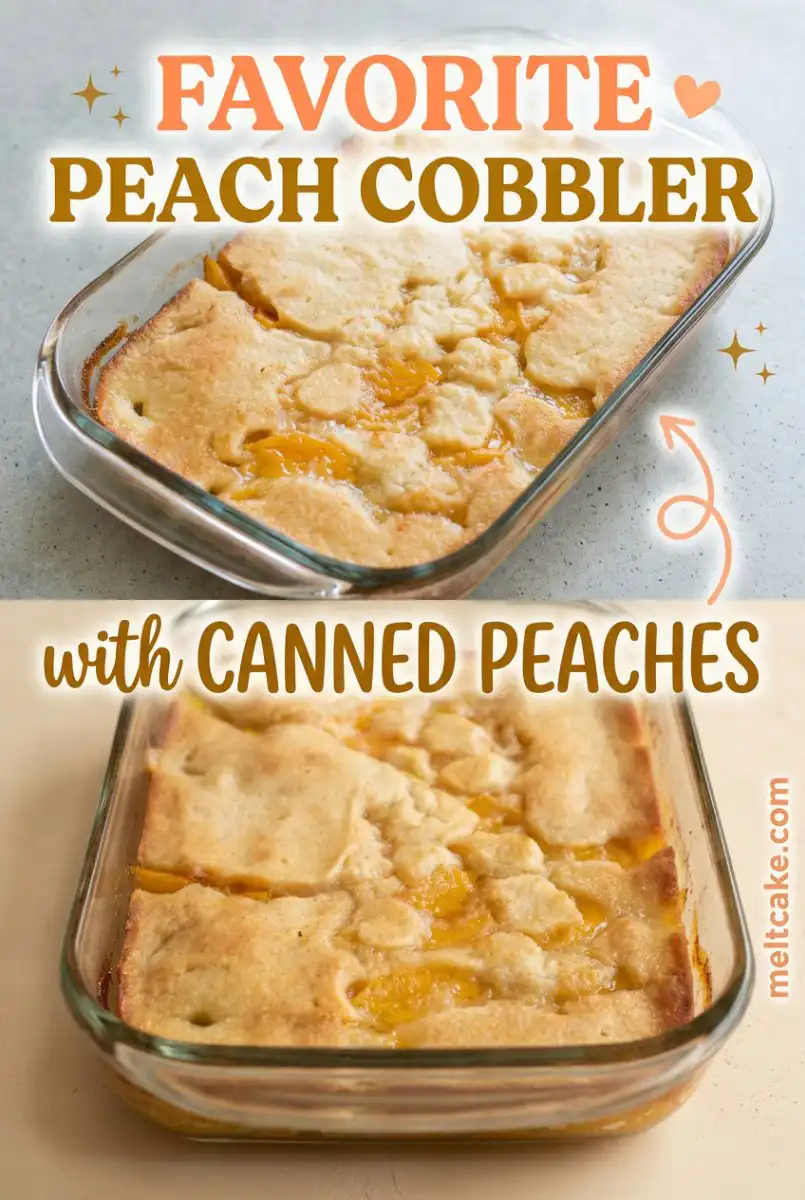
This recipe is more than a simple dessert; it is an invitation to slow down and appreciate the way humble ingredients transform under heat and time. By following the Mediterranean philosophy of the soak, we turn a basic batter into a melting, syrupy masterpiece that lingers on the memory. If you have enjoyed this journey into texture, you might also find the old fashioned peach cobbler to be a worthy addition to your baking rotation.
Please share your results with me and let me know how the texture turned out in your own kitchen. There is a specific joy in knowing that a tray of warm, golden cake is waiting at the center of a table, ready to be shared among friends. Patience is the secret, and the reward is a slice that truly melts away. Connect with us for more sun-soaked recipes on Pinterest, Facebook, TikTok, and Telegram.