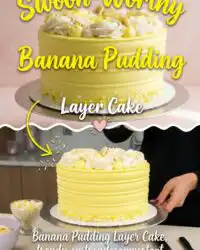
In British pastry tradition, the success of a complex build depends entirely on the stability of the sponge, ensuring it remains firm enough to support several layers of dense, set custard.

This Banana Pudding Layer Cake achieves a precise balance between a tender, moisture-rich crumb and a structurally sound assembly. By utilizing the acidity of sour cream and the specific starch profile of ripened fruit, we create a cake that holds its shape under the weight of a thick vanilla pudding filling. The precision of the build ensures each slice retains its integrity from the first cut to the final bite. Achieving this specific mouthfeel requires careful temperature control of your fats and a methodical approach to the aeration of the batter.
What Makes the Texture Right for This Banana Pudding Layer Cake
Prep: 30 min · Serves: 24 · Difficulty: Advanced
- Crisp vanilla wafers provide essential structural contrast.
- Dense banana sponge prevents internal moisture migration.
- Set vanilla pudding offers a creamy mouthfeel.
- Heavy cream stabilizes the external buttercream finish.
- Room temperature fats ensure a smooth emulsion.
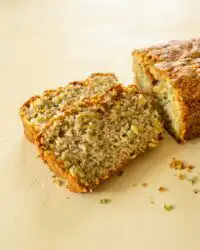
Structure is what makes the melt possible, allowing the soft interior to remain contained until the spoon breaks the crust. This recipe for banana cake served as the foundation for the refined crumb structure required to support these heavy fillings.
Get The Full Cake Recipe
Print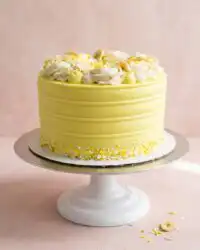
Banana Pudding Layer Cake
- Total Time: 3 hours
- Yield: 24 servings
Description
This impressive layer cake combines a dense, moisture-rich banana sponge with a thick vanilla custard filling and crunchy vanilla wafer accents. Designed for stability and flavor, this advanced bake uses a structural buttercream dam to ensure each slice remains perfectly intact.
Ingredients
- All-purpose flour
- Granulated sugar
- Light brown sugar
- Large eggs
- Vegetable oil
- Mashed bananas
- Lemon juice
- Full-fat sour cream
- Vanilla extract
- Baking soda
- Baking powder
- Salt
- Sweetened condensed milk
- Cold water
- Instant vanilla pudding mix
- Unsalted butter
- Vanilla wafers
- Powdered sugar
- Heavy cream
Instructions
- Prepare the custard. Whisk sweetened condensed milk and water, sift in instant pudding mix, whisk for 2 minutes, and refrigerate for at least 2 hours until fully set.
- Calibrate the oven. Preheat the oven to 175 degrees Celsius and line three 20cm round pans with parchment paper for a clean release.
- Cream butter and sugars. Beat the room-temperature butter with both sugars in a stand mixer for 2-3 minutes until the mixture is pale and aerated.
- Emulsify wet ingredients. Incorporate eggs one at a time, then mix in mashed bananas, lemon juice, sour cream, oil, and vanilla until smooth.
- Fold in dry ingredients. Sift the flour, leaveners, and salt, then alternate folding these into the wet batter until just combined.
- Bake the layers. Distribute batter into prepared pans and bake for 26-28 minutes until golden and set, then cool for 10 minutes before rack-cooling.
- Make the buttercream. Beat butter until smooth, gradually add sifted powdered sugar, heavy cream, and vanilla, then whip until silky and spreadable.
- Assemble the layers. Place one cake layer on a board, pipe a structural buttercream dam around the edge, and fill the center with pudding, banana slices, and crushed wafers before stacking.
- Apply final insulation. Crumb coat the cake, chill for 20 minutes, then apply the final layer of frosting and smooth with an offset spatula for a professional finish.
Notes
- Ensure all dairy and fat ingredients are at room temperature to prevent the batter or frosting from curdling.
- Use a digital kitchen scale for precise ingredient measurement to maintain the cake’s structural integrity.
- Refrigerate the cake between assembly steps if the buttercream begins to soften to prevent the layers from shifting.
- Dip your serrated knife in hot water and wipe dry between slices to achieve clean, professional-looking cuts.
- Prep Time: 30 mins
- Cook Time: 30 mins
- Category: Dessert
- Method: Baking
- Cuisine: American
Ingredients & Their Role

The chemistry of this bake relies on the interaction between high-moisture fruit and the protein structure of all-purpose flour. We use specific ratios of fats to ensure the cake remains pliable yet sturdy enough for a multi-tiered presentation.
- Mashed Bananas: These provide natural sugars and significant moisture while contributing to the final density of the crumb.
- Sweetened Condensed Milk: This serves as the primary sweetener and thickener for the internal custard layer, providing a concentrated dairy profile.
- Full-fat Sour Cream: The lactic acid in the cream tenderizes the gluten while adding the fat necessary for a rich, lingering mouthfeel.
- Unsalted Butter: High-quality butter provides the structural base for both the cake crumb and the external buttercream insulation.
- Vanilla Wafers: These biscuits act as a moisture barrier and provide a crunchy textural element to contrast the soft pudding.
- Baking Soda and Powder: This dual leavening system manages the acidity of the fruit and cream to ensure a consistent, even rise.
| Ingredient | Why It Matters |
|---|---|
| All-purpose Flour | Provides the gluten network necessary for a three-layer build. |
| Granulated Sugar | Breaks down protein bonds to keep the cake tender and soft. |
| Light Brown Sugar | Adds molasses content for a deeper flavor and increased hygroscopic moisture. |
| Large Eggs | Act as a primary emulsifier to bind water and fats together. |
| Vegetable Oil | Keeps the sponge feeling moist even when served at lower temperatures. |
From Bench to Bake
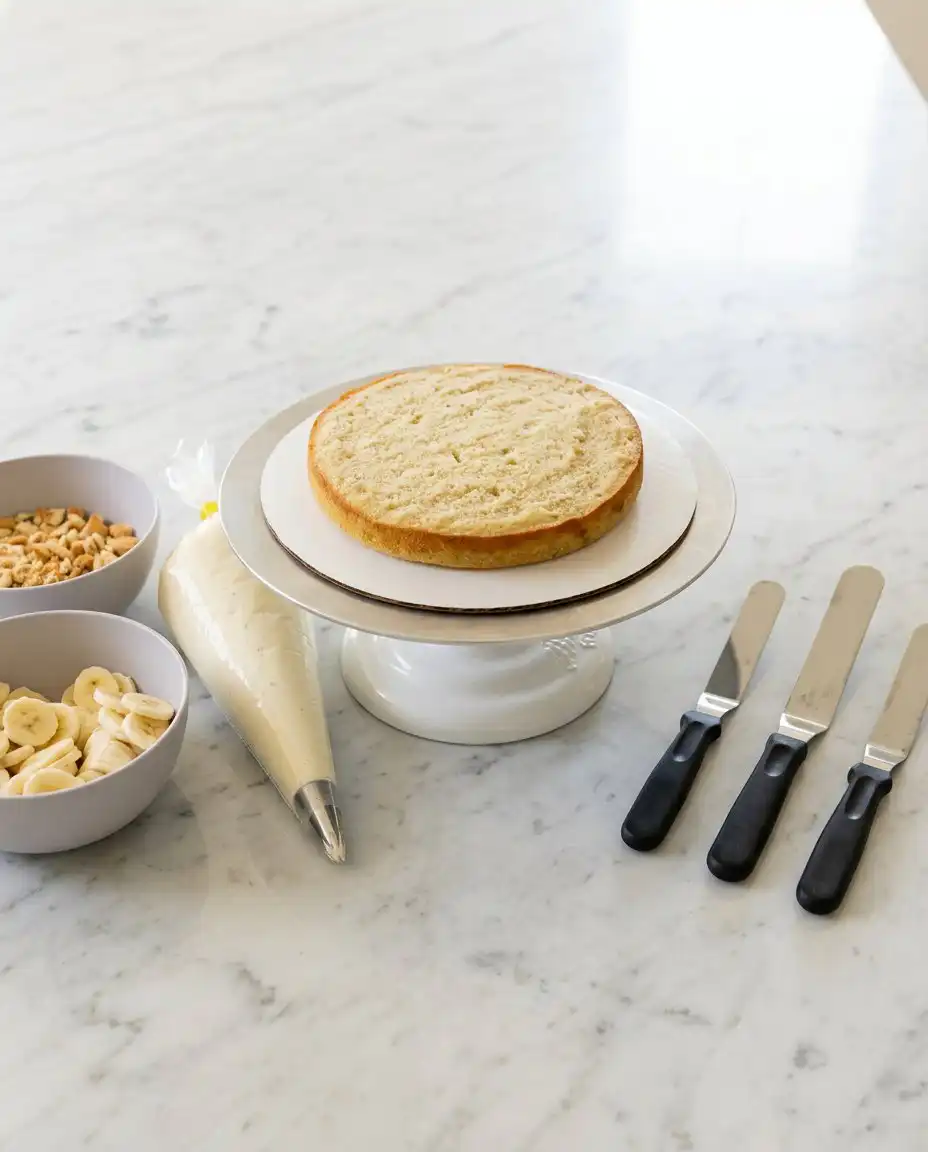
Step 1: Prepare the Structural Custard
To ensure the Banana Pudding Layer Cake maintains its vertical alignment, the pudding must be fully set before assembly. Whisk the sweetened condensed milk and cold water until the mixture is uniform and free of streaks. Sift in the instant pudding mix and whisk vigorously for 120 seconds until the viscosity begins to increase. Cover the surface directly with plastic wrap to prevent the formation of a skin and refrigerate for a minimum of 120 minutes until the gelatinisation is complete.
Step 2: Calibrate the Oven and Pans
Adjust the oven rack to the center position and preheat to 175 degrees Celsius (350 degrees Fahrenheit). Grease three round 20cm pans and line the bases with parchment paper to ensure a clean release of the delicate sponge. The use of parchment is non-negotiable here, as the high sugar content of the banana batter can cause sticking at the edges. Proper pan preparation prevents the outer crust from tearing during the depanning process.
Step 3: Aerate the Fat and Sugars
In a stand mixer fitted with the paddle attachment, cream the room-temperature butter with the granulated and brown sugars. This process should take approximately 120 to 180 seconds on a medium-high setting until the mixture reaches a pale, aerated state. This mechanical aeration creates small air pockets that will expand in the oven, providing the lift required for a light but sturdy crumb. Scrape the bench of the bowl frequently to ensure no pockets of unmixed fat remain.
Step 4: Emulsify the Wet Components
Add the eggs one by one, ensuring each is fully incorporated before adding the next to maintain a stable emulsion. Whisk the mashed bananas with lemon juice to prevent oxidation and maintain a bright, appealing interior color. Mix in the sour cream, vegetable oil, and vanilla extract until the liquid phase of the batter is smooth and homogeneous. If the mixture appears broken or curdled, increase the speed for ten seconds to force the emulsion back together.
Step 5: Incorporate Batter for the Banana Pudding Layer Cake
Sift the dry ingredients—flour, leaveners, and salt—to ensure even distribution of the rising agents. Fold in the dry mixture in two stages, alternating with the liquid components to prevent overworking the gluten. Stop the mixer the moment the last streak of flour disappears to ensure the texture remains tender rather than bread-like. The final batter should be thick and hold its shape on the paddle, indicating a strong protein network.
Step 6: Execute the Bake Cycle
Distribute the batter equally among the prepared pans, using a digital scale to ensure even weight for consistent baking times. Bake for 26 to 28 minutes or until the internal temperature reaches 98 degrees Celsius and a probe comes out clean. The surface should be golden brown and spring back when lightly pressed in the center. Allow the layers to cool in the pans for 600 seconds before transferring them to a wire rack to finish the cooling process.
Step 7: Stabilize the Vanilla Buttercream
Beat the room-temperature butter for 30 seconds until it reaches a smooth, workable consistency. Sift the powdered sugar to remove all lumps and add it gradually on a low speed to avoid a sugar cloud. Incorporate the heavy cream and vanilla, then increase the speed to medium for 60 seconds to achieve a silky, spreadable texture. This frosting acts as the mortar for our build, so it must be firm enough to resist the weight of the upper tiers.
Step 8: Assemble the Structural Layers
Place the first cake layer on a stable board and secure it with a small dab of buttercream. Pipe a double-height ring of buttercream around the perimeter of the cake to create a structural dam. Fill the center with the set pudding, sliced fruit, and wafer pieces, then top with a thin layer of whipped topping. Repeat this process, ensuring each tier is level and centered to prevent the cake from shifting during the final chilling stage.
Step 9: Apply the Final Insulation
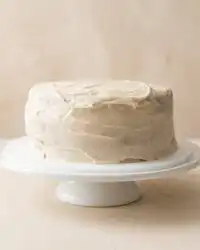
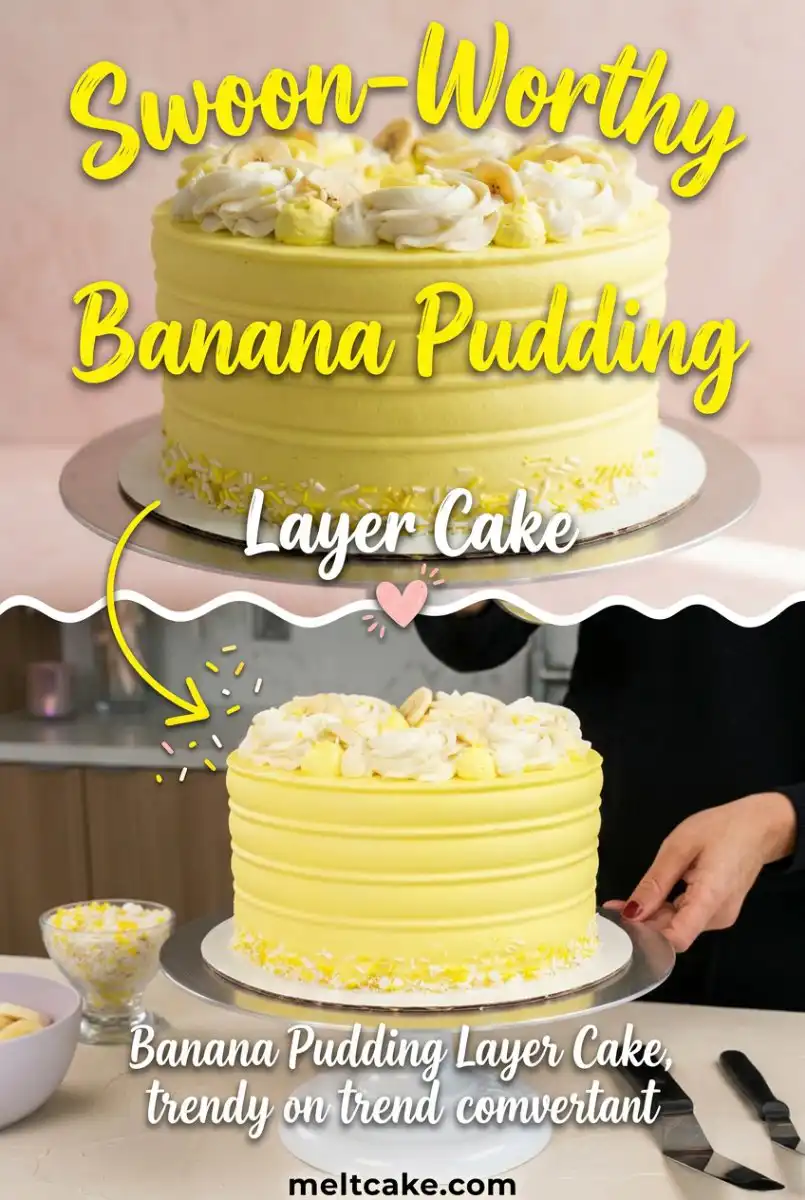
Cover the entire cake with a thin crumb coat of yellow-tinted buttercream to lock in any loose fragments. Refrigerate the cake for 20 minutes to set this layer before applying the final, thicker coat of frosting. Use an offset palette knife to smooth the sides and create a crisp, professional finish on the top edge. Decorations should be applied immediately while the frosting remains tacky to ensure they stay in place.
Technique Refinements
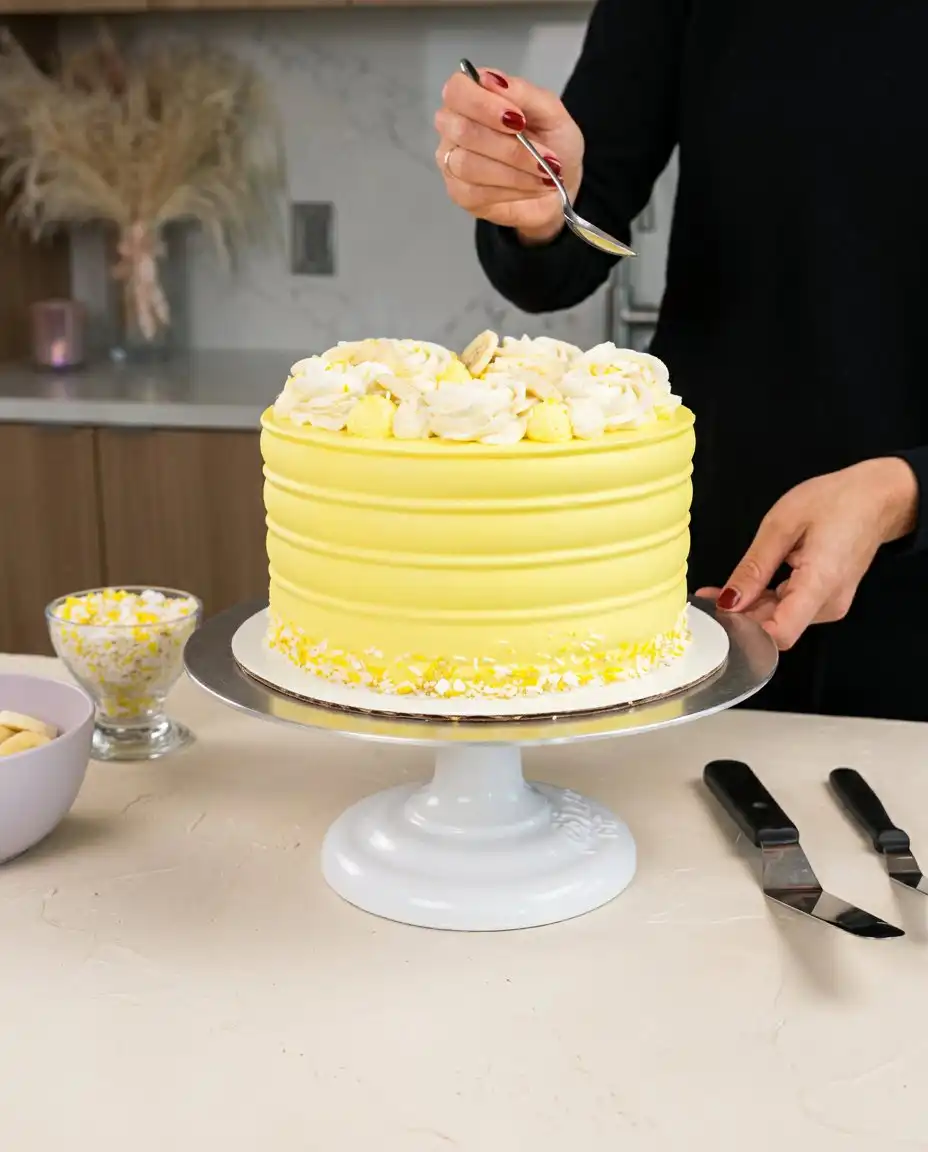
Precision in temperature is the deciding factor in whether your buttercream remains stable or becomes soupy. If your frosting begins to slide or lose its definition, the butter was likely too warm; refrigerate the bowl for 10 minutes and re-whip to restore the emulsion. Always weigh your ingredients in grams to ensure the moisture-to-flour ratio is exact, as even a small variance in flour can lead to a dry, crumbly sponge.
To achieve the cleanest slices, use a long serrated knife dipped in hot water and wiped dry between every single cut. This prevents the pudding filling from dragging through the cake layers and maintains the visual separation of the tiers. If your cake layers are domed after baking, use a leveler only after they are completely cold to prevent the crumb from tearing or gumming up.
Before you begin the assembly, ensure the pudding has reached a fully set state by checking the viscosity with a spoon; it should hold a firm peak. For more insights on achieving the right moisture balance in fruit-based desserts, consider reading this guide on banana pudding cake assembly. Properly cooling the cakes is essential, as any residual heat will melt the structural frosting dam and cause the layers to slide.
A common failure mode involves the cake layers shifting during assembly; if this happens, use three long wooden skewers to pin the layers together while the cake chills in the freezer for 15 minutes. This temporary internal support allows the fats in the buttercream to solidify, creating a permanent bond between the tiers. You can learn more about managing moisture in sponge builds by reviewing our tips for a banana pudding poke cake.
Frequently Asked Questions
Can I make this Banana Pudding Layer Cake ahead of time?
Yes, the components are best prepared in stages to manage the workload and ensure proper setting times. The pudding can be made up to three days in advance, and the cake layers can be baked, wrapped, and frozen for up to two weeks. Assemble the cake at least 12 hours before serving to allow the flavors to meld while keeping it refrigerated.
How do I prevent a layer cake from sliding during transport?
Stability is achieved through a combination of a firm frosting dam and adequate chilling time. Ensure the cake has spent at least four hours in the refrigerator so the buttercream is fully hardened before it is moved. For additional security, a central dowel driven through the cake into the baseboard will prevent the layers from shifting laterally.
Why did my banana cake layers turn out dense and gummy?
Gumminess is typically a result of over-mixing the batter after the flour has been added, which develops too much gluten. It can also occur if the bananas were not fully mashed or if the oven temperature was too low, preventing a proper rise. Ensure you stop mixing as soon as the flour is incorporated and verify your oven temperature with an external thermometer.
Can I use fresh whipped cream instead of whipped topping?
While fresh whipped cream offers a superior flavor, it lacks the stabilizers found in commercial whipped topping and may weep over time. If you choose to use fresh cream, it must be stabilized with gelatin or a specialized powder to ensure the layers do not collapse. Whipped topping is recommended for this specific build due to its long-term structural reliability.
What is the best way to store leftovers of this cake?
Because of the fresh banana slices and pudding filling, this cake must be kept refrigerated in an airtight container or covered with plastic wrap. It will remain at peak quality for up to three days, after which the bananas may begin to soften and release moisture. I do not recommend freezing the fully assembled cake as the texture of the pudding and fruit will degrade significantly.
My buttercream is too thin to pipe a dam; how can I fix it?
A thin buttercream is usually the result of the butter being too soft or the room being too warm. Sift in an additional half-cup of powdered sugar at a time until the desired stiffness is reached. If the flavor becomes too sweet, a pinch of extra salt or a teaspoon of cornstarch can help thicken the consistency without adding more sugar.
Variations That Hold
For a deeper flavor profile, you might consider browning the butter before incorporating it into the cake batter. This adds a toasted, nutty dimension that complements the sweetness of the bananas, though you must chill the butter back to a solid-to-plastic state before creaming. If you prefer a more traditional chocolate profile, the techniques used in our chocolate layer cake can be adapted by adding high-quality cocoa powder to the dry ingredients.
A tropical version can be achieved by substituting the cold water in the pudding with coconut milk and adding toasted coconut flakes between the layers. This adjustment requires no changes to the structural build but offers a significant shift in the sensory experience. Ensure any added fruit or flakes are finely chopped to maintain the level surface needed for stacking.
If you require a smaller yield, this recipe can be halved and baked in two 15cm pans for a petite, tall presentation. The baking time will need to be adjusted down by approximately five minutes, so use a probe thermometer to monitor the internal temperature. This smaller build is excellent for practicing the frosting dam technique without the pressure of a large-scale assembly.
Finishing & Plating
When serving this cake, it is best to remove it from the refrigerator approximately 30 minutes before slicing to allow the buttercream to soften slightly. This brief tempering period improves the mouthfeel of the fats while ensuring the internal pudding remains cool and refreshing. Serve each slice with a few additional vanilla wafers on the side to provide a fresh crunch that contrasts with the softened biscuits inside the cake.
For a more formal presentation, plate each slice with a light drizzle of salted caramel or a small dollop of lightly sweetened cream. The salty notes of caramel balance the high sugar content of the banana sponge and vanilla custard. If you enjoy desserts with a soaked, high-moisture profile, you might find similarities in the preparation of our tres leches cake, which also focuses on controlled moisture integration.
This cake is a substantial dessert, making it ideal for celebrations where a single, impressive centerpiece is required. Place the cake on a rotating stand during the event to allow guests to appreciate the textured buttercream work and the height of the build. The yellow color palette is naturally bright and inviting, requiring very little additional decoration to appear professional and polished.
What the Technique Gives You
Mastering this Banana Pudding Layer Cake provides you with a blueprint for any multi-tiered dessert that requires heavy, moist fillings. By focusing on the structural dam and the density of the sponge, you have created a bake that is as reliable as it is indulgent. Precision in weighing and timing ensures that every component performs its role, resulting in a dessert that maintains its form under any conditions.
I encourage you to apply these principles of structural pastry to your future bakes, perhaps by experimenting with the unique textures found in our ooey gooey butter cake. The discipline of the bench is what separates a simple cake from a professional-grade build. We invite you to share your results and continue refining your technical skills in the kitchen.
For more technical baking insights and to see this recipe in action, follow our updates on Pinterest, Facebook, and TikTok. You can also join our community for direct updates via Telegram.