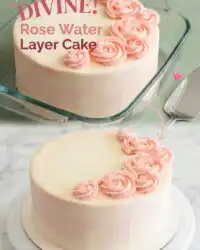
If you have a spare hour and a craving for something floral and fluffy, this elegant Rose Water Layer Cake is exactly the sweet escape you need right now for a mid-week treat.

Bringing a sophisticated bakery-style dessert into your kitchen doesn’t have to be a multi-day project. This Rose Water Layer Cake delivers a light, moist crumb paired with a fragrant buttercream that feels special without being fussy. We are using simple pantry staples and a few floral touches to create a dessert that is as beautiful to look at as it is to eat. Fast and luscious results are the hallmark of this recipe, ensuring you get that delicate floral bite without spending all night in the kitchen.
What Makes This Rose Water Layer Cake Quick & Luscious
Prep: 45 min · Serves: 12 · Difficulty: Medium
- Moist crumb from sour cream addition.
- Fast and luscious buttercream consistency.
- Elegant floral notes for any occasion.
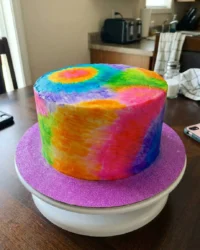
- Beautiful watercolor frosting effect created quickly.
- Light texture that melts in mouth.
Tuesday-night molten cake? Absolutely, but this tiered beauty proves that even a grand floral cake fits into your busiest schedule when you have the right method.
Get The Full Cake Recipe
Print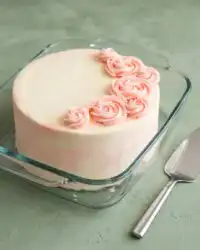
Rose Water Layer Cake
- Total Time: 1 hour 10 mins
- Yield: 12 servings
- Diet: Vegetarian
Description
Experience the perfect blend of elegance and ease with this moist, floral-scented layer cake. Featuring a delicate rose water crumb and a smooth, watercolor-finished buttercream, it is the ideal showstopper for any occasion.
Ingredients
- 2 1/2 cups all-purpose flour
- 1 1/2 cups granulated sugar
- 1 cup unsalted butter, softened
- 1 cup sour cream, room temperature
- 4 large egg whites, room temperature
- 1 tablespoon baking powder
- 1 teaspoon vanilla extract
- 2 teaspoons rose water
- 1/2 cup vegetable shortening
- 4 cups powdered sugar
- 2–3 tablespoons whole milk
- Ivory and pink food coloring
- Sparkling sugar for garnish
Instructions
- Preheat and prep. Preheat the oven to 350°F (176°C) and grease three 8-inch cake pans, lining them with parchment paper.
- Cream butter and sugar. Beat butter and sugar in a large bowl for three to four minutes until the mixture is pale and light.
- Combine wet ingredients. Mix in the sour cream and vanilla extract until the batter is smooth and well incorporated.
- Incorporate egg whites. Add egg whites in two batches, mixing thoroughly and scraping the sides to ensure a uniform emulsion.
- Bake the layers. Divide batter into prepared pans and bake for 21 to 23 minutes until a toothpick comes out clean.
- Cool completely. Let cakes rest in pans for three minutes before inverting onto wire racks to reach room temperature.
- Prepare the frosting. Beat butter and shortening until smooth, then gradually mix in powdered sugar, rose water, and milk until thick.
- Level and stack. Use a serrated knife to level the cake tops, then stack the layers with a generous coating of frosting between each.
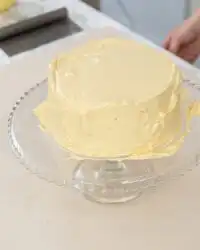
- Create watercolor finish. Apply an ivory base coat, then dab pink frosting patches and smooth with an offset spatula for a blended effect.
- Pipe and garnish. Pipe decorative rosettes along the top edge using a star tip and finish with a sprinkle of sparkling sugar.
Notes
- Ensure all ingredients are at room temperature to prevent the batter from seizing and becoming dense.
- If the frosting appears grainy, beat at high speed for several minutes to re-emulsify the fats and liquids.
- Use a light hand when blending the pink frosting to keep the watercolor effect defined rather than muddy.
- For added moisture, lightly brush each cake layer with a simple syrup before applying the frosting.
- Avoid using too much rose water, as it can quickly become overpowering or taste medicinal.
- Prep Time: 45 mins
- Cook Time: 25 mins
- Category: Dessert
- Method: Baking
- Cuisine: Modern Bakery
Shortcut-Friendly Pantry
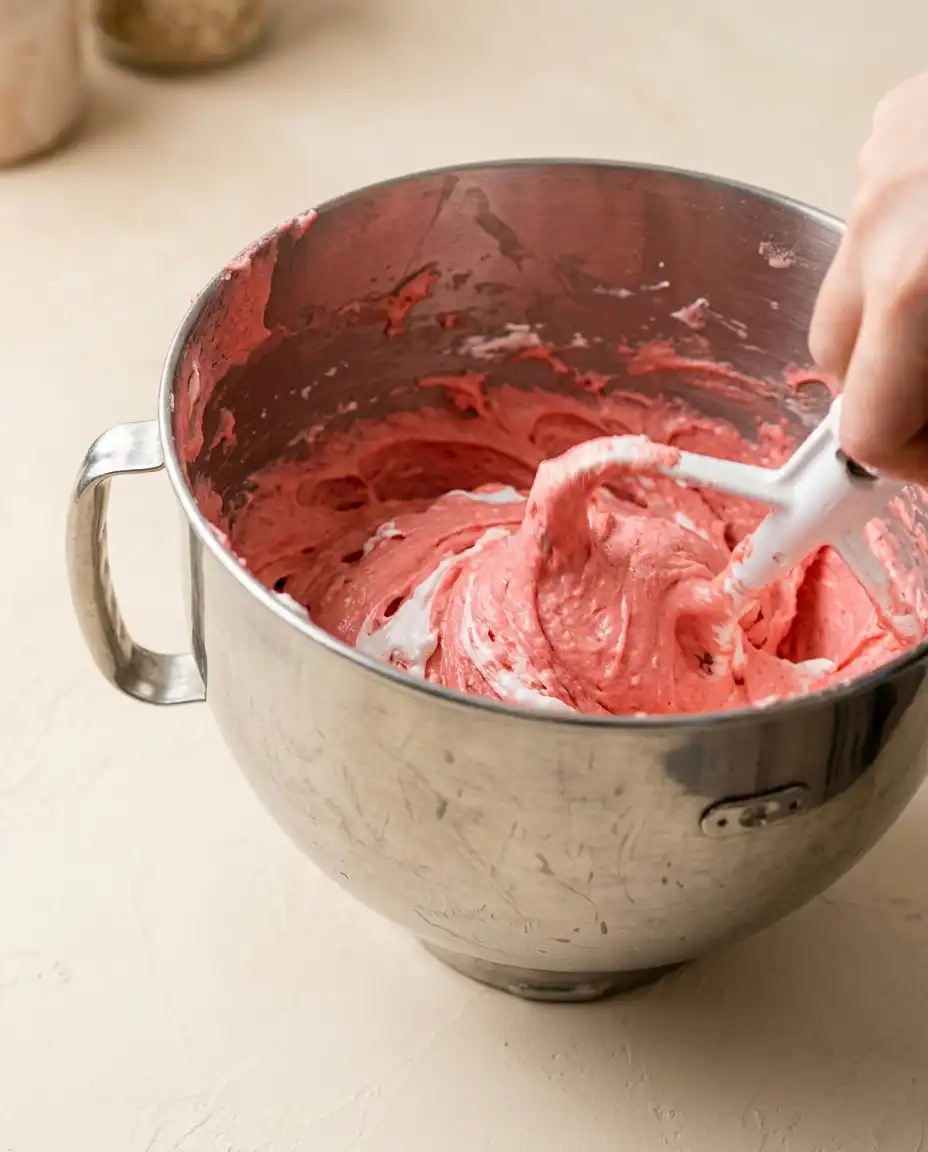
Creating a high-end dessert starts with understanding how each component interacts to build a stable yet tender structure. This list focuses on items that provide maximum moisture and a reliable crumb, ensuring your baking session is efficient and rewarding.
- Unsalted Butter: Using room temperature butter allows for a smooth creamed base which is the foundation of a light cake.
- Sour Cream: This is the secret to a tender crumb that stays moist for days without extra effort.
- Egg Whites: By using only whites, we keep the sponge pale and airy, highlighting the delicate rose theme.
- Rose Water: A little goes a long way to provide that signature botanical aroma that defines the profile.
- Shortening: Adding this to the buttercream provides stability and a bright white base for the pink watercolor swirls.
- Ivory and Pink Food Color: These small additions transform a plain white dessert into a professional-looking masterpiece with minimal blending.
| Ingredient | Why It Matters |
|---|---|
| Sour Cream | Provides acidity for a soft, tender crumb |
| Egg Whites | Ensures a light, white, and airy texture |
| Rose Water | Delivers the essential floral aromatic profile |
| Shortening | Stabilizes the frosting for perfect rosettes |
| Baking Powder | Creates the necessary lift for fluffy layers |
The Quick Method
Step 1: Prepare Your Pans and Oven
Begin by preheating your oven to 350°F (176°C) so it is ready the moment your batter is mixed. Line three 8-inch pans with parchment paper and grease the sides well to prevent any sticking. This preparation allows the cakes to slide out cleanly once they have cooled for a few minutes.
Step 2: Cream the Fat and Sugar
In your mixing bowl, beat the butter and sugar together for about three to four minutes until the mixture looks pale and feels light. Do not rush this part as the aeration during creaming is what gives the cake its volume. The texture should look almost like whipped clouds before you move to the next stage.
Step 3: Add Moisture and Flavor
Mix in the sour cream and vanilla extract until the batter is smooth and well combined. This stage introduces the fats that will keep the layers soft and flavorful throughout the baking process. You will notice the batter becoming glossy and smelling like sweet vanilla at this point.
Step 4: Incorporate the Egg Whites
Add the egg whites in two separate batches, mixing thoroughly after each addition to maintain the emulsion. Scraping down the sides of the bowl is vital here to ensure every bit of the mixture is uniform. The batter should appear thin but homogeneous as the whites are fully integrated.
Step 5: Bake Your Rose Water Layer Cake to Perfection
Divide your batter evenly between the three prepared pans and slide them into the center of the oven. Bake for approximately 21 to 23 minutes or until a toothpick inserted into the center comes out with just a few crumbs. Your kitchen will smell like a sweet bakery as the layers turn a very pale golden color.
Step 6: Cool the Sponge Layers
Allow the cakes to sit in their pans for about three minutes before carefully inverting them onto wire cooling racks. Removing them while they are still slightly warm prevents them from sticking but requires a gentle hand to avoid breaking. Let them reach room temperature completely before you even think about starting the frosting.
Step 7: Whip the Rose Buttercream
Beat the butter and shortening together until the mixture is perfectly smooth and free of any lumps. Slowly add half of the powdered sugar followed by the rose water, vanilla, and a few tablespoons of milk. The frosting will become thick and fragrant, ready for the final additions of sugar to reach your desired consistency.
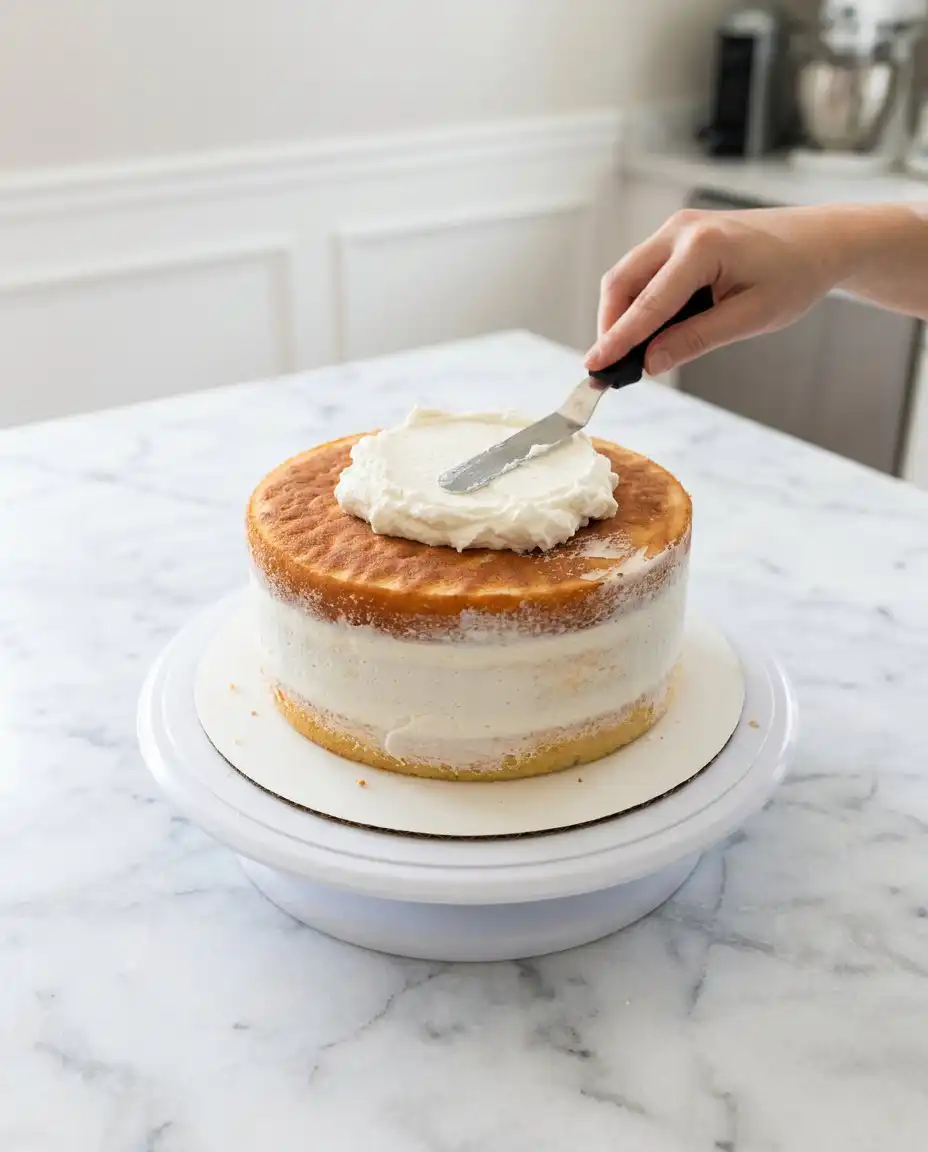
Step 8: Level and Stack the Cake
Use a serrated knife to gently saw off the domed tops of the cooled cakes so they are flat and ready for stacking. Place the first layer on your plate, spread a generous cup of frosting over it, and repeat with the remaining layers. This structural step ensures your finished dessert stands straight and looks professional.
Step 9: Create the Watercolor Finish
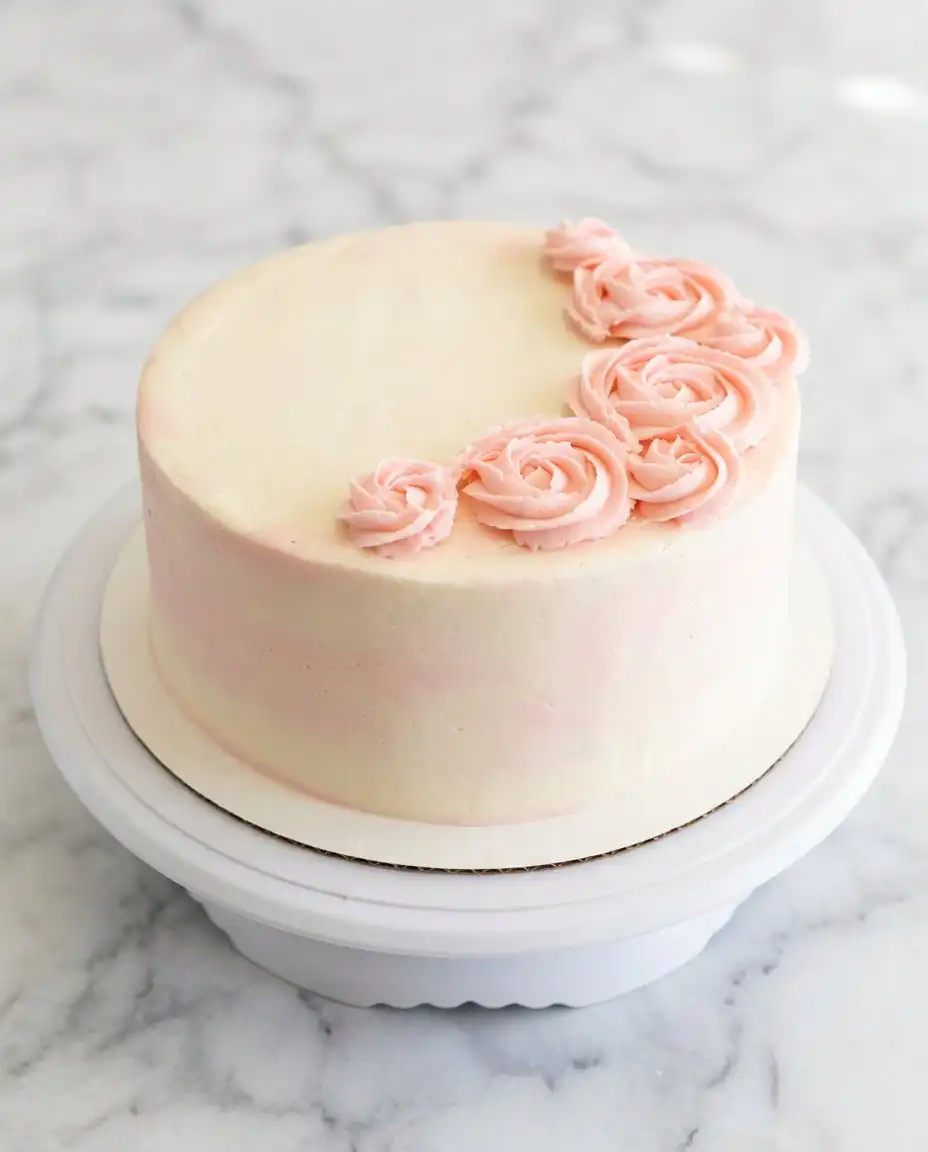
Frost the outside of the cake with the ivory base before adding small patches of pink-tinted frosting around the sides. Use an offset spatula to smooth these colors together, creating a soft, blended effect that looks like a painted canvas. This technique is surprisingly fast but results in a look that suggests hours of work.
Step 10: Pipe the Final Rosettes
Fit a piping bag with a star tip and use the remaining pink frosting to create uniform rosettes around the top edge. Finish with a sprinkle of sparkling sugar to catch the light and add a tiny bit of crunch to the smooth topping. Your masterpiece is now ready to be sliced and shared with your guests immediately.
Easy-Baker Texture Tricks
To ensure your classic vanilla bean layer cake or rose water variant remains light, always use room temperature ingredients. Cold milk or eggs can cause the batter to seize, leading to a dense and uneven crumb after baking.
If your buttercream appears curdled or grainy, here is why and how to fix it. This often happens if the liquid is added too quickly or is too cold; simply continue beating at a high speed for several minutes to force the emulsion to come back together.
When applying the watercolor effect, less is often more. Start with small dots of pink frosting and swipe once with your spatula to prevent the colors from muddying into a single solid shade.
Express doesn’t mean dry, and you can ensure extra moisture by brushing the leveled cake layers with a very thin coating of simple syrup. This technique, often used in professional bakeries, keeps the sponge soft even if you need to store the cake in the fridge for a day.
For the best floral balance, refer to the rose water vanilla layer cake guidelines for measuring aromatic extracts. Using a dedicated measuring spoon prevents the floral notes from becoming overpowering or soapy in the final bite.
Always use a heavy-duty stand mixer for the buttercream if possible. The extra power helps incorporate air into the shortening and butter, resulting in a frosting that feels weightless on the tongue rather than greasy.
Frequently Asked Questions
Can I make the cake layers in advance?
Yes, you can certainly bake the layers a day or two before you plan to assemble the cake. Once they are completely cool, wrap them tightly in plastic wrap and store them at room temperature or in the refrigerator. This actually makes them easier to level and frost as the crumb firms up slightly.
What if I cannot find rose water at my local store?
Rose water is usually found in the international aisle or near the baking extracts in specialty markets. If you cannot find it, you can substitute it with a very small amount of almond extract or even lemon zest for a different but equally bright flavor profile. Be careful with substitutions as rose water has a very specific aromatic quality.
How should I store the leftover cake?
Keep the leftover slices in an airtight container at room temperature for up to two days. If your kitchen is particularly warm, it is better to store it in the refrigerator to keep the buttercream from softening too much. Just remember to bring the slices back to room temperature before serving for the best texture.
Is shortening necessary for the buttercream frosting?
The shortening provides a higher melting point and a whiter color which helps the pink watercolor effect stand out. If you prefer an all-butter frosting, you can replace the shortening with an equal amount of unsalted butter. Note that the frosting will be softer and have a slightly more yellow tint.
Can I freeze this cake for later use?
The unfrosted layers freeze beautifully for up to three months when wrapped securely in foil and plastic. You can also freeze the fully assembled cake, though the delicate rosettes might suffer slightly from the thawing process. Thaw the cake in the refrigerator overnight before bringing it to room temperature.
Why did my cake layers sink in the middle?
This usually happens if the oven door was opened too early during the baking process or if the baking powder is expired. Ensure your leavening agents are fresh and try to wait until the 20-minute mark before checking the cakes. If the center is still liquid when the timer goes off, give it another two minutes.
Fast Flavor Swaps
If you want to lean into a more traditional Mediterranean profile, consider folding half a cup of finely ground pistachios into the batter. This adds a subtle green hue and a nutty crunch that pairs beautifully with the rose cake aromatics.
For a fruity twist, spread a thin layer of raspberry jam between the cake layers before adding the buttercream. The tartness of the berries cuts through the sweetness of the frosting and provides a bright pop of color when the cake is sliced.
Switching the ivory base for a light honey-flavored frosting can add another layer of depth to the dessert. Simply replace the vanilla extract in the buttercream with a high-quality floral honey to complement the rose notes perfectly.
Bring It to the Table Fast
This floral masterpiece is best served alongside a hot cup of Earl Grey or a light chamomile tea to echo the botanical notes. The tannins in the tea help balance the rich sweetness of the buttercream, making every bite feel refreshed and light.
If you are serving this for a celebration, consider plating each slice with a few fresh raspberries or a sprig of mint for a professional touch. Much like a classic chantilly cake recipe, this dessert thrives when paired with fresh elements that contrast its creamy texture.
For a more indulgent evening presentation, a chilled glass of sparkling rose wine is an excellent companion. The bubbles and acidity of the wine lift the floral flavors of the cake, turning a simple Tuesday treat into a festive event.
The Weeknight Wrap-Up
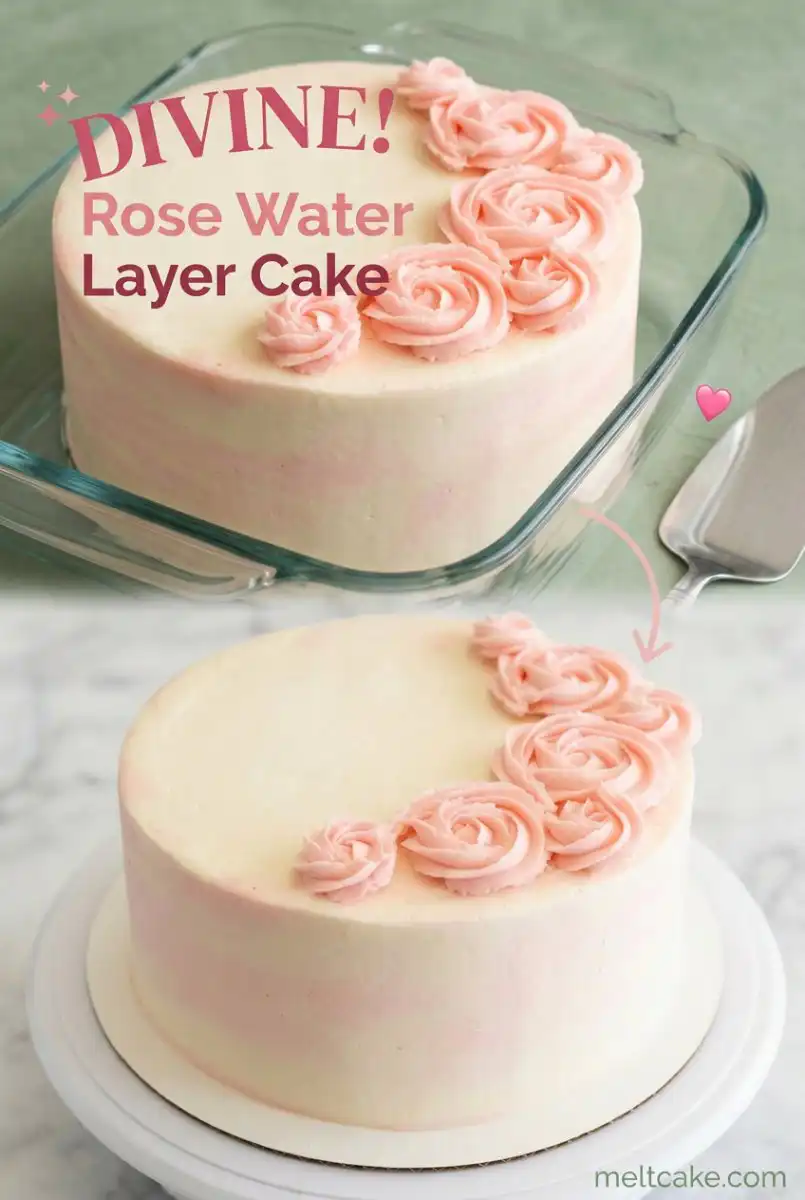
Baking a tiered dessert like this Rose Water Layer Cake proves that you don’t need all day to create something truly impressive. By focusing on efficient mixing methods and a simple watercolor decorating technique, you can have a bakery-quality cake ready for your family before the night is over. This recipe is proof that quick on the clock can still mean slow on the spoon, allowing you to savor every floral, melt-in-the-mouth bite.
If you enjoyed this floral journey, you might also want to try our three layer italian cream cake for another textured favorite. Don’t forget to share your baking results with us and save this recipe for your next spontaneous celebration. Happy baking and enjoy the luscious results of your hard work.