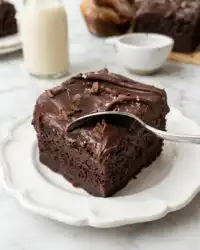
A traditional British sponge depends on aeration, but the structural integrity of this crumb is defined by a precise chemical reaction between Dutch cocoa and balanced leavening agents.

The Devil’s Food Layer Cake requires a specific equilibrium of acidity and moisture that standard chocolate sponges often fail to achieve. By employing Dutch-processed cocoa and hot coffee, we encourage the cocoa solids to bloom, providing a depth of flavor that remains dark and structurally sound. This method ensures a moist interior while maintaining a firm exterior shell that is capable of supporting professional-level stacking and frosting without compression.
The Case for This Method
Prep: 20 min · Serves: 12 · Difficulty: Medium
- Robust structural crumb for clean slicing
- Intense depth from Dutch-processed cocoa powder
- Reliable moisture balance through oil and butter
- Precision ratios for a level bake
- Sophisticated mouthfeel using hot coffee bloom
Structure is what makes the melt possible. Achieving a crumb that holds its form while remaining tender requires a commitment to precise ratios, which is why this chocolate layer cake is a staple in the technical baker’s repertoire.
Get The Full Cake Recipe
Print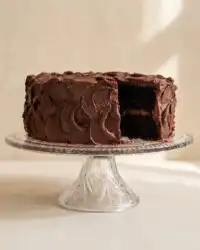
Devil’s Food Layer Cake
- Total Time: 1 hour 5 mins
- Yield: 12 servings
Description
This professional-grade Devil’s Food Layer Cake features a robust, structurally sound crumb and an intense depth of flavor achieved through a precise Dutch-processed cocoa and hot coffee bloom. Engineered for clean slicing and perfect stacking, this cake delivers a moist, tender interior paired with a sophisticated, rich chocolate profile.
Ingredients
- All-purpose flour
- Baking soda
- Baking powder
- Fine sea salt
- Unsalted butter, room temperature
- Granulated sugar
- Light brown sugar
- Dutch-processed cocoa powder
- Vegetable oil
- Eggs
- Vanilla extract
- Milk
- Sour cream
- Hot coffee
Instructions
- Prepare pans. Preheat the oven to 350°F and grease two 9-inch round pans, lining the bases with parchment paper and dusting with flour.
- Sift dry ingredients. Combine and sift the all-purpose flour, baking soda, baking powder, and fine sea salt at least twice to ensure even aeration.
- Cream fat and sugar. Beat room-temperature butter with granulated and light brown sugars in a stand mixer until pale and fluffy.
- Emulsify cocoa paste. Whisk Dutch-processed cocoa powder and vegetable oil in a separate bowl until smooth before adding to the butter mixture.
- Incorporate eggs. Add eggs one at a time, beating for 30 seconds after each addition and scraping the bowl to maintain a stable emulsion.
- Alternate dry and wet. Mix in one-third of the dry ingredients followed by half of the milk and sour cream mixture, repeating until incorporated.
- Add hot coffee. Pour the hot coffee into the batter in a steady stream while mixing on low speed to bloom the cocoa and gelatinize starches.
- Bake the layers. Divide batter equally into pans and bake for 40 to 45 minutes until the centers spring back, then cool for 15 minutes before unmolding.
- Assemble and frost. Level the cooled cakes, stack with a generous layer of buttercream, and apply a crumb coat before final frosting.
Notes
- Use a digital kitchen scale to measure ingredients in grams for the most consistent chemical reaction during baking.
- Ensure all dairy and eggs are at room temperature to prevent the batter from curdling when the cocoa-oil mixture is added.
- Wrap baked layers tightly in plastic wrap and chill before frosting to create sharper edges and minimize crumbs during assembly.
- The cake batter will appear quite thin due to the addition of hot coffee; this is normal and essential for achieving a moist crumb.
- Prep Time: 20 mins
- Cook Time: 45 mins
- Category: Dessert
- Method: Baking
- Cuisine: British
Weighed & Ready
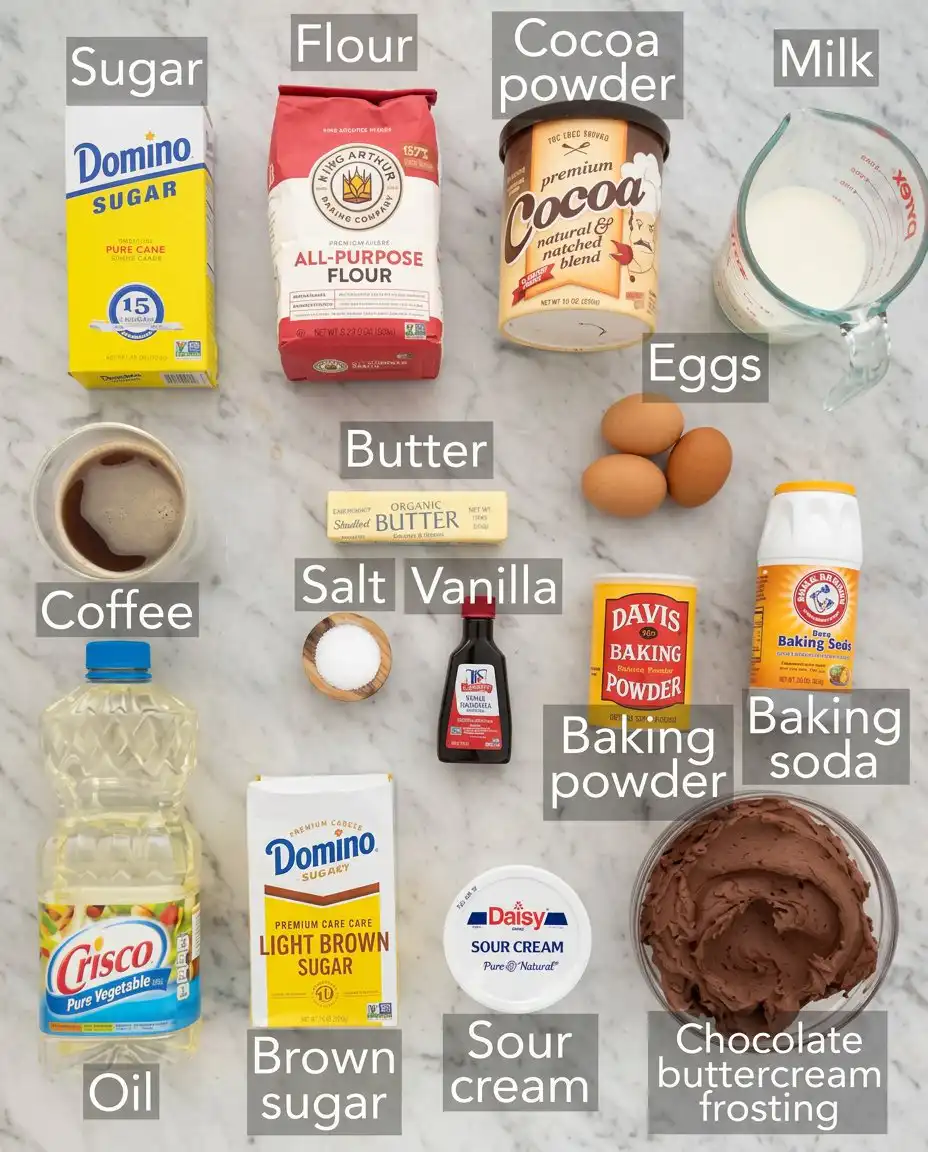
Success in the pastry kitchen begins with the bench setup, where every gram of the Devil’s Food Layer Cake components is measured to ensure chemical consistency. We utilize a combination of fats and a specific cocoa type to create an emulsion that remains stable during the thermal expansion of the baking cycle.
- All-Purpose Flour: Provides the necessary gluten structure to support the heavy crumb.
- Dutch-Processed Cocoa Powder: Offers a lower acidity and darker color than natural cocoa for a mellow, rich profile.
- Unsalted Butter: Adds the essential dairy fats and aeration capacity during the initial creaming phase.
- Vegetable Oil: Ensures the cake remains tender at room temperature by preventing the fat from fully solidifying.
- Hot Coffee: Blooms the cocoa solids and helps dissolve any remaining sugar crystals for a smooth batter.
- Sour Cream: Introduces a controlled acidity that reacts with the baking soda for a tender lift.
- Light Brown Sugar: Contains molasses which provides hygroscopic properties, keeping the moisture locked within the crumb.
| Ingredient | Why It Matters |
|---|---|
| Baking Soda | Reacts with coffee and sour cream for structural lift |
| Dutch Cocoa | Provides the characteristic dark hue and neutral pH |
| Hot Coffee | Hydrates cocoa particles to release aromatic oils |
| Vegetable Oil | Maintains a soft texture across varied temperatures |
The Tested Procedure
Step 1: Prepare the Bench and Pans
Preheat the oven to 350°F (175°C) and prepare two 9-inch round pans by greasing them with unsalted butter and lining the bases with parchment paper. Sifting a light coating of flour over the buttered sides ensures the cake has a surface to climb during the rise. This mechanical grip is essential for achieving the height necessary for a proper layer cake structure.
Step 2: Sift the Dry Framework
In a large bowl, sift the all-purpose flour, baking soda, baking powder, and fine sea salt together at least twice. Sifting is not merely about removing lumps; it introduces air into the dry components and ensures the leavening agents are distributed with mathematical evenness. This prevents large tunnels or uneven pockets from forming in the finished crumb.
Step 3: Cream the Fat and Sugar for the Devil’s Food Layer Cake
Place the room-temperature butter in the bowl of a stand mixer and beat on medium speed for exactly three minutes until it reaches a pale, creamy consistency. Gradually add both the granulated and brown sugars, continuing to beat until the mixture is light and aerated. This step creates the microscopic air cells that will later expand in the oven to define the final texture.
Step 4: Emulsify the Cocoa and Oil
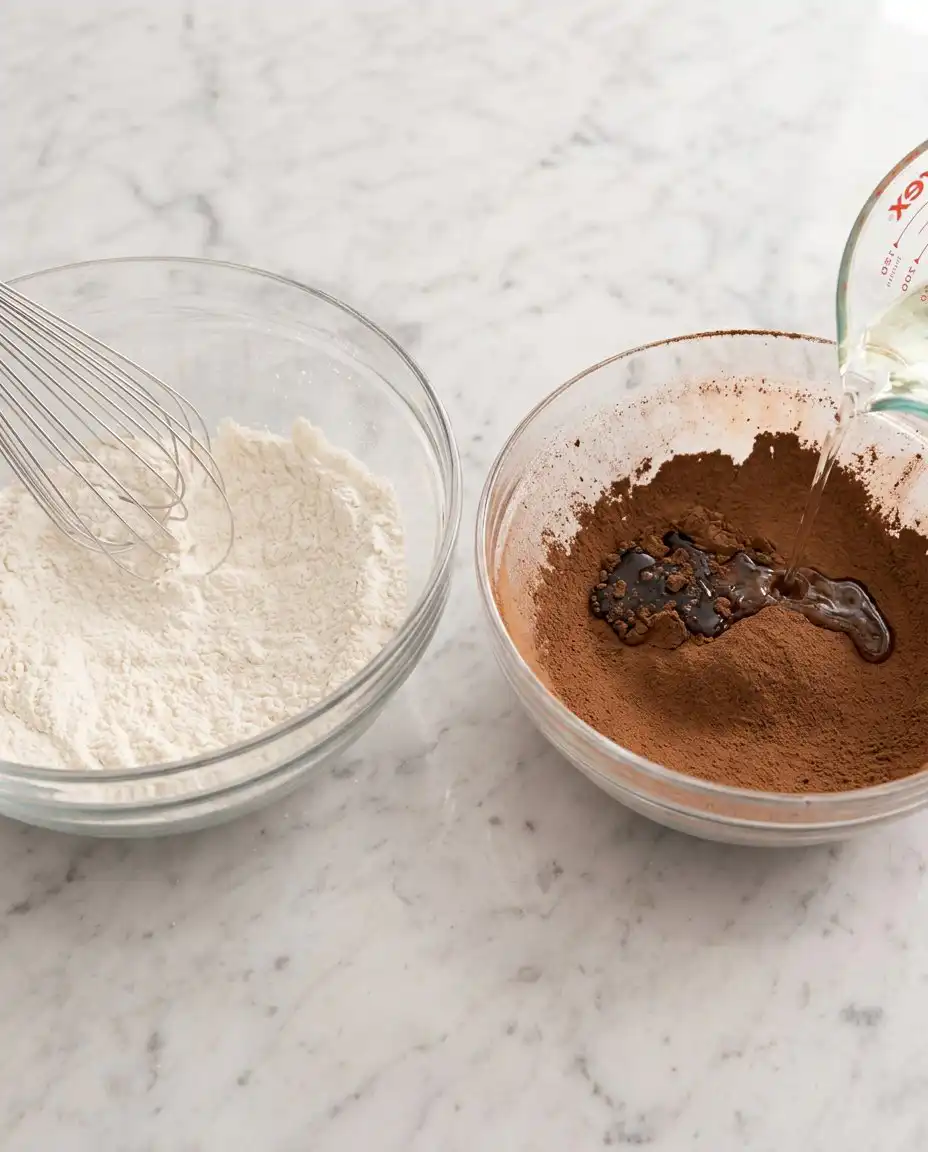
In a separate medium bowl, whisk the sifted Dutch-processed cocoa powder with the vegetable oil until a smooth, dark paste forms. Adding this cocoa-oil mixture to the creamed butter ensures the fats are fully integrated before the liquids are introduced. This technique prevents the batter from breaking and guarantees a uniform chocolate distribution throughout the sponge.
Step 5: Incorporate the Eggs and Vanilla
Add the eggs one at a time, beating for 30 seconds after each addition to ensure a stable emulsion is maintained. Scrape the bottom and sides of the bowl frequently with a flexible spatula to prevent any unmixed fat from settling. The eggs provide the protein structure that sets the cake, so complete integration is vital for the integrity of the layers.
Step 6: Alternate the Liquids and Solids
With the mixer on the lowest setting, add one-third of the dry ingredients, followed by half of the combined milk and sour cream. Repeat this sequence, finishing with the final third of the flour mixture to seal the emulsion. Mixing slowly at this stage prevents over-developing the gluten, which would result in a tough and bread-like texture rather than a tender cake.
Step 7: The Hot Coffee Bloom
Pour the hot coffee into the batter in a slow, steady stream while whisking by hand or on the lowest mixer setting. The heat of the coffee encourages the starches in the flour to gelatinise slightly and allows the cocoa to bloom fully. The resulting batter will be thin, but do not be tempted to add more flour; this fluidity is what creates the signature moistness.
Step 8: The Thermal Set and Cooling
Divide the batter equally between the prepared pans and bake for 40 to 45 minutes until the center springs back and the edges begin to pull away slightly. Thirty seconds decides everything when it comes to the window between a moist cake and a dry one. Allow the cakes to cool in their pans for 15 minutes before inverting them onto a wire rack to reach room temperature.
Step 9: Assembly and Frosting
Level the cooled cakes with a serrated knife if necessary to ensure a flat stacking surface for the buttercream. Place the first layer on a cardboard round, spread a generous layer of frosting to the edges, and top with the second layer inverted. Apply a thin crumb coat first to seal in any loose particles before finishing with a smooth, decorative layer of chocolate buttercream.
Pastry Bench Tips
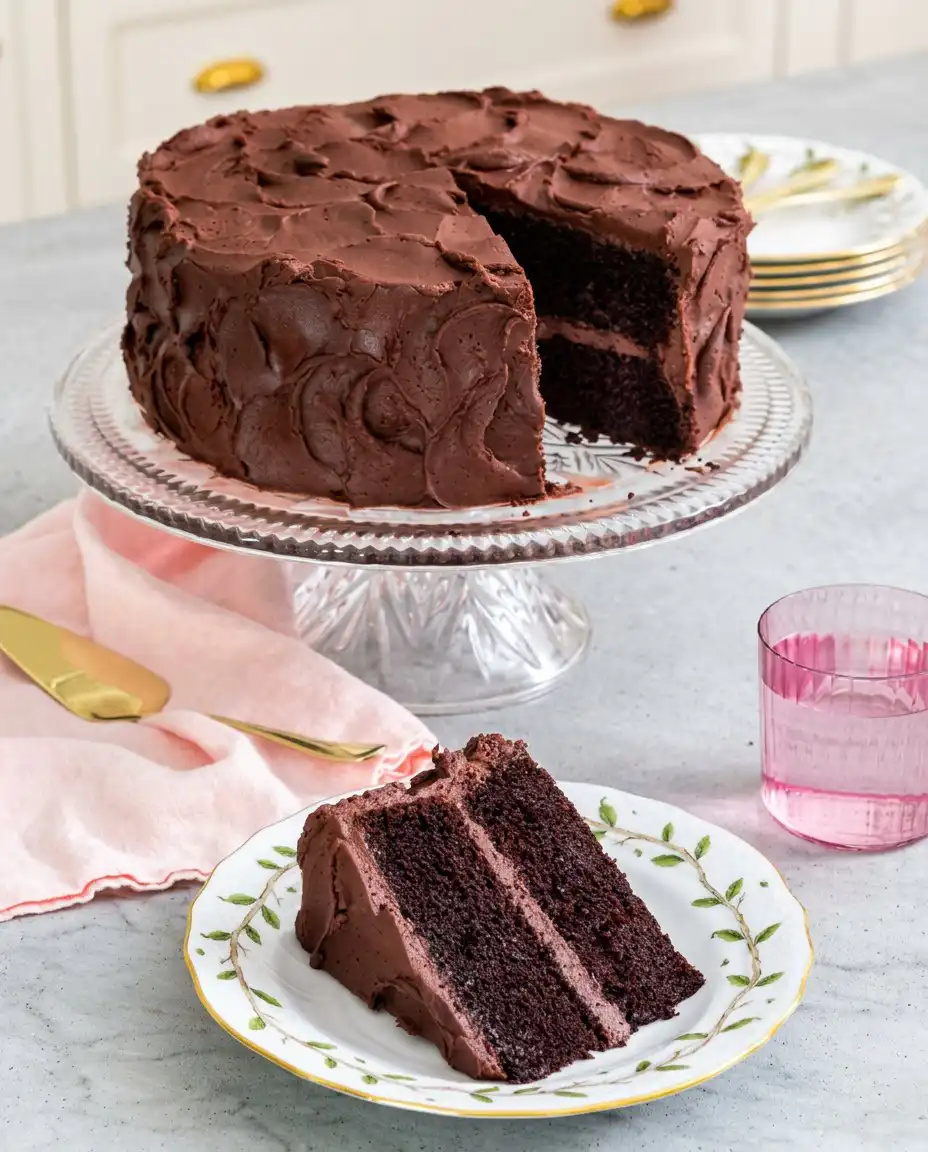
Always ensure your eggs and dairy are at a precise room temperature of 68°F to 72°F to prevent the batter from curdling during the emulsion phase. If the ingredients are too cold, the butter will seize into small clumps, leading to an uneven bake and a greasy mouthfeel.
Using a digital scale to weigh your ingredients in grams is the only way to guarantee the consistency required for this homemade chocolate cake every time you bake it. Volume measurements for flour can vary by as much as 20 percent depending on how the flour is packed into the cup.
If your cake layers sink in the middle, it is often a result of over-beating the eggs or opening the oven door too early in the baking process. The sudden drop in temperature or the collapse of over-extended air cells causes the structural framework to fail before it has fully set.
To achieve a perfectly smooth frosting finish, use an offset palette knife dipped in hot water and wiped dry to glide over the buttercream. The residual heat from the metal slightly melts the surface of the frosting, filling in small gaps and creating a professional sheen.
When adding the hot coffee, ensure it is approximately 190°F to 200°F to properly bloom the cocoa without cooking the eggs in the batter. This temperature range is ideal for activating the cocoa solids while maintaining the integrity of the existing emulsion.
For the best results, wrap the cooled cake layers in plastic film and refrigerate them for at least two hours before attempting to slice or frost them. Cold cake is much firmer and less prone to crumbling, allowing for sharper edges and a cleaner assembly process.
Frequently Asked Questions
Can I use natural cocoa powder instead of Dutch-processed cocoa?
While natural cocoa is an option, it is more acidic and may react differently with the baking soda, potentially causing the cake to rise unevenly. Dutch-processed cocoa provides the neutral pH and deep color that is characteristic of this specific recipe’s structure.
How should I store the Devil’s Food Layer Cake to keep it moist?
The cake is best stored under a glass dome or in an airtight container at room temperature for up to five days. If your kitchen is particularly warm, you may refrigerate it, but ensure it returns to room temperature before serving to soften the fats.
Why did my cake layers turn out dense and dry?
This is typically caused by over-mixing the batter after the flour has been added, which develops too much gluten. It can also occur if the cake is over-baked; always begin checking for doneness five minutes before the timer expires.
Can I freeze these cake layers for later assembly?
Yes, once completely cool, wrap the layers tightly in two layers of plastic wrap and one layer of foil before freezing for up to three months. Thaw them slowly in the refrigerator overnight while still wrapped to prevent condensation from forming on the surface.
What is the best way to prevent the cake from sticking to the pan?
Using parchment paper on the bottom is the most reliable method, but you should also butter and flour the sides of the pan thoroughly. For chocolate cakes, sifting a little cocoa powder instead of flour onto the buttered sides prevents a white residue on the finished cake.
Is the hot coffee taste noticeable in the finished cake?
The coffee flavor does not stand out on its own but serves to intensify and deepen the chocolate notes of the cocoa powder. If you are sensitive to caffeine, you may use a decaffeinated brew or hot water, though the flavor profile will be slightly less complex.
Considered Adjustments
For a more intense aromatic profile, replace the hot coffee with a strong espresso or a dark stout beer to complement the cocoa. The carbonation in the beer can also contribute to a lighter crumb, though you must ensure the old fashioned chocolate cake maintains its structural balance.
You may substitute the sour cream with full-fat Greek yogurt if a sharper tang is desired, though the moisture levels may need slight calibration. Learning how to master the devils food cake technique involves understanding how these small substitutions affect the pH and hydration of the batter.
To create a black forest variation, soak the layers in a cherry kirsch syrup and use a stabilized whipped cream filling between the chocolate sponges. This adjustment requires the cake to be served chilled to maintain the stability of the cream and the integrity of the soaked layers.
Finishing & Plating
When serving this cake, ensure it has been at room temperature for at least 30 minutes to allow the butter in the crumb and frosting to soften. A cold chocolate cake often tastes dry because the fats are solid, whereas a room-temperature slice allows the full complexity of the chocolate cake recipe to be appreciated.
For a professional presentation, use a sharp, thin-bladed knife dipped in hot water to make clean cuts through the layers. Wipe the blade clean between every slice to prevent frosting from smearing onto the dark crumb, which preserves the visual contrast of the internal structure.
Pair each slice with a small dollop of unsweetened whipped cream or a handful of tart raspberries to balance the richness of the chocolate. The acidity of the fruit cuts through the density of the Devil’s Food, creating a more balanced and refined dessert experience for your guests.

Final Notes
Mastering the Devil’s Food Layer Cake is a milestone for any baker who values technical precision and structural integrity. By respecting the temperature of your ingredients and the timing of your mix, you produce a dessert that is as robust as it is indulgent. The careful bloom of the cocoa ensures that every bite delivers the deep, dark flavor that defines this devils food cake as a classic of the pastry bench.
As you develop your skills, remember that the smallest details often yield the most significant results in texture and mouthfeel. We invite you to share your results and join our community of technical bakers who prioritize the science behind the sponge. Precision is the foundation of every successful bake, and we look forward to seeing your progress.