Even the swiftest sweet requires a moment of quiet patience, a brief rest in the warm dark of the oven, before its crumb can soften into something truly melting and tender.

This rapid 1-Minute Vanilla Mug Cake honors that quiet waiting, proving that even a microwave treat deserves the gentle touch of a traditional baker. We bypass the heavy density of eggs to invite a lighter, more delicate crumb that welcomes the warmth of melted butter and real vanilla. By letting the batter rest for a minute after cooking, the heat evens out, leaving you with a soft crumb that yields to the spoon. It is a quick comfort designed for those quiet afternoons when you crave the tender texture of a classic vanilla cake without starting the large oven. There is no need to preheat a room-sized appliance when a single ceramic mug and a handful of pantry staples can summon a warm, fragrant dessert in seconds.
What Makes the Texture Sing in This 1-Minute Vanilla Mug Cake
Prep: 3 min · Serves: 1 · Difficulty: Easy
- Yields a tender and soft crumb.
- Comes together with basic pantry staples.
- Requires no eggs or messy bowls.
- Bakes warm in seventy short seconds.
- Saves time when sweet cravings strike.
This warm dessert will become your quiet escape whenever you need a quick, sweet comfort.
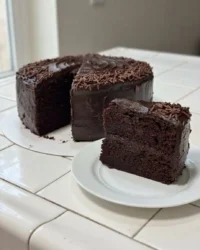
We often think of baking as a grand affair that demands hours of cooling and decorating, but this small cake proves otherwise. If you have loved our rich chocolate mug cake, this vanilla version will delight you with its clean, buttery simplicity. It is designed to be eaten warm, straight from the mug, while the steam still rises from the center. The soft warmth of the cake pairs wonderfully with any season, acting as a quick sweet canvas for your favorite toppings. You will find that this simple method quickly becomes a comforting staple in your late-night kitchen ritual.
Get The Full Cake Recipe
Print
1-Minute Vanilla Mug Cake
- Total Time: 5 mins
- Yield: 1 serving
- Diet: Vegetarian
Description
This quick and comforting vanilla mug cake delivers a tender, moist crumb without the need for eggs or a full-sized oven. Perfect for satisfying sudden sweet cravings, this single-serving treat is ready in just over a minute using simple pantry staples.
Ingredients
- 4 tablespoons all-purpose flour
- 2 tablespoons granulated sugar
- 1/4 teaspoon baking powder
- Pinch of salt
- 3 tablespoons whole milk
- 2 tablespoons melted butter
- 1/4 teaspoon vanilla extract
Instructions
- Blend dry ingredients. Whisk the flour, sugar, baking powder, and salt together in a microwave-safe ceramic mug until uniform and free of clumps.
- Incorporate liquid ingredients. Pour in the melted butter, milk, and vanilla extract, stirring gently with a fork until the batter is smooth and no dry streaks remain.
- Microwave the cake. Cook on high power for 70 to 90 seconds until the top looks barely set and retains a faint, glossy sheen.
- Let cake rest. Leave the mug inside the microwave for one full minute to allow the residual heat to finish cooking the center and set the crumb.
- Add final toppings. Carefully remove the mug and garnish with sprinkles or a light dusting of sugar before enjoying while warm.
Notes
- Use a mug that holds at least 12 ounces to prevent the batter from bubbling over during the cooking process.
- Measure flour by spooning it into your measuring cup rather than scooping directly from the bag to ensure the cake remains light.
- Ensure your milk and butter are at room temperature to prevent the fats from seizing and creating dense pockets in the finished cake.
- Adjust your cooking time based on your specific microwave wattage, starting at 70 seconds and adding short 10-second bursts if needed.
- Prep Time: 3 mins
- Cook Time: 2 mins
- Category: Dessert
- Method: Microwave
- Cuisine: Modern American
From the Mediterranean Pantry
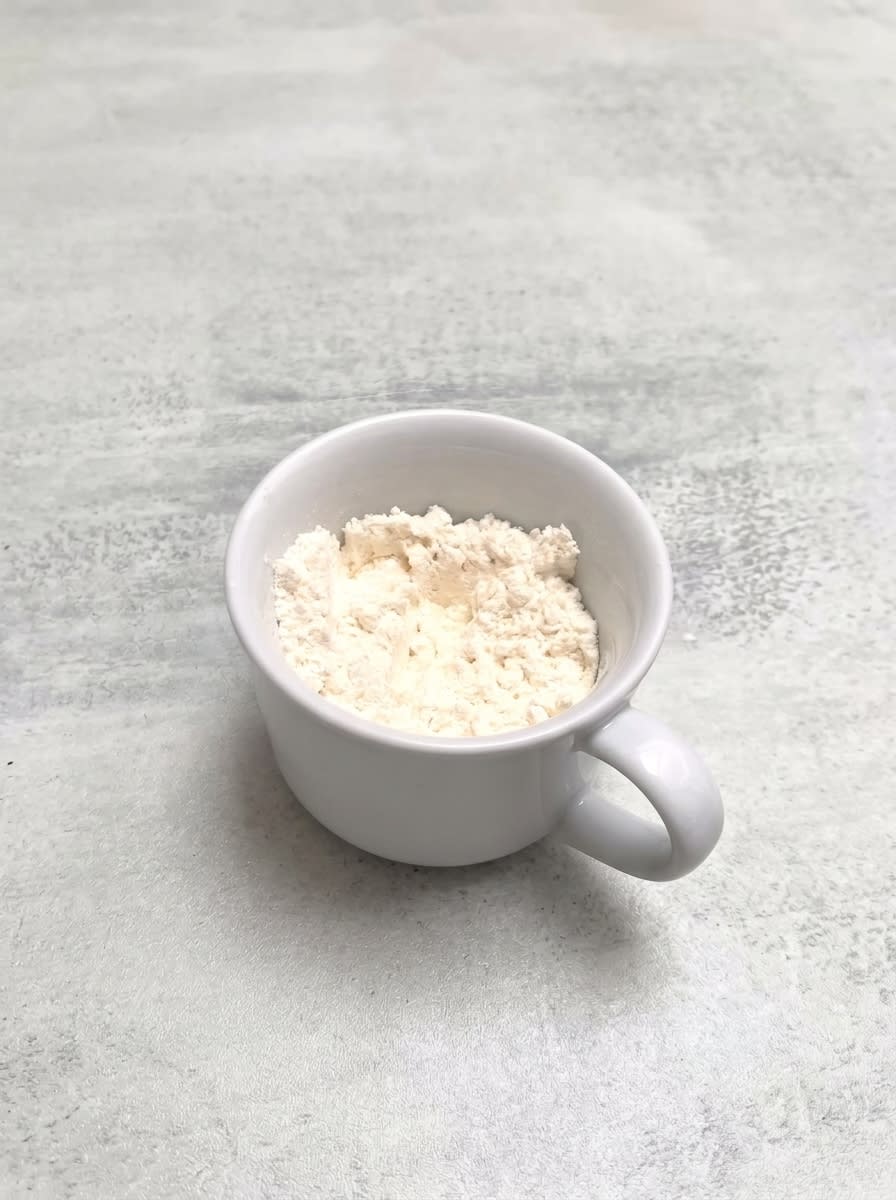
The beauty of a single-serving dessert lies in the simplicity of its components, each playing a vital role in creating a soft structure. When we bake without eggs, we rely on the delicate balance of fats and leavening to achieve a tender crumb. Every spoonful of flour and splash of milk contributes to the melting feel we want.
- All-Purpose Flour: This forms the structural foundation of our small cake, keeping the crumb light and tender rather than heavy. By using a precise, leveled measure of flour, we make sure the batter retains its delicate balance without becoming dense or dry. It is the canvas that allows the rich butter and warm vanilla flavors to shine.
- Granulated Sugar: Beyond adding a clean sweetness, sugar melts during cooking to help keep the cake moist and soft. It dissolves into the liquid ingredients, creating a glossy, tender structure that prevents the cake from drying out under microwave heat. A moderate amount ensures the cake remains sweet, never cloying.
- Melted Butter: We use butter to provide a rich, classic flavor and to coat the flour proteins, preventing a tough texture. This fat coats the gluten strands, ensuring they remain short and tender throughout the cooking process. It provides that traditional, bakery-style depth that oil alone cannot match.
- Whole Milk: Milk provides the essential moisture needed to hydrate the flour and activate the leavening agent. It creates a smooth, pourable batter that rises evenly under microwave radiation. Using whole milk adds a touch of dairy fat that contributes to a velvety, melting mouthfeel.
- Vanilla Extract: Real vanilla brings a warm, floral depth that reminds us of traditional hearth-baked treats. In a simple cake like this, the quality of your vanilla makes a significant difference in the final aroma. It infuses every bite with a sweet, comforting fragrance that fills your kitchen.
- Baking Powder: A tiny pinch is critical to lift the batter in the microwave, creating tiny air pockets for lightness. Because microwave cooking happens so rapidly, the leavening must react quickly to create an airy, fluffy crumb. Be careful to measure accurately, as too much can cause a soapy taste.
| Ingredient | Why It Matters |
|---|---|
| All-Purpose Flour | Provides the delicate structural base for a light crumb |
| Melted Butter | Adds rich moisture and keeps the cake tender |
| Whole Milk | Hydrates the dry ingredients for a smooth batter |
| Vanilla Extract | Infuses the warm, classic bakery scent and flavor |
| Baking Powder | Gives a quick rise to keep the texture fluffy |
Cake, Syrup, Rest
Step 1: Blend the Dry Base
Begin by whisking the all-purpose flour, granulated sugar, baking powder, and a tiny pinch of salt together inside your favorite ceramic mug. Use a small fork to stir them thoroughly, making sure the baking powder is evenly distributed throughout the white powder. You want to see a uniform, sandy mixture with no clumps remaining at the bottom of the mug. Taking this moment to mix well guarantees your cake will rise evenly without any bitter pockets. A thorough dry whisking also aerates the flour, which helps achieve a lighter texture.
Step 2: Incorporate the Liquids
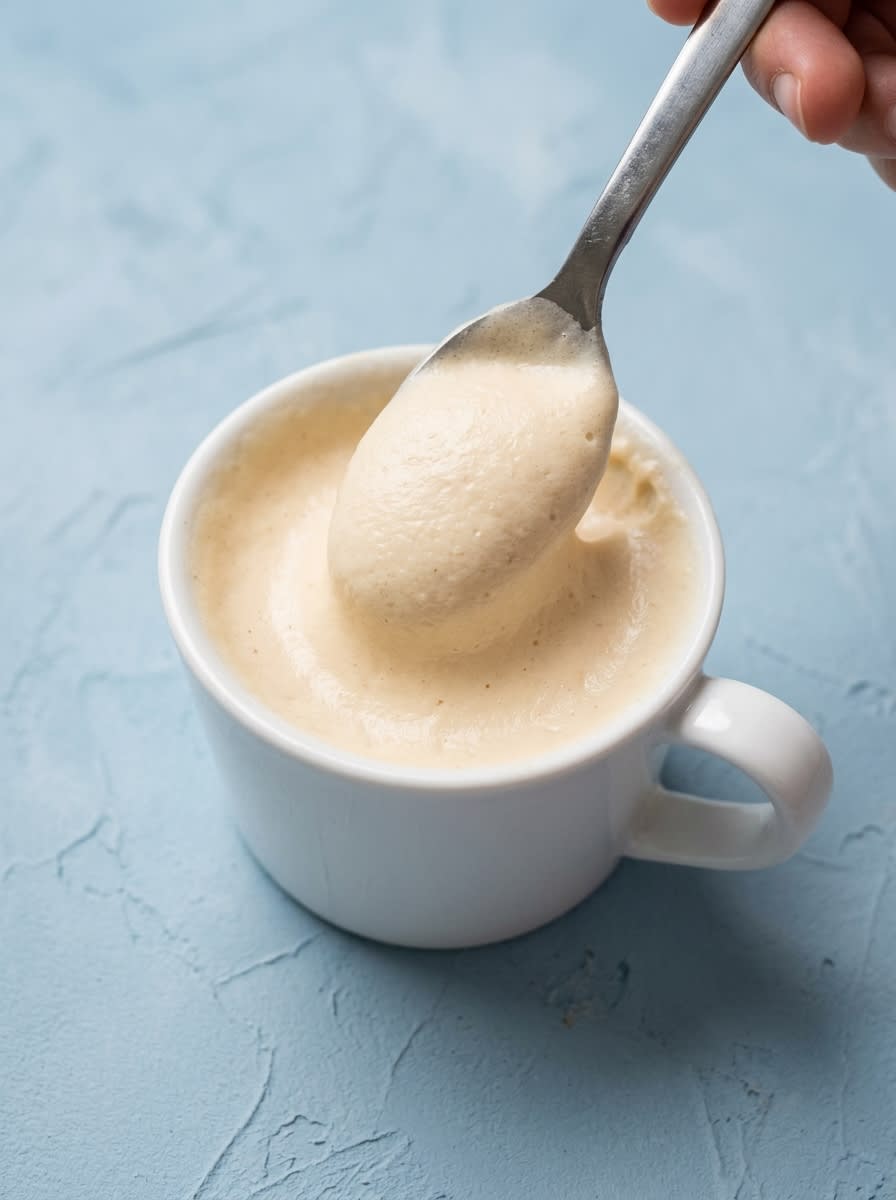
Pour the melted butter, whole milk, and warm vanilla extract directly into the dry mixture. Gently stir with your fork, making sure to scrape the deep corners and bottom curves of the mug where dry flour loves to hide. The batter will quickly transform into a smooth, glossy ribbon that flows easily from the tines of your fork. Take care not to overmix, as too much stirring can make the crumb dense. Stir only until the dry streaks disappear, preserving the delicate structure of the flour.
Step 3: Microwave Your 1-Minute Vanilla Mug Cake
Place the mug in the center of your microwave and cook on high power for seventy to ninety seconds. Watch through the glass as the batter slowly swells, rising up the sides of the mug in a gentle, warm wave. Stop the cooking when the center looks barely set but still retains a faint, glossy sheen on the very top. The cake will look slightly undercooked, which is exactly what we want for a melting texture. Overcooking by even ten seconds can turn this tender crumb into a dry, spongy mass.
Step 4: The Crucial Quiet Rest
Resist the temptation to plunge your spoon in immediately and let the mug rest inside the microwave for one full minute. During this quiet time, the residual steam completes the cooking process gently from the inside out. The cake will settle slightly, and the crumb will set into its final, tender state. This waiting period is where the magic of the texture truly happens. It allows the heat to redistribute, ensuring every spoonful is evenly soft and moist.
Step 5: Crown with Finishing Touches
Once the minute of resting is complete, carefully remove the warm mug from the microwave. Scatter a teaspoon of colorful sprinkles or a dusting of sugar over the glossy surface of the cake. The warmth of the cake will soften the sprinkles slightly, making them merge beautifully with the soft vanilla crumb. You will smell the rich aroma of sweet butter and vanilla rising in the steam. This simple decoration adds a festive touch to your quick dessert.
Step 6: Glide the Spoon
Take a small dessert spoon and slide it gently through the top layer of your warm treat. The spoon should glide through easily, meeting almost no resistance as it reveals the soft, steaming crumb beneath. Enjoy each bite slowly while the cake is still comfortably warm, appreciating the simple harmony of vanilla and butter. This is a quiet moment of sweetness, meant to be savored to the very last spoonful. Let the warmth linger on your tongue as you enjoy the simple comfort of home baking.
Patience-Pays-Off Tips
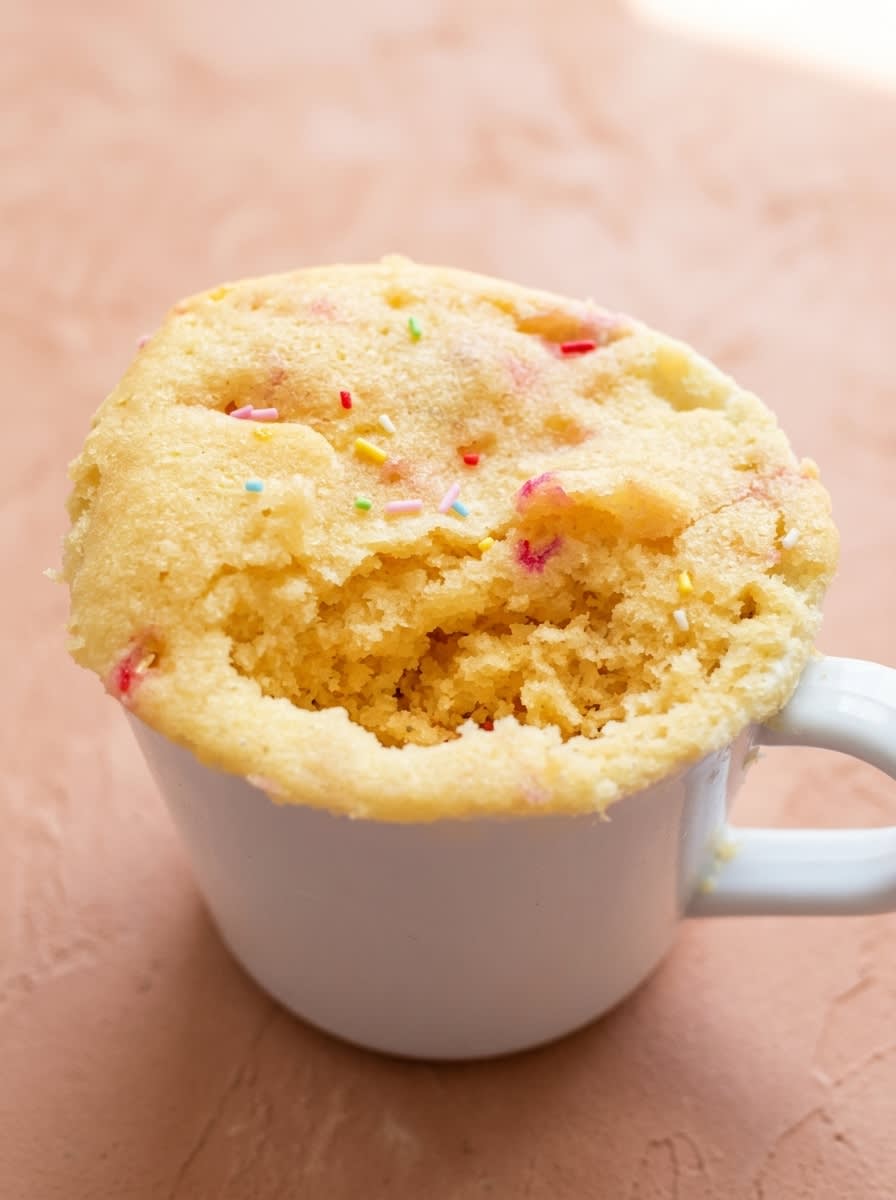
Using a mug that holds at least twelve ounces is key to preventing messy microwave overflows. A wider mug allows the heat to distribute more evenly, which helps the batter rise in a uniform manner. If your mug is too narrow, the heat will concentrate at the bottom, forcing the batter up too quickly and making the edges dry. A standard coffee mug or a wide ceramic teacup works perfectly for this recipe.
Always spoon your flour into the measuring cup and level it off with a flat knife rather than scooping directly from the bag. Scooping packs the flour tightly, adding too much starch to your batter and leading to a heavy, bread-like texture. For the lightest crumb, we want a loose, airy measure of flour that blends smoothly with the butter. To read more about mastering flour ratios in single-serving bakes, look at our lemon mug cake guide. This simple practice will transform all your microwave baking projects.
Microwave ovens vary greatly in wattage, so treating ninety seconds as a strict rule can sometimes lead to dry cake. Start cooking at seventy seconds, then check the surface of the cake to see if it has lost its wet look. If it still looks liquid, cook in small bursts of ten seconds to keep the cake tender. Knowing your microwave’s strength helps you avoid the common mistake of overbaking this delicate treat.
If your cake turns out rubbery or tough, you likely stirred the wet and dry ingredients too vigorously. Overmixing activates the gluten proteins in the flour, creating an elastic structure that becomes chewy when exposed to microwave heat. Mix only until the flour disappears to keep the crumb melting and soft. A gentle touch with a fork is all that is required to bring this batter together.
Make sure your melted butter has cooled to warm before adding it to the milk and flour. Adding boiling-hot butter can cook the flour starch prematurely, resulting in a gummy, wet texture that refuses to rise. Let the melted butter sit on your counter for two minutes to reach the perfect temperature. This brief pause prevents the milk from curdling and ensures a smooth batter.
Using ice-cold milk straight from the refrigerator will cause your melted butter to seize and form tiny solid clumps. These butter clumps will melt unevenly in the microwave, leaving greasy pockets in your finished cake. Warm your milk for ten seconds in the microwave to take the chill off before mixing. A consistent, room-temperature base of liquids is the secret to an even rise.
Baking in a microwave operates on different principles than a conventional oven, making precise timing and ratios incredibly important. To learn more about the science of microwave desserts and find additional measurements, you can read how to properly bake a vanilla mug cake on established culinary resources. This will help you understand how microwaves cook foods and why keeping the bake brief is key.
Frequently Asked Questions
Can you make a mug cake without eggs?
Yes, you can easily bake a wonderful mug cake without using any eggs. In fact, omitting the egg is the secret to keeping single-serving microwave cakes from turning spongy or rubbery. The combination of milk and melted butter provides plenty of moisture and richness to bind the batter together. This makes the recipe ideal for quick pantry baking when you do not want to crack a whole egg.
Why is my mug cake rubbery or chewy?
A rubbery texture is usually caused by overmixing the batter or overcooking the cake in the microwave. When you mix the flour too much, you develop gluten, which becomes tough under microwave heat. Cooking the cake for too long also dries out the moisture, leaving a chewy texture behind. Always stop cooking when the center is barely set to ensure a tender crumb.
Can I use oil instead of butter in a mug cake?
You can certainly use a neutral vegetable oil or mild olive oil in place of melted butter. Butter offers a richer, more traditional bakery flavor, but oil keeps the crumb incredibly moist and soft. If you choose oil, use the exact same measurement of two tablespoons. This is a great alternative if you want a dairy-free base.
Why did my mug cake overflow in the microwave?
Overflowing usually happens if your mug is too small or if you added too much baking powder. A standard mug of twelve ounces provides plenty of room for the cake to rise safely. Always measure your baking powder carefully, as even a tiny excess can cause the batter to swell out of control. It is also helpful to place the mug on a microwave-safe plate just in case.
Can I use self-raising flour instead of all-purpose flour?
Yes, self-raising flour works beautifully in this recipe as a simple shortcut. If you choose to use it, omit the baking powder and the pinch of salt from the dry ingredients. The self-raising flour already contains the perfect balance of leavening to give your cake a gentle rise. This adjustment keeps the process even faster while maintaining a light texture.
Why does my mug cake taste dense and tough?
A dense mug cake often results from packing the flour too tightly into your measuring cup. This excess flour throws off the wet-to-dry ratio, leaving the batter dry and heavy. For the best results, use a digital scale to weigh your flour or spoon it gently into your measuring cup. This ensures the flour remains airy and blends perfectly with the melted butter.
Can I prepare the dry ingredients in advance?
You can easily mix large batches of the dry ingredients together and store them in an airtight jar. When you want a quick dessert, measure out six tablespoons of the mix into your mug. Then, simply stir in the melted butter, milk, and vanilla before microwaving. This makes your late-night dessert ritual even faster and completely effortless.
Across the Mediterranean
To bring the warmth of a Mediterranean garden into your mug, swap the vanilla extract for a few drops of orange blossom water. Stir in a tablespoon of finely chopped raw pistachios before cooking to add a delicate crunch to the tender crumb. Once the cake rests, finish it with a small drizzle of warm honey to mimic the sticky, glossy feel of traditional syrup-soaked pastries. This floral variation brings a sun-soaked sophistication to a simple microwave bake.
Add a bright, sun-soaked note to your vanilla base by folding in half a teaspoon of freshly grated lemon zest. Drop three or four fresh berries into the center of the batter right before you microwave it. If you enjoy the bright harmony of fruit and vanilla, you will love our comforting easy blueberry mug cake recipe. The berries burst during cooking, creating sweet pockets of warm jam throughout the soft cake.
Stir a tiny pinch of ground cardamom and cinnamon into your dry ingredients to create a warm, aromatic base. Replace the melted butter with sweet almond oil, which lends a delicate nuttiness and a wonderfully soft, melting mouthfeel. Top the finished cake with toasted sliced almonds and a light dusting of powdered sugar for a simple, rustic finish. This spiced variation pairs beautifully with a cup of warm tea on a rainy afternoon.
Coffee & Cake Pairings
There is a gentle ritual in serving a warm cake, even one that comes together in a single minute. In my home, a sweet square of cake is never complete without a small cup of dark, unsweetened Turkish coffee. The intense bitterness of the coffee cuts through the buttery sweetness of the vanilla, creating a perfect balance on the palate. Sip the warm coffee slowly between spoonfuls of the tender cake, letting the flavors mingle in a slow, afternoon pause.
To transform this simple dessert into something truly special, top the warm cake with a spoonful of cool, thick clotted cream or high-quality vanilla bean ice cream. The cold cream will slowly melt into the warm, porous crumb, filling the tiny air pockets with rich moisture. If you prefer a richer chocolate profile for your evening coffee, you might also enjoy our decadent nutella mug cake recipe for your next quick dessert. The contrast between hot cake and cold cream is a sensory delight that never fails to please.
For a light afternoon treat, serve this cake alongside a steaming mug of black tea infused with a single slice of fresh lemon. The bright citrus notes of the tea complement the warm vanilla bean aroma beautifully. Present the mug on a small wooden tray with a linen napkin, turning a quick microwave bake into a slow, mindful moment of peace. This simple presentation makes a quick solo dessert feel like a warm invitation to relax.

Let It Rest, Then Slice
Baking does not always require hours of planning, heavy mixers, or a hot oven filling the house. Sometimes, the most satisfying comfort is the one we can hold in our hands within five minutes. This small vanilla cake reminds us that sweet moments can be simple, and that patience during the final resting minute is the true secret to a perfect texture. By slowing down to enjoy this quick bake, we honor the joy of single-serving treats.
The fork should glide through like butter, meeting only the soft warmth of a perfectly set crumb. Whether you enjoy it plain or with a handful of colorful sprinkles, this little cake is a testament to the joy of simple ingredients. If you wish to try another dessert with similar comforting flavors, our traditional classic vanilla cake offers a wonderful alternative for your next family gathering. It brings a bright touch of nostalgia to your kitchen whenever you need a quick refresh.
Please share your baking moments with us and let us know how your cake turned out. You can find more inspiration and connect with our community of bakers on Pinterest, Facebook, and Telegram. Let your cake rest, take a quiet breath, and enjoy the sweet melting texture of a dessert made just for you.