When that 9 p.m. sweet tooth strikes, you do not want to wait hours for a rich dessert to bake; you need a luxurious treat that comes together before your evening tea even finishes brewing.

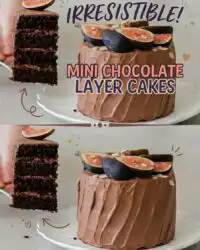
These petite treats deliver a deep cocoa flavor and a velvety crumb that feels like a weekend project, yet they require only twenty minutes of active effort. Using a few smart steps, we can bypass the usual heavy lifting of baking to create stunning, individual masterpieces that melt in your mouth. You do not need a special occasion to enjoy these beautiful Mini Chocolate Layer Cakes, which are designed to satisfy any late-night chocolate craving without leaving behind a sink full of messy baking dishes. With their tender texture and luscious chocolate whipping cream, they offer deep satisfaction with minimal fuss.
What Makes It Quick & Luscious to Bake Mini Chocolate Layer Cakes
Prep: 15 min · Serves: 1 · Difficulty: Easy
- Tender crumb achieved in record baking time.
- Rich cocoa flavor without tedious preparation.
- Ideal portion size avoids excessive leftover waste.
- Simple pantry ingredients create luxurious texture.
- Fast cleanup leaves more time to relax.
If you love baking a small cake but want something even more elegant, this recipe is your answer for a hassle-free dessert. This quick treat is my favorite way to satisfy a deep cocoa craving on a cozy weeknight without any stress.
Get The Full Cake Recipe
Print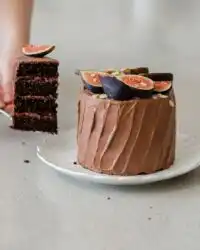
Mini Chocolate Layer Cakes
- Total Time: 40 mins
- Yield: 1 serving
- Diet: Vegetarian
Description
These decadent mini chocolate layer cakes feature a moist, velvety crumb and rich cocoa flavor, perfect for satisfying late-night cravings. They are quick to prepare, elegantly portioned, and come together with minimal kitchen equipment for a stress-free dessert.
Ingredients
- 1/4 cup hot water
- 1 tsp instant espresso granules
- 3 tbsp cocoa powder
- 2 tbsp milk
- 2 tbsp flavourless oil
- 1/2 cup all-purpose flour
- 1 tsp cornstarch
- 1/4 tsp baking soda
- 1/4 tsp baking powder
- Pinch of salt
- 1 large egg
- 1/3 cup white granulated sugar
- 1/2 cup whipping cream
Instructions
- Dissolve coffee and cocoa. Measure hot water and stir in espresso granules and cocoa powder until the mixture is completely smooth and glossy.
- Add wet ingredients. Whisk in the cold milk and flavourless oil until the mixture is fully emulsified and cooled slightly.
- Whisk dry ingredients. In a separate bowl, combine flour, cornstarch, baking soda, baking powder, and salt until evenly distributed.
- Whip egg and sugar. Beat the egg and granulated sugar together until the mixture turns pale, thick, and airy.
- Combine wet mixtures. Slowly pour the cooled chocolate liquid into the whipped egg mixture, whisking constantly to keep the batter uniform.
- Fold dry ingredients. Gently fold the sifted dry powders into the liquid base using a rubber spatula until just combined.
- Bake the cakes. Divide batter into parchment-lined tins and bake at 340°F (170°C) for twenty-five minutes until set.
- Cool and slice. Allow cakes to cool completely on a wire rack before slicing horizontally into layers with a serrated knife.
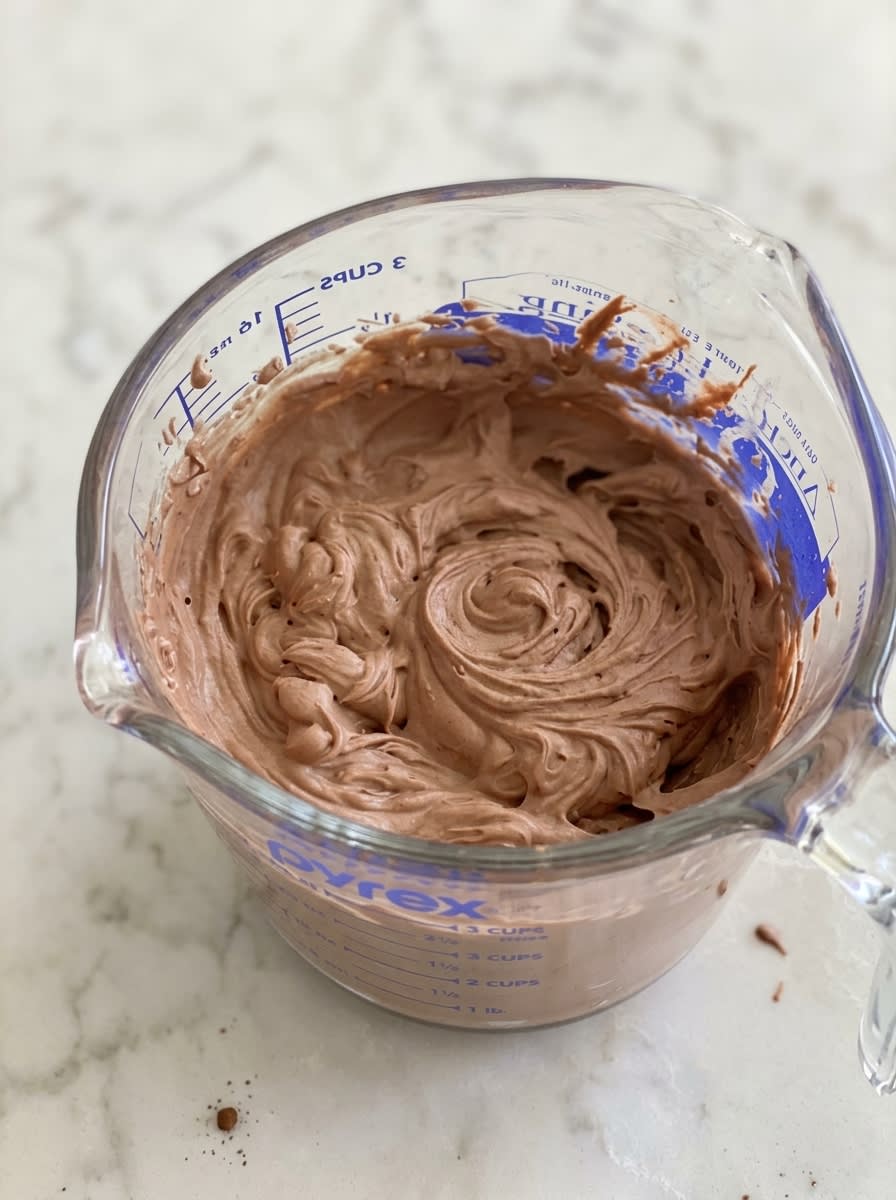
- Prepare the frosting. Beat cocoa powder, sugar, and cold whipping cream until medium-stiff peaks form.
- Assemble and decorate. Stack cake layers with generous amounts of cocoa cream in between, then frost the exterior and garnish as desired.
Notes
- Ensure the chocolate liquid is at room temperature before adding the eggs to prevent scrambling.
- Use a chilled metal bowl and cold beaters to guarantee the whipping cream holds its structure.
- If your frosting becomes grainy, fold in a small splash of cold cream to restore a silky consistency.
- Let the cakes cool entirely before frosting to avoid melting the cream and creating a messy texture.
- Prep Time: 15 mins
- Cook Time: 25 mins
- Category: Dessert
- Method: Baking
- Cuisine: Modern American
Quick-Bake Lineup
Preparing this delightful dessert requires only basic pantry staples that you likely already have in your kitchen cupboards. We use precise ratios to yield a wonderfully moist crumb without needing any elaborate specialty ingredients. Each component works together to build a deep chocolate profile that mimics hours of professional kitchen preparation.
Express doesn’t mean dry. By incorporating milk and flavourless oil, we create a sponge that stays wonderfully tender.
- Instant espresso granules: These intensify the natural chocolate notes without adding an overpowering coffee taste to the final bake.
- Cocoa powder: This provides the deep chocolate foundation for both the tender layers and the airy cream topping.
- Flavourless oil: It guarantees a moist, velvety texture that keeps the cake soft even when chilled.
- Cornstarch: It weakens the flour gluten to create an ultra-soft, delicate cake crumb.
- Whipping cream: This forms the base of our quick, silky frosting that whipped up in minutes.
| Ingredient | Why It Matters |
|---|---|
| Instant Espresso | Intensifies the chocolate taste |
| Flavourless Oil | Keeps the crumb soft and tender |
| Cornstarch | Softens the gluten for a velvet texture |
| Cocoa Powder | Provides deep chocolate flavor |
From Bowl to Spoon
Step 1: Dissolve Coffee and Cocoa in Hot Water
First, measure out your hot water and stir in the instant espresso granules and cocoa powder until completely smooth. The heat bloom releases the rich, aromatic oils in the cocoa, producing a deeper chocolate flavor profile. Watch as the mixture transforms into a dark, glossy liquid with no dry lumps remaining.
Step 2: Incorporate Milk and Oil
Next, pour the cold milk and your chosen flavourless oil directly into the warm chocolate mixture. Whisk these liquid ingredients together gently until they are fully emulsified into a smooth, cohesive base. The addition of milk cools the mixture down slightly so it is safe to combine with the eggs later.
Step 3: Whisk the Dry Ingredients
In a medium mixing bowl, combine your all-purpose flour, cornstarch, baking soda, baking powder, and a pinch of salt. Use a dry whisk to stir the powders together thoroughly, making sure the leavening agents are distributed evenly throughout. This aeration step prevents dense pockets from forming in your baked cake layers.
Step 4: Whip the Egg and Sugar
In a separate clean bowl, crack open your large egg and add the white granulated sugar. Use a hand mixer or a vigorous hand whisk to whip the mixture until it turns pale yellow and thickens slightly. This step incorporates microscopic air bubbles that will help our batter rise beautifully in the oven.
Step 5: Combine the Wet Mixtures for Mini Chocolate Layer Cakes
Slowly pour the cooled chocolate liquid into your whipped egg and sugar mixture while whisking constantly. Merge these ingredients gently so you do not deflate the delicate air bubbles you recently whipped into the egg base. The resulting batter should look uniform, liquid, and beautifully fragrant.
Step 6: Fold in the Dry Ingredients
Sift your dry flour mixture directly into the bowl with your combined wet ingredients. Use a rubber spatula to fold the dry powders into the liquid base with gentle, circular motions until the flour disappears. Be careful not to overmix at this stage, as too much stirring can make the final crumb tough.
Step 7: Bake the Layers to Perfection
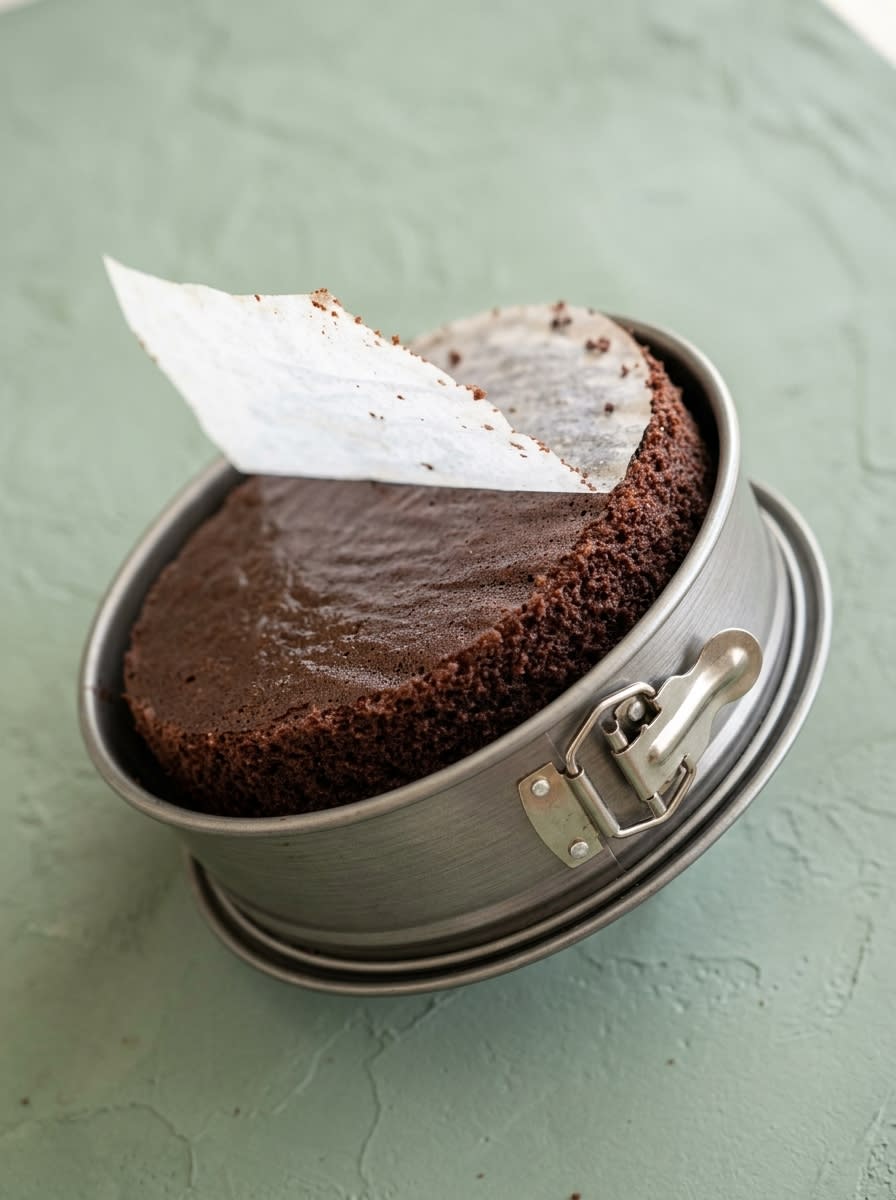
Divide your smooth batter evenly between two small, parchment-lined cake tins. Place them into your preheated oven at 340°F (170°C) and bake for approximately twenty-five minutes. You will know they are ready when the centers spring back to a gentle touch and a toothpick comes out clean.
Step 8: Cool and Slice Your Cake Layers
Remove the baked cakes from the oven and let them rest in their tins for about five minutes. Gently slide them out onto a wire cooling rack and peel away the parchment backing. Once the cakes are completely cool to the touch, use a sharp serrated knife to split them into your desired horizontal layers.
Step 9: Prepare the Rich Cocoa Frosting
In a chilled bowl, whisk together your cocoa powder and white granulated sugar to break up any fine lumps. Pour in your cold whipping cream and begin beating the mixture on medium speed until medium-stiff peaks start to form. The cream will hold its shape beautifully while remaining light and spreadable.
Step 10: Assemble and Decorate
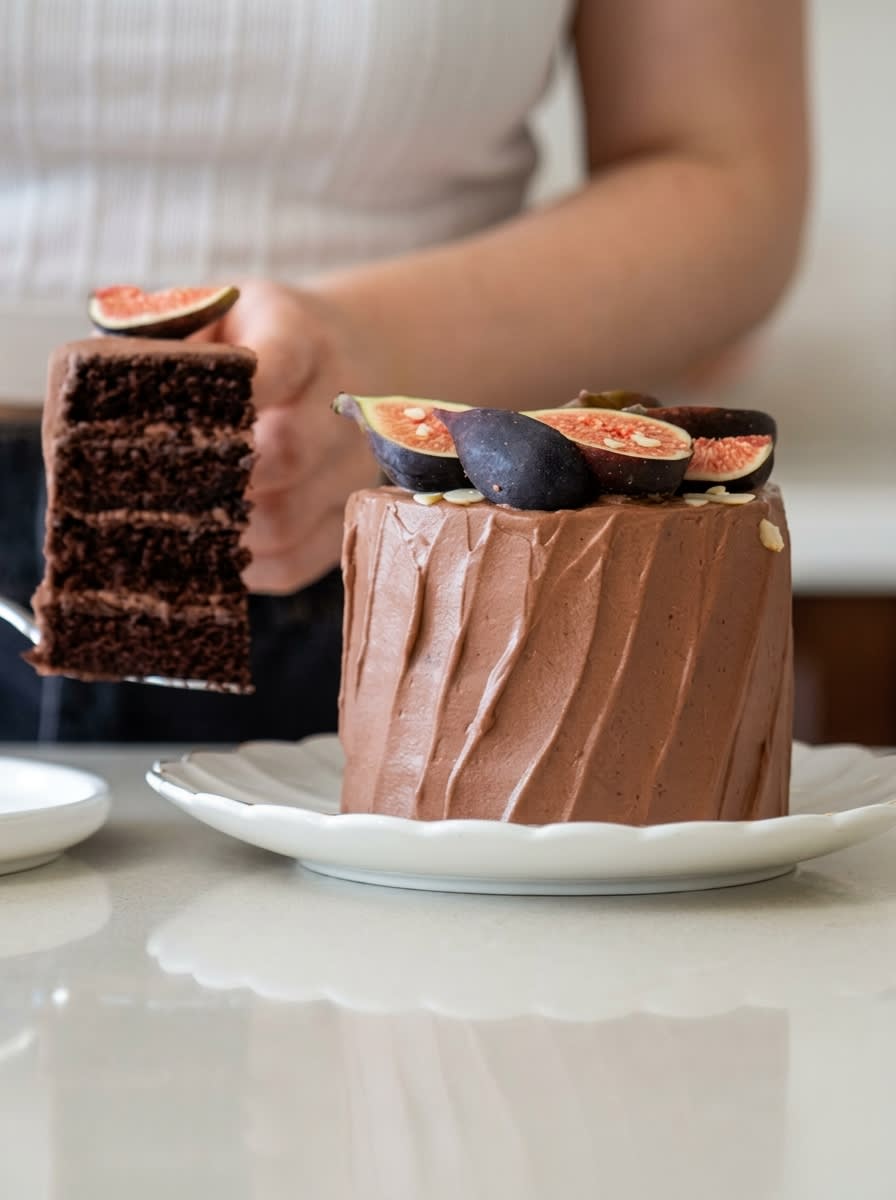
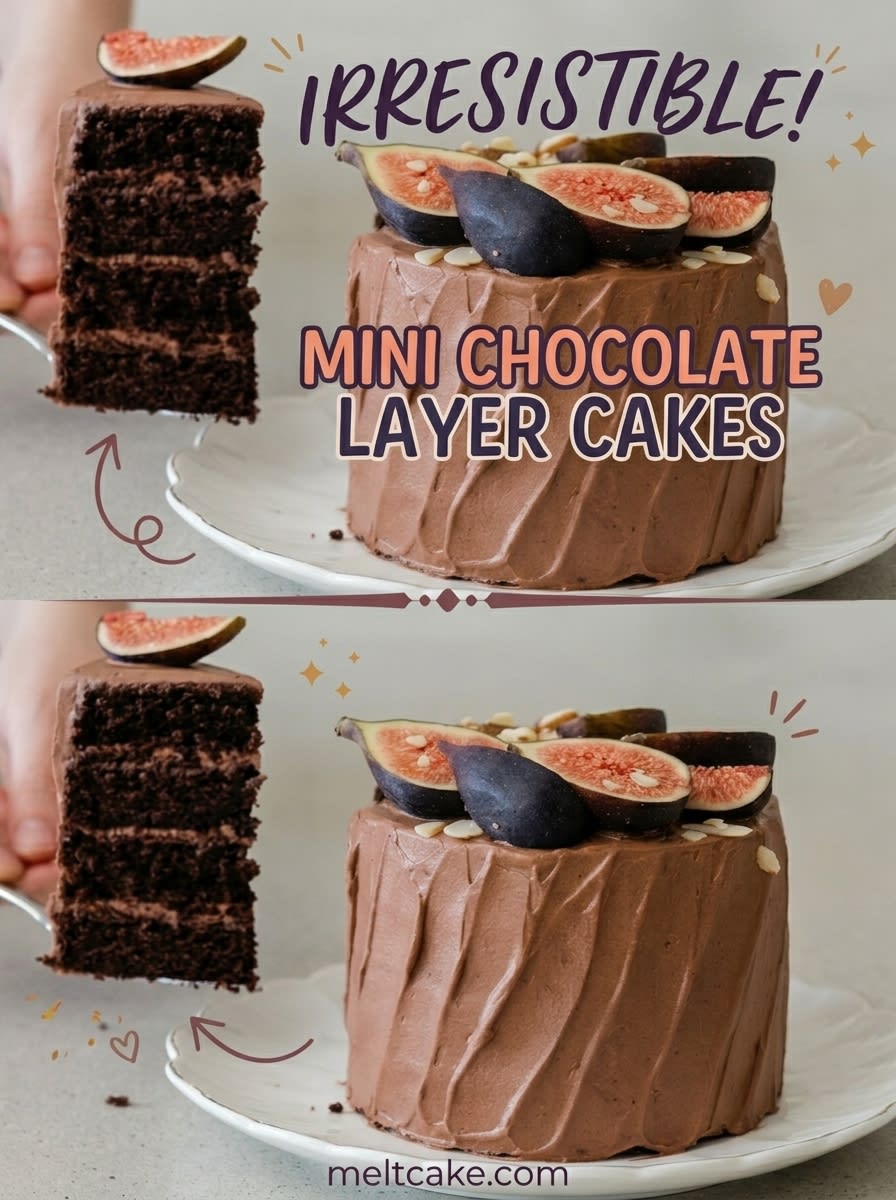
Place your first chocolate cake layer onto a serving plate and spread a generous dollop of cocoa cream over the top. Stack the remaining layers with cream in between, then frost the outside of the cake. Garnish your beautiful creation with fresh sliced figs and toasted almond slices before serving.
Keep It Luscious
Temperature control plays a vital role when working with small-scale baking components. Making sure your chocolate mixture cools down to room temperature before adding the whipped egg is essential. If the liquid is too hot, it will cook the egg proteins prematurely, ruining the texture of your batter.
When preparing the frosting, use a chilled metal bowl and cold beaters to speed up the process. Cold cream traps air much more efficiently, resulting in a stable cream that will not melt or slide off your layers. If your whipped cream begins to look curdled or grainy, do not panic. Add a tablespoon of unwhipped cold cream and fold it in gently with a spatula to restore the smooth texture.
Always line your mini tins with parchment paper to prevent sticking. Small bakes have delicate structures that can easily tear if they cling to the sides of the pan. For those wanting to learn more about single-serving baking techniques, checking out this guide on single-serving chocolate dessert technique can help you master portion-control baking.
If your finished cake feels slightly dry, brushing the layers with a spoonful of simple sugar syrup can save the day. This step adds instant moisture and sweetness without making the crumb soggy. When you are looking to master larger bakes, reading about a classic chocolate layer cake will give you excellent foundational skills for crumb-coating and slicing layers.
Let the baked layers cool completely before you attempt to slice or frost them. Warm cake will melt the whipped cream frosting instantly, turning your beautiful dessert into a messy puddle. Slicing warm cake also causes the crumb to tear and clump together instead of cutting cleanly.
Frequently Asked Questions
How Do You Make Mini Chocolate Layer Cakes?
You start by dissolving instant espresso and cocoa powder in hot water, then mixing in milk and oil. Separately, whisk the dry ingredients and whip an egg with sugar before combining everything into a smooth batter. Finally, bake the mixture in tiny lined tins, cool, slice into layers, and frost with cocoa whipped cream.
What is the Best Frosting for a Mini Chocolate Layer Cake?
A light cocoa whipped cream is the best choice because it provides a silky, melt-in-the-mouth texture that matches the soft sponge. It takes only a few minutes to whip up and does not feel heavy or cloying like traditional buttercream. You can easily adjust the sweetness of this whipped frosting to suit your personal taste.
How Many People Does a Mini Chocolate Layer Cake Serve?
This recipe is perfectly portioned to serve one person generously or two people for a light sweet treat. It is designed for those moments when you want a beautiful dessert without any leftover cake sitting on your counter. Slicing it into three thin layers makes it look incredibly elegant on a small dessert plate.
Why Do You Put Coffee or Hot Water in Chocolate Cake?
Hot water blooms the cocoa powder, which coaxes out the deepest chocolate flavors trapped within the dry powder. Adding instant espresso granules acts as a flavor enhancer, intensifying the chocolate notes without imparting any coffee taste. It is a simple baker shortcut that turns a basic cake batter into an incredibly rich dessert.
Can I substitute the oil with butter in this recipe?
You can use melted butter, but oil is highly recommended for keeping the cake crumb tender and moist. Butter contains water which can make the cake slightly more dense when baked on a small scale. Oil ensures the cake stays perfectly soft, even after sitting in the refrigerator.
How should I store these miniature desserts if I make them ahead?
Store the assembled cakes in an airtight container in the refrigerator for up to two days. Because the frosting is made with fresh whipping cream, keeping it cold is necessary for food safety and texture. Bring the cake out about ten minutes before serving to let the crumb soften slightly.
Is it possible to freeze the cake layers before assembling them?
Yes, you can freeze the un-frosted baked layers easily by wrapping them tightly in plastic wrap. They will keep well in the freezer for up to one month. When you are ready to assemble, thaw them at room temperature for fifteen minutes before applying the frosting.
Fast Flavor Swaps
Changing the flavor profile of this quick bake is incredibly easy and fun. For a fruity twist, add a spoonful of raspberry jam between the layers before spreading your chocolate whipped cream. The tartness of the berries cuts through the rich cocoa, creating a classic dessert pairing in minutes.
If you prefer a nutty variation, fold a tablespoon of smooth peanut butter or hazelnut spread into your whipped cream frosting. This creates a rich, decadent filling that pairs beautifully with the soft chocolate sponge. You can find similar flavor ideas in our guide for creating gorgeous mini cakes on a tight schedule.
For a spiced version, whisk a pinch of ground cinnamon and a dash of cayenne pepper into the dry ingredients. This subtle Mexican chocolate variation adds a warming kick that makes the dessert feel extra cozy on cold winter evenings. Experimenting with these small adjustments allows you to create a customized dessert every single time.
Spoon It While It’s Warm
Serving these beautiful individual treats is all about celebrating the cozy luxury of single-portion baking. Place your assembled creation on a small, elegant dessert plate and dust the top with a tiny pinch of extra cocoa powder. The rich chocolate layers contrast beautifully with a side of fresh seasonal berries or a scoop of vanilla bean ice cream.
For a truly comforting experience, serve this treat alongside a warm mug of herbal tea or a fresh espresso. The warmth of the drink complements the cool, silky texture of the chocolate whipped cream frosting. If you are preparing this for a casual celebration, setting up a bento cake recipe display with multiple flavors can make your dessert table look incredibly charming.
Sharing this dessert with a friend is easy when you present it with two small dessert spoons. The soft texture allows you to cut straight through the layers effortlessly, making every bite an ideal mix of cake and cream. It is the ideal way to end a quiet evening at home with someone special.
Bake It Tonight
There is no need to wait for a special occasion to enjoy a decadent homemade dessert. This simple recipe proves that you can enjoy a beautifully layered treat on a busy weeknight without spending hours in the kitchen. With its rich cocoa flavor and silky whipped frosting, it satisfies your deepest cravings in under an hour.
These beautiful individual layers are quick on the clock, slow on the spoon, allowing you to savor every rich mouthful.
If you enjoyed this baking project, you might also like trying our recipe for mini vanilla layer cakes for your next dessert craving. Making smaller bakes is a wonderful way to practice your decorating skills without wasting ingredients. Gather your mixing bowls tonight and treat yourself to a luscious, individual masterpiece that feels like pure luxury.
For more quick dessert inspiration and recipe updates, join our community on our social channels. Share your beautiful baking creations with us on Pinterest and follow our updates on Facebook. You can also find fun behind-the-scenes videos on TikTok or chat with fellow bakers on Telegram today.