A rich platter of sweet chocolate brownie cake pops rests beside small cups of bitter Turkish coffee, waiting patiently on our sun-warmed terrace as afternoon fades to twilight.

These delicate Brownie Cake Pops offer a velvety, melting crumb that feels deeply luxurious with every slow, deliberate bite. Creating them requires no elaborate bakery equipment, but rather a gentle touch and a willingness to let the chocolate cool in its own time. We shape the dense, fudgy chocolate dough into glossy spheres before wrapping them in a crisp, dark mantle that snaps pleasantly under the fork.
Why These Brownie Cake Pops Melt the Way They Do
Prep: 10 min · Serves: 24 · Difficulty: Medium
- Rich cocoa flavor satisfies deeply.
- Velvety texture melts like butter.
- Crisp chocolate shell snaps beautifully.
- Easy preparation using simple staples.
- Fine chocolate notes balance sweetness.
We delight in shaping these elegant cake pops for our quiet afternoon gatherings. This quiet recipe will bring patience and joy back to your dessert table.
Get The Full Cake Recipe
Print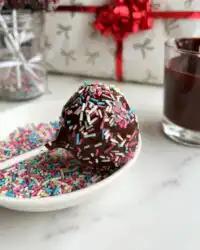
Brownie Cake Pops
- Total Time: 2 hours 40 mins
- Yield: 24 pops
Description
These decadent brownie cake pops feature a rich, velvety fudge interior encased in a crisp, glossy chocolate shell. Perfectly portioned and easy to customize, they make an elegant treat for any afternoon gathering or dessert table.
Ingredients
- Boxed fudge brownie mix
- Chocolate candy melts
- Solid shortening
- Cake pop sticks
- White sprinkles
Instructions
- Bake and cool. Prepare the brownie mix according to package directions, then allow it to cool completely at room temperature.
- Prepare the base. Trim the dry outer edges off the cooled brownie slab and retain only the soft, moist center for the dough.
- Shape the spheres. Crumble the brownie center in a bowl until fine, then mash and roll into uniform, walnut-sized spheres.
- Insert the sticks. Place the brownie balls on parchment paper and insert a lollipop stick into the center of each sphere.
- Chill the pops. Freeze the tray for at least two hours to firm the brownie mixture for dipping.
- Melt the chocolate. Microwave the candy melts with a small amount of shortening in thirty-second intervals until smooth and pourable.
- Dip the pops. Submerge each chilled brownie ball into the chocolate, lifting straight up to let excess drip off.
- Decorate and set. Add sprinkles while the coating is tacky, then stand the pops upright in a foam block to harden completely.
Notes
- Ensure the brownies are completely cool before crumbling to prevent a greasy texture.
- Use a consistent rolling pressure to create uniform spheres that dip evenly.
- Maintain the dipping chocolate at a warm, fluid consistency without overheating it.
- Do not store finished pops in the refrigerator to avoid condensation forming on the shell.
- Prep Time: 10 mins
- Cook Time: 30 mins
- Category: Dessert
- Method: Baking and Chilling
- Cuisine: Mediterranean-inspired
From the Mediterranean Pantry
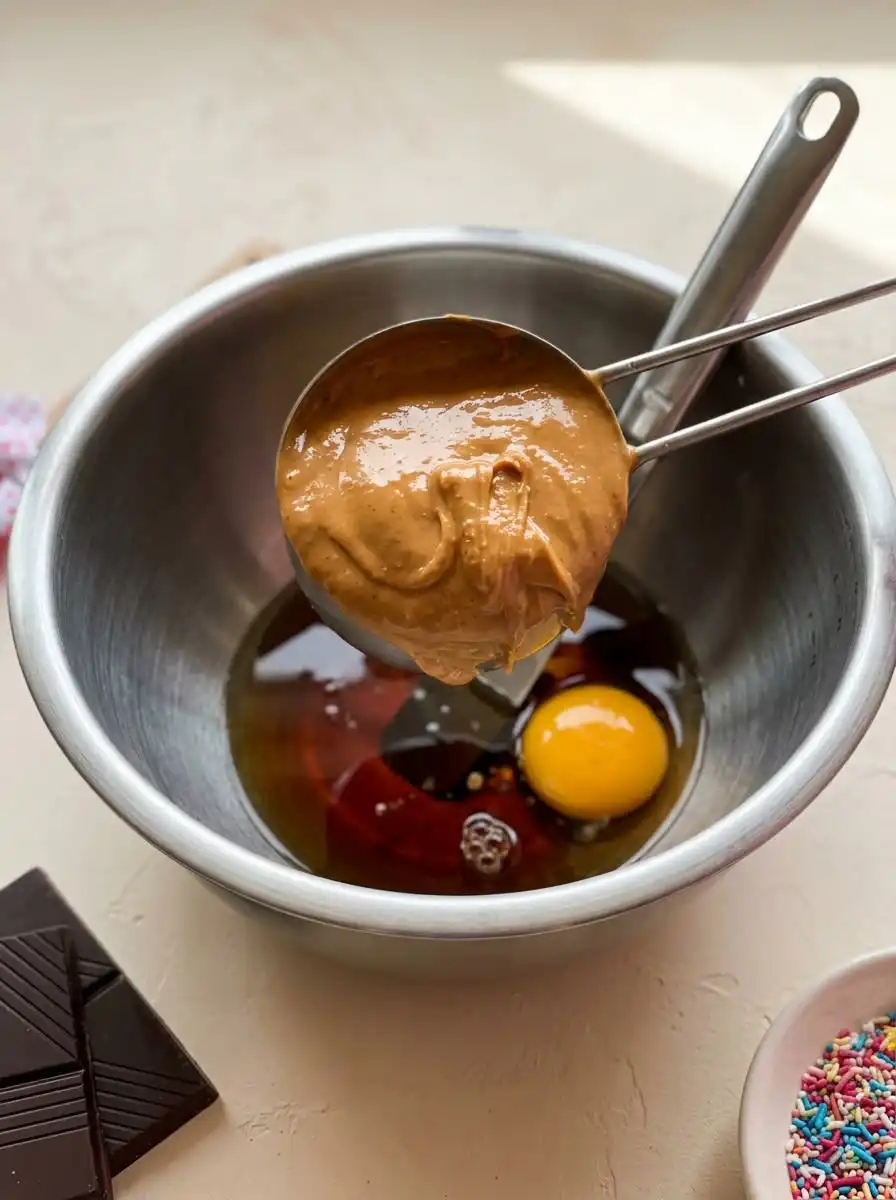
To build these exquisite chocolate creations, we select elements that prioritize moisture and deep cocoa richness. Every component works in quiet harmony to produce a dense, melting core protected by a thin chocolate shell. Let us look at what we will gather on our counter before we begin.
- Boxed Fudge Brownie Mix: This ingredient provides the deep, reliable cocoa base that guarantees our centers remain incredibly rich and moist.
- Chocolate Candy Melts: We select these to create a glossy, smooth shell that sets beautifully with a clean, satisfying snap.
- Shortening: Adding a small touch of this fat helps thin the melted chocolate coating to a silky, pourable consistency.
- Cake Pop Sticks: These sturdy anchors support the heavy brownie spheres as we dip them into our warm chocolate bath.
- White Sprinkles: A light dusting of these simple decorations provides a lovely visual contrast against the dark chocolate exterior.
| Ingredient | Why It Matters |
|---|---|
| Fudge Brownie Mix | Creates a dense, velvety crumb |
| Candy Melts | Forms a smooth protective coating |
| Shortening | Thins the chocolate to a glossy sheen |
| White Sprinkles | Offers a beautiful visual finish |
From Bowl to Soak
Step 1: Bake and Cool the Base
We begin by baking the chocolate fudge brownie mix according to your package instructions in a standard pan. Let the rich aroma fill your kitchen as the chocolate sets, then allow the pan to cool completely at room temperature. Rushing this step ruins the delicate crumb, so let the baked sheet rest until it is cool to the touch.
Step 2: Remove the Crisp Edges
Once cooled, gently lift the baked sheet from the pan and place it on a clean board. We carefully slice away the dry, chewy outer edges of the brownie and discard them, keeping only the moist center. This guarantees that every single bite is completely uniform, velvety, and free from hard, crusty fragments.
Step 3: Crumble and Shape the Dough
Place the soft brownie centers into a wide mixing bowl and crumble them finely with your fingertips. Mash the rich crumbs together with your hands until they form a cohesive, clay-like dough that holds its shape. Roll this mixture gently between your palms to shape individual, glossy spheres about the size of a walnut.
Step 4: Insert the Sturdy Sticks
Line a baking tray with clean parchment paper and place your rolled chocolate spheres upon it. Gently push a clean lollipop stick into the center of each round chocolate ball, stopping about halfway through. This anchor will support our heavy brownie pops once we prepare them for their chocolate bath.
Step 5: Freeze for Structural Strength
Slide the entire tray into the freezer and let the chocolate shapes chill for a full two hours. This long rest is vital because it firms the fat within the brownie dough, keeping the balls intact during dipping. Do not shorten this quiet freezing window, as warm brownie balls will surely slide off their sticks.
Step 6: Melt the Chocolate Coating
In a microwave-safe bowl, combine your chocolate candy melts with a small touch of solid shortening. Heat the mixture in gentle thirty-second intervals, stirring thoroughly between each round to distribute the warmth evenly. Continue until you have a glossy, flowing river of warm chocolate that glides off your spoon like silk.
Step 7: Dip the Brownie Cake Pops
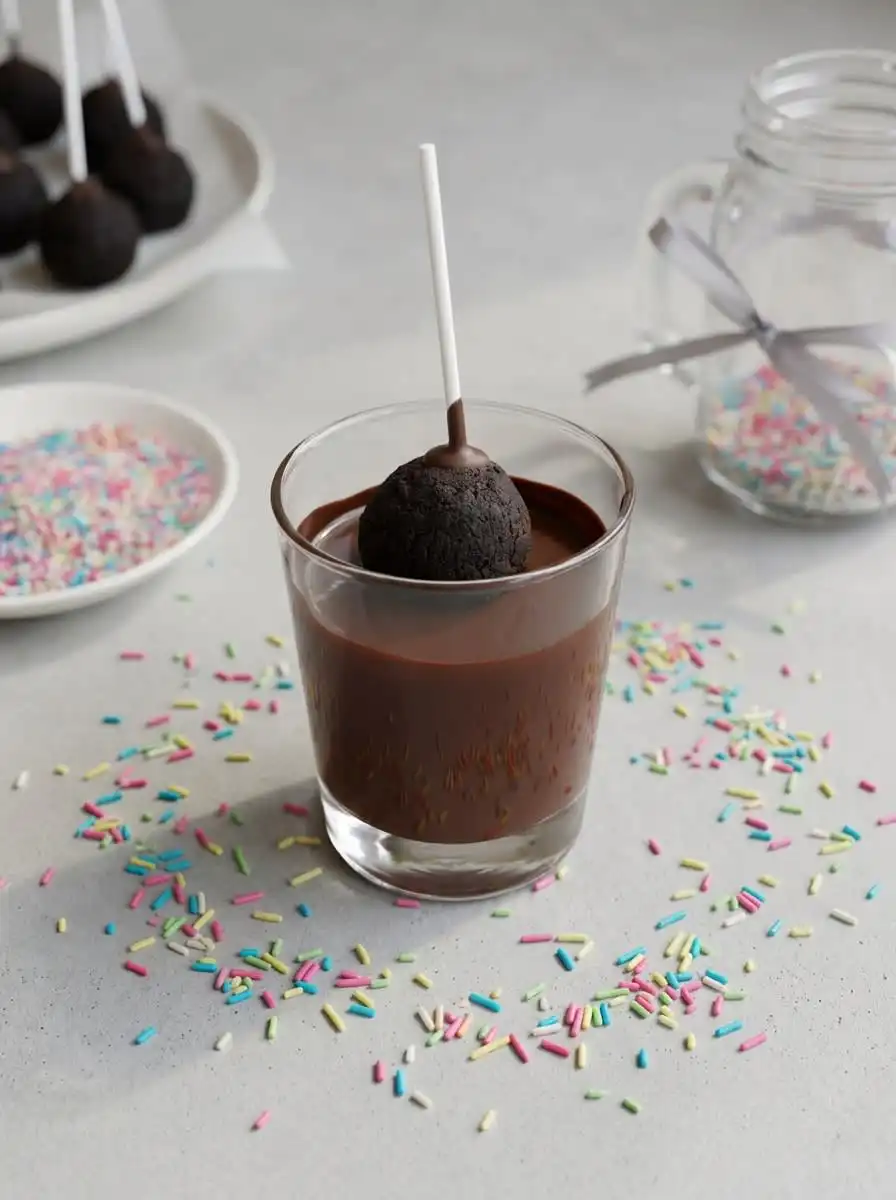
Hold a chilled chocolate sphere by its stick and plunge it completely into the warm candy mixture in one smooth movement. Gently lift the pop straight up, allowing any excess coating to drip slowly back into your melting bowl. The cold brownie will begin setting the warm glaze almost instantly, creating a smooth finish.
Step 8: Decorate and Dry
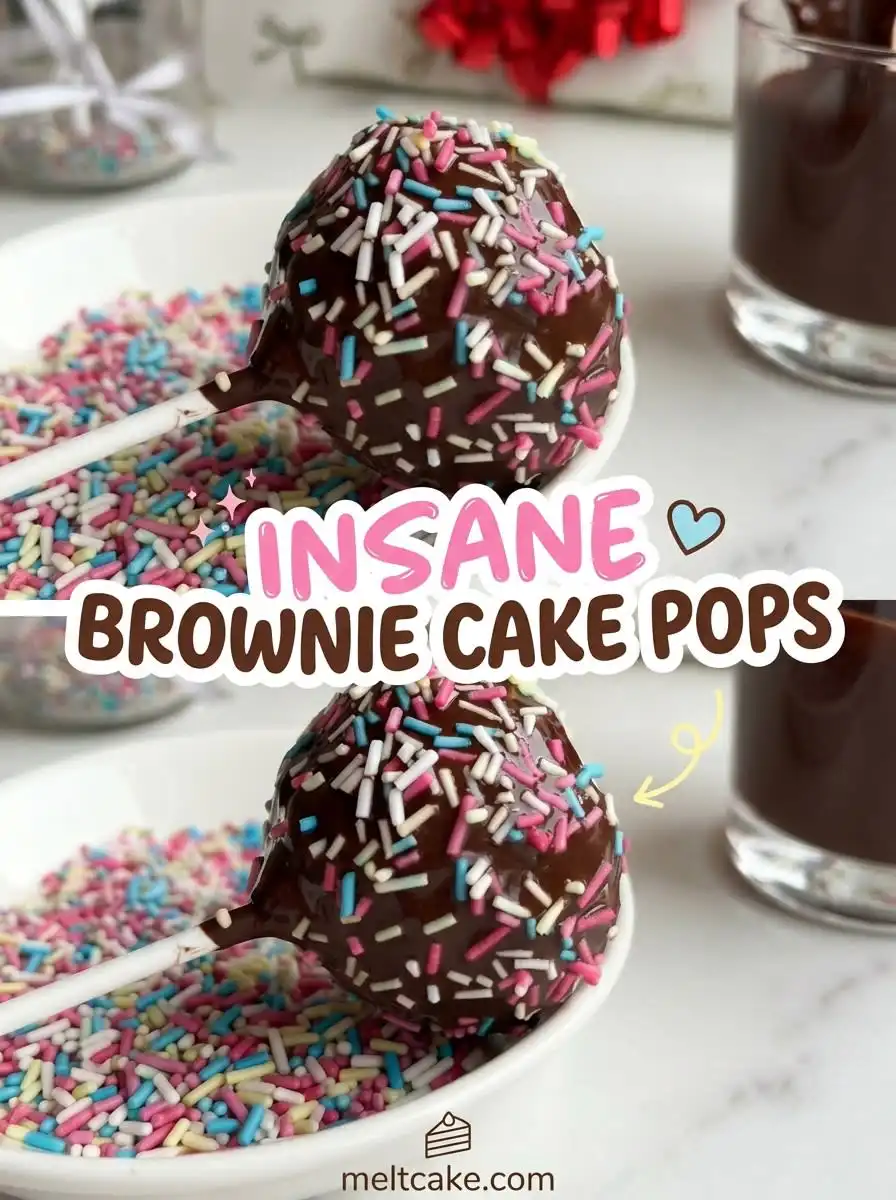
While the chocolate coating remains slightly tacky, scatter a few white sprinkles over the top of the spheres. Place the finished sticks upright into a thick block of foam to dry undisturbed at room temperature. Let them sit until the outer shells harden completely into a gorgeous, matte-gloss shield.
Patience-Pays-Off Tips
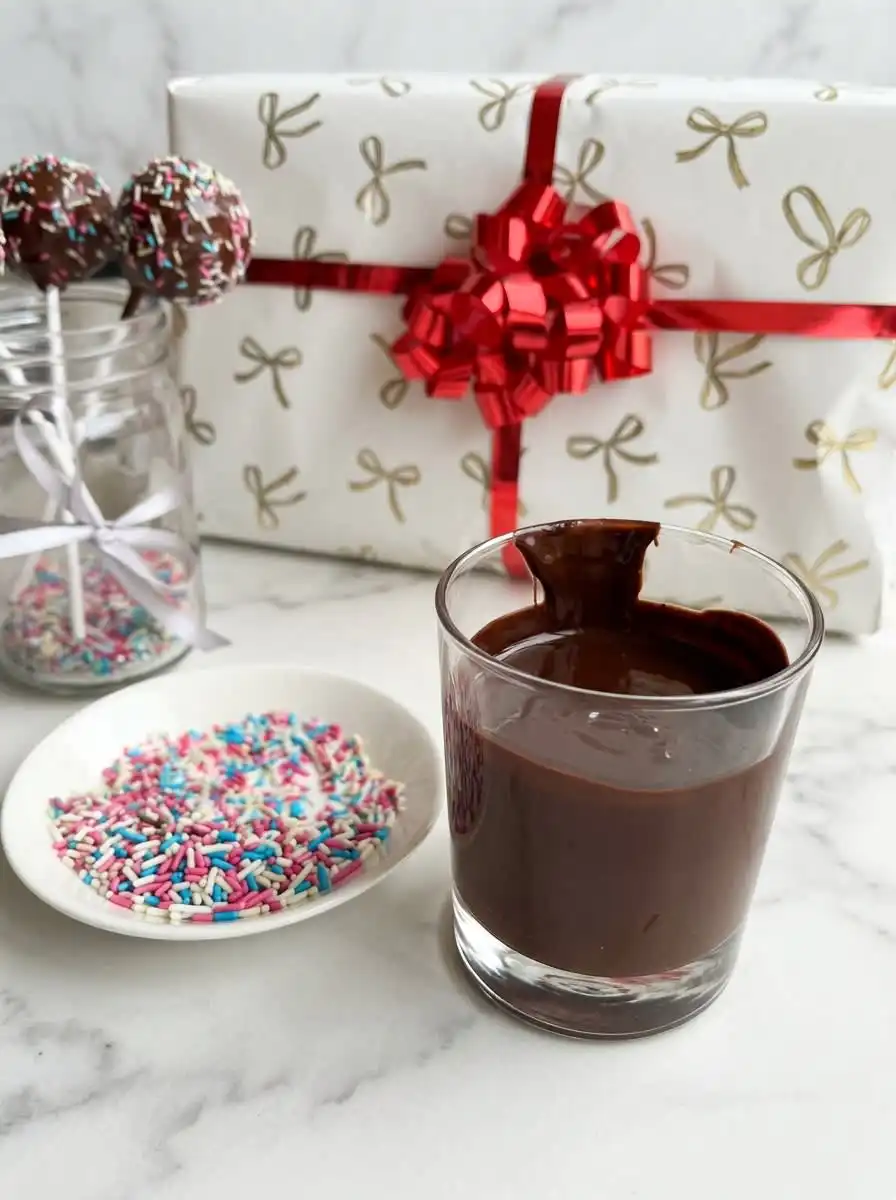
Keep the dipping chocolate warm but never hot. If the candy glaze becomes too hot, it will melt the chilled brownie ball on contact, causing the crumb to disintegrate into your clean bowl. You can keep your bowl over a pan of warm water off the heat to maintain the ideal flow.
If your Brownie Cake Pops fall off the stick during dipping, your chocolate mixture might be too thick and heavy. You can easily fix this common failure mode by stirring in an extra teaspoon of solid shortening to thin the glaze. To learn more about mastering dough consistency, read our guide on making classic vanilla cake pops with a smooth finish. For more details on troubleshooting, you can also consult this expert fudgy brownie truffle technique to refine your dipping skills.
Discard the crispy baked edges of the brownies without regret. While those edges are wonderful for snacking, they introduce tough, dry pockets into your cake balls. A uniform, velvety texture can only be achieved by using the ultra-soft, fudgy center of the baked slab.
Tap the stick gently against the side of your bowl to remove excess glaze. Use a soft, rhythmic motion instead of shaking the stick vigorously. Hard shaking will loosen the connection between the chilled brownie dough and the stick, causing the sphere to drop.
Avoid storing your completed Brownie Cake Pops in the refrigerator. The cold air inside a fridge creates condensation on the cold chocolate shells as they warm up. This moisture causes the sugar in the coating to dissolve, leaving unsightly white streaks and sticky drops on your beautiful chocolate creations.
Do not use liquid vegetable oils to thin your coating chocolate. Liquid oils do not set solid at room temperature, which will leave your chocolate shell permanently soft, sticky, and greasy to the touch. Always choose solid shortening or cocoa butter for thinning.
Frequently Asked Questions
What can I use to bind the crumbled brownies?
Unlike typical sponge cakes, fudgy brownies are naturally dense and moist enough to bind themselves without extra frosting. Merely mashing the soft, warm crumbs with your hands will bring them together into a smooth dough. If your brownies are slightly dry, you can add a single teaspoon of melted chocolate or heavy cream.
Why do my brownie pops fall off the stick?
This usually happens when the brownie balls are not chilled enough or the chocolate coating is too thick. If the chocolate is heavy, it will pull the cold dough off the stick as you lift it. Make sure you freeze the spheres for a full two hours and thin your chocolate with a bit of shortening.
Can I use boxed brownie mix instead of homemade?
Yes, using a high-quality boxed fudge brownie mix is actually preferred for this recipe. It promises a consistent, dense crumb that holds its shape beautifully without falling apart. It also saves time, allowing you to focus on the art of dipping and decorating.
Can I freeze Brownie Cake Pops?
You can easily freeze the shaped brownie balls before dipping them for up to three months in an airtight container. If you have already coated them in chocolate, we do not recommend freezing Brownie Cake Pops. The freezing and thawing process creates moisture that ruins the glossy finish of the candy coating.
Can I use candy melts instead of real chocolate for the coating?
Candy melts are highly recommended because they melt evenly and set very quickly at room temperature. Real chocolate can be used, but it must be properly tempered to prevent it from blooming or remaining soft. Candy melts provide a foolproof way to achieve that beautiful, snappy shell.
Is this recipe suitable for a specific holiday theme?
These versatile treats can be styled to fit any celebration by changing the color of the candy coating and sprinkles. You can use green and red sprinkles for winter holidays, or pastel shades for a spring gathering. They make a lovely centerpiece for any festive dessert table.
Should I make my brownie mixture fudgy or cakey?
You should always aim for a dense, fudgy texture when baking the base for these pops. Cakey brownies contain more air and have a lighter crumb, which makes them crumble too easily and fall off the sticks. A fudgy bake acts like a rich truffle, holding together beautifully when shaped.
Across the Mediterranean
To bring a touch of the sun-drenched orchards to your kitchen, stir a tablespoon of finely grated orange zest into the warm brownie dough. The bright, fragrant citrus oil cuts through the deep, heavy chocolate richness in a way that recalls traditional Aegean cakes. You can also coat these orange-scented spheres in dark chocolate and top them with candied orange peel for a striking look.
For those who cherish a nutty texture, roll your freshly dipped pops in finely crushed roasted pistachios or sliced almonds instead of sprinkles. The salty crunch of Mediterranean nuts balances the sweet, melting chocolate beautifully. If you love deep, aromatic flavors, you can try our rich recipe for red velvet cake pops to add a colorful contrast to your dessert table.
Introduce a splash of aromatic flower waters to your next batch. Adding only a tiny splash of orange blossom water or rose water to the brownie mixture heightens the aroma to something reminiscent of Syrian sweets. This delicate floral note pairs beautifully with a dark chocolate coating and a light dust of cocoa powder.
Coffee & Cake Pairings
When presenting these rich chocolate treats, we love to arrange them on a dark ceramic platter to let the white sprinkles stand out. They look beautiful placed at the center of a low wooden table where guests can reach for them easily. To balance the intense sweetness of the fudge, always serve a beverage that offers a clean, contrasting flavor profile.
A small cup of unsweetened, dark roasted Turkish coffee is the ideal companion to these decadent spheres. The bitter, earthy notes of the coffee cut through the rich cocoa fat, cleansing your palate between bites. For an alternative presentation, you can display these treats alongside a larger sliced brownie cake to offer different textures of chocolate.
If you are hosting a warm afternoon gathering, a cold glass of mint-infused black tea is another wonderful pairing. The cooling sensation of the mint combined with the rich chocolate creates a refreshing contrast that feels very Mediterranean. This thoughtful combination of hot drinks and sweet, melting bites invites everyone to slow down and savor the sunset.
Let It Rest, Then Slice
Learning how to make Brownie Cake Pops is an exercise in patience, and waiting for these chocolate bites to chill is where the magic truly happens. When you finally take that first bite, the snappy shell giving way to a velvety, fudgy center makes every minute of waiting worthwhile. It is a sweet reminder that the best things in life cannot be rushed.
We hope you gather your loved ones around a sun-warmed table to share these beautiful chocolate creations soon. If you enjoyed this recipe, you might also love making our classic oreo cake pops for your next weekend project. Let the sweet aroma of baking chocolate fill your home and bring a sense of slow, peaceful joy to your kitchen.
Please share your baking journey with our warm community of home bakers online. You can connect with us, share photos of your kitchen creations, and find more sweet inspiration on Pinterest, Facebook, and TikTok. We look forward to seeing how your chocolate pops turn out.