During my early training in London, I learned that true pastry beauty lies in the structural reveal. This Red, White and Blue Layered Flag Cake is not merely a dessert; it is a masterclass in internal architecture and crumb precision. When you slice into this sponge, the geometric alignment of the colors speaks to a baker who understands the importance of exact measurements.

Achieving the perfect American flag pattern inside a cake requires more than just mixing colors. We focus on the tensile strength of the white cake layers and the specific viscosity of the frosting to maintain the integrity of our ‘stripes.’ This particular method uses a calibrated cutting technique to ensure every guest receives a perfect piece of patriotic art.
A Masterpiece of Structural Cake Design
This Red, White and Blue Layered Flag Cake represents the perfect marriage of visual triumph and technical execution. Most bakers struggle with color bleeding or uneven layers, but our methodical approach creates sharp, distinct lines that mimic the flag with uncanny precision. You will find immense satisfaction in the process of ‘hiding’ the design, knowing that the structural integrity of your cake will remain steadfast until the first slice is taken. It is a showstopper precisely because it rejects the chaos of a swirl and demands the discipline of the grid. This cake proves that when we respect the geometry of the sponge, we create a more beautiful mouthfeel. The alternating layers provide a rhythmic texture that balances the airiness of the whipped frosting with the dense, vibrant crumb of the tinted cake.
Print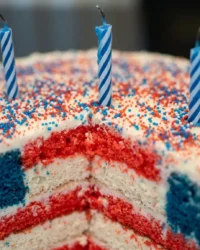
Red, White and Blue Layered Flag Cake
- Total Time: 2 hours 30 mins
- Yield: 12 servings
- Diet: Vegetarian
Description
Impress your guests with a stunning geometric reveal inside this patriotic masterpiece. By combining precise trimming techniques with vibrant tinted sponge, this cake creates a perfect American flag pattern in every slice.
Ingredients
- 2 boxes (15.25 oz each) premium white cake mix
- Water, vegetable oil, and eggs as required by cake mix instructions
- Red paste food coloring
- Blue paste food coloring
- 1/2 cup star-shaped candy sprinkles
- 3 containers (16 oz each) whipped fluffy white frosting
Instructions
- Preheat oven to 350°F (175°C) and line two 8-inch round cake pans with parchment paper and nonstick spray.
- Prepare the first cake mix with whole eggs, water, and oil; tint with red paste color and bake for 28 to 33 minutes.
- Cool red layers in pans for 10 minutes, then transfer to wire racks to cool completely for at least one hour.
- Mix the second cake mix using only egg whites to maintain brightness; pour half into one pan and tint the rest blue, folding in star sprinkles.
- Bake the white and blue layers for 28 to 33 minutes, then cool and refrigerate for 30 minutes to firm up for trimming.
- Level all layers with a serrated knife and slice the red layers horizontally to create four thin discs.
- Use a 4-inch round cutter to remove centers from one thin red layer, one thin white layer, and the full blue layer.
- Stack a solid red layer, frosting, a solid white layer, frosting, and another red layer to build the base stripes.
- Place the blue cake ring on top and fill its center by alternating 4-inch red and white discs with thin layers of frosting.
- Cover the entire cake in a thin crumb coat of frosting, chill for 20 minutes, and then apply the final smooth layer of white frosting.
Notes
Using gel or paste-based food coloring is essential for achieving the deep crimson and navy tones without thinning the batter. For the most professional look, ensure each 4-inch insert is leveled to the exact same height as the blue ring before sealing with frosting.
- Prep Time: 45 mins
- Cook Time: 1 hour 5 mins
- Category: Dessert
- Method: Baking
- Cuisine: American
The Components of a Structural Triumph

To build a cake that stands five inches tall without leaning, we must select ingredients that offer both stability and vibrant pigmentation. The foundation relies on a white cake base, which provides the blank canvas necessary for our gel-based colors to pop.
- Premium White Cake Mix: We use this as our base for its consistent crumb structure and reliable rise. The protein content in these mixes is specifically designed to support the weight of multiple layers.
- Red and Blue Paste Food Color: Unlike liquid dyes, paste or gel-based pigments offer intense saturation without altering the moisture content or the chemical balance of the batter.
- Star-Shaped Candy Sprinkles: These are folded into the blue batter to represent the stars, adding a micro-crunch that contrasts with the soft sponge.
- Whipped Fluffy White Frosting: The frosting must act as the mortar between our ‘bricks’ of cake. It needs to be light enough to melt on the tongue but stable enough to hold the vertical structure in place.
- Whole Eggs vs. Egg Whites: Note that we use whole eggs in the red layers for added richness, while the white and blue layers require egg whites to maintain the purity of the pigment colors.
The Method of Architectural Assembly
Step 1: Thermal Preparation and Pan Lining
Set your oven to 350°F (175°C), or 325°F (163°C) if utilizing dark, nonstick pans which absorb heat more aggressively. Precision starts with the pan; spray the bottoms and sides of two 8-inch round cake pans. Line the bases with parchment paper to guarantee a clean release. A clean edge is paramount for the structural reveal later.
Step 2: Formulating the Crimson Foundation
Prepare the first cake mix according to the box instructions, incorporating the whole eggs, water, and vegetable oil. Integrate the red paste food color until you achieve a deep, vibrant crimson. Divide the batter with mathematical equality between the two pans to ensure both layers bake to the exact same height.
Step 3: The Initial Bake and Cooling Phase
Bake the red layers for 28 to 33 minutes. The technical cue for readiness is a toothpick inserted into the center coming out clean, indicating the internal crumb has set. Allow the pans to rest on a wire rack for precisely 10 minutes before removing the cakes. This allows the structure to firm up slightly while still warm, preventing the sponge from tearing. Cool completely for at least one hour.
Step 4: Crafting the Blue Field and White Stripes
Repeat the preparation with the second cake mix, this time using only egg whites to preserve the brightness of the colors. Pour half of the batter into one prepared 8-inch pan. With the remaining batter, fold in the blue paste food color and the star sprinkles. The sprinkles should be distributed evenly to ensure every bite of the ‘stars’ section has a consistent texture. Pour the blue batter into the final pan.
Step 5: Secondary Bake and Stabilization
Bake these layers following the same 28 to 33-minute window. Temperature control is vital here; if the oven is too hot, the white cake will brown excessively, ruining the clean white stripes. Cool these layers completely on a wire rack. I recommend chilling the cakes in the refrigerator for 30 minutes once they reach room temperature; a cold cake is much easier to trim with precision.
Step 6: Geometric Trimming and Cutting
Flatten all cake layers by removing the domed tops with a long serrated knife. For the red layers, slice them horizontally to create four thin red discs. Using a 4-inch round cutter, remove the center from one thin red layer and one thin white layer. For the blue layer, keep it at its full height but cut a 4-inch hole in the center. This creates the ‘cavity’ where our stripes will live inside the blue field.
Step 7: Structural Assembly and Mortaring
Place one solid red layer on your serving platter and apply 1/3 cup of frosting, spreading it to the very edge. Top with a solid white layer, followed by more frosting, and then another red layer. This forms the base stripes. Now, place the blue ring on top. Inside that blue ring, place the 4-inch red and white discs you cut earlier, alternating them with a thin layer of frosting. This hidden internal stack creates the flag’s corner detail.
Step 8: The Crumb Coat and Final Polish
Apply a thin ‘crumb coat’ of frosting over the entire exterior to lock in any loose fragments of red or blue sponge. Chill for 20 minutes to set this layer. Finally, apply the remaining whipped frosting in a smooth, thick layer. This white exterior acts as the ultimate camouflage for the patriotic triumph waiting inside.
Precision Secrets for the Perfect Reveal
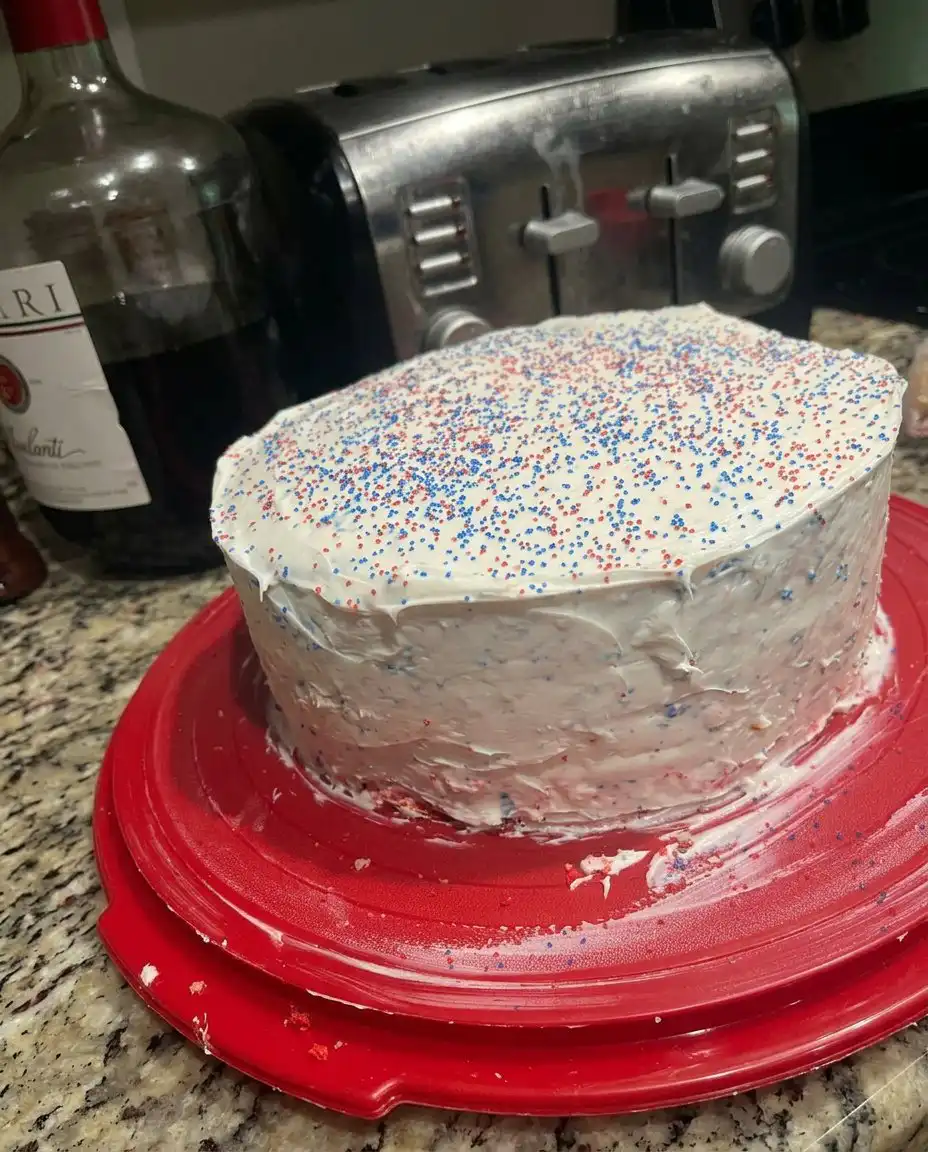
When trimming the layers, always use a rotating cake stand and keep your serrated knife perfectly horizontal. The most common error in this Red, White and Blue Layered Flag Cake is a sloping stripe, which happens when the cake isn’t leveled correctly. If you find your cake is too soft to handle, wrap it in cling film and freeze it for 20 minutes; this firms up the fats and makes the crumb much more manageable. For more structural wisdom on holiday bakes, you should see our guide on the flag-cake. Remember that the frosting between the thin layers must be exactly the same thickness to maintain the visual rhythm of the flag. If you use too much frosting, the layers will slide; if you use too little, they won’t adhere.
Technical Tweaks for Advanced Bakers
While this recipe uses a convenient mix, you can apply this same geometry to a scratch-made Genoise for a lighter, more sophisticated texture. For a fruit-forward variation, consider using a dense strawberry-vanilla-cake base for the red layers, which adds a natural acidity that cuts through the sweetness of the frosting. You can also swap the star sprinkles in the blue field for tiny dots of white buttercream piped with a #2 tip if you want a more artisanal appearance. If you prefer a more decadent finish, a white chocolate ganache can be used as the internal ‘mortar’ to provide even more structural stability in warmer climates.
Presentation Precision and Textural Balance
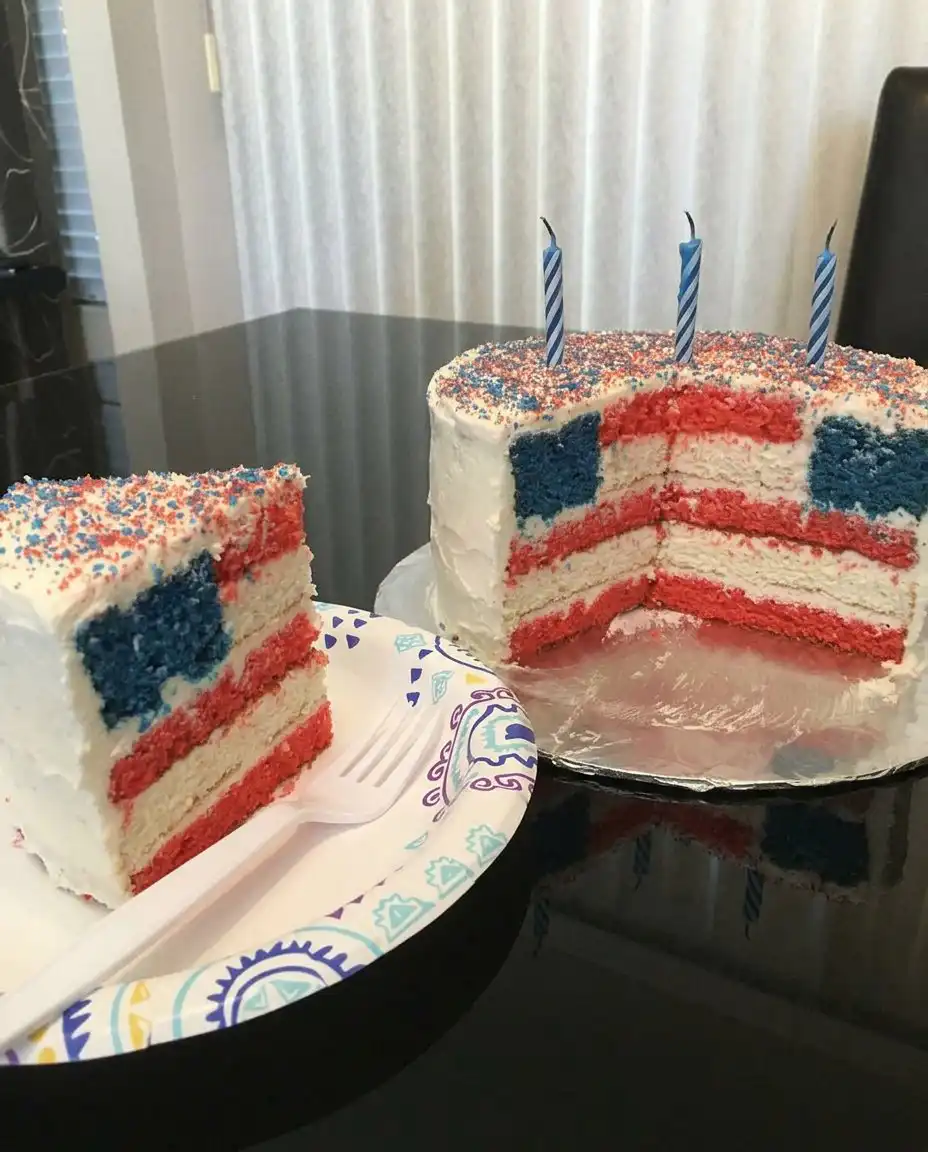
To truly honor the craftsmanship of this cake, serve it on a simple white pedestal to let the internal colors be the focus. I recommend serving this alongside a bowl of fresh, macerated berries to provide a bright, tart contrast to the creamy frosting. For a truly coordinated dessert table, you might also consider pairing it with our red-white-and-blue-cake which offers a different textural profile. Always bring the cake to room temperature for at least 30 minutes before serving; this allows the fats in the sponge to soften, ensuring that the cake melts on the tongue as intended. Use a sharp serrated knife for the first cut to maintain the geometric integrity of the flag pattern.
Master the Craft of the Patriotic Reveal
Building this Red, White and Blue Layered Flag Cake is a testament to your growth as a technical baker. It requires patience, precise measurements, and a deep understanding of how a cake’s structure serves its final presentation. Once you master this internal layering technique, the possibilities for surprise-inside cakes are endless. For another technical challenge that explores the balance of fruit and sponge, I invite you to try our raspberry-white-chocolate-cake. Please share your technical triumphs with our community on Pinterest, Instagram, or Facebook. Seeing your successful crumb reveals is the greatest reward for any pastry chef.