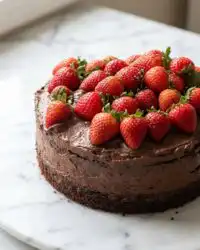
During my early years of pastry training in a traditional London kitchen, I was taught that the finest desserts are those that balance architectural integrity with a delicate melt. The challenge of a perfect chocolate mousse cake lies in the structural foundation—creating a sponge that is light enough to disappear on the tongue yet sturdy enough to support a dense, velvet mousse. This recipe represents the culmination of those technical lessons, focusing on the precision of temperature and timing to achieve a professional-grade result.

This specific preparation utilizes a moist, cocoa-enriched base and a pudding-stabilized mousse to guarantee a clean slice and a superior mouthfeel. By following this methodical approach, you will create a three-layered masterpiece that transitions from a dark, humid cake to a light, airy whipped finish.
Structure Meets Texture
This dessert is a masterclass in the physics of pastry, focusing on the interplay between a dense crumb and an aerated topping. Unlike many mousse-based cakes that collapse or weep when removed from their molds, this recipe uses a precise ratio of instant pudding and heavy cream to create a stable internal matrix. This structural wisdom allows the cake to maintain its beautiful layers for days, making it the ideal centerpiece for high-stakes celebrations.
You will appreciate the way the oil-based sponge remains remarkably tender even when refrigerated, a common technical hurdle when using butter-based cakes which tend to harden. The inclusion of hot water in the batter blooms the cocoa solids, extracting a depth of flavor that offsets the sweetness of the whipped topping. It is a sophisticated, balanced, and technically sound creation that proves precision is the key to culinary beauty.
Print
Chocolate Mousse Cake
- Total Time: 7 hours 20 mins
- Yield: 16 servings
- Diet: Vegetarian
Description
This technically-driven dessert combines a moist, cocoa-enriched sponge with a stabilized chocolate mousse and a light whipped topping. It is specifically designed to balance architectural integrity with a delicate, melting texture, making it an ideal centerpiece for any celebration.
Ingredients
- All-purpose flour
- 2 TBSP cornstarch
- Baking powder
- Baking soda
- Salt
- Dutch-processed cocoa powder
- Oil
- Granulated sugar
- Brown sugar
- Eggs
- Vanilla extract
- Vinegar
- Buttermilk
- Sour cream
- Hot water
- Instant chocolate pudding mix
- Milk
- Heavy cream (36% fat)
- Powdered sugar
Instructions
- Preheat oven to 350℉ (177℃) and prepare a 9-inch springform pan with baking spray and a parchment paper circle.
- In a large glass bowl, whisk together the flour, cornstarch, baking powder, baking soda, salt, and cocoa powder.
- In a separate vessel, combine the oil, sugars, eggs, vanilla, vinegar, buttermilk, and sour cream; gradually whisk in the hot water to bloom the cocoa.
- Slowly pour the liquid mixture into the dry ingredients and whisk gently until the batter is smooth.
- Pour batter into the pan and bake for 33–36 minutes; cool in the pan for 10 minutes before moving to a cooling rack.
- Combine the instant pudding mix and milk, beating on high speed for two minutes until a thick paste forms.
- Beat the heavy cream, cocoa, and vanilla in a chilled metal bowl until stiff peaks form.
- Gently fold the whipped cream into the pudding mixture using a spatula to preserve aeration.
- Level the cooled cake, place it back in the springform pan lined with acetate, spread the mousse evenly, and refrigerate for at least 6 hours.
- Beat the remaining cream, powdered sugar, cocoa, and vanilla until medium peaks form and spread over the cake before serving.
Notes
To achieve the most professional presentation, ensure your cake layer is completely cooled to room temperature before adding the mousse. For a perfectly stable whipped topping, use a chilled metal bowl rather than plastic to help the fat solids maintain their structure. Using a warm, wet knife to slice the cake will produce clean layers without dragging the mousse into the sponge.
- Prep Time: 45 mins
- Cook Time: 35 mins
- Category: Dessert
- Method: Baking
- Cuisine: American
The Technical Foundation

The quality and state of your ingredients are the primary factors in determining the final texture of this cake. Each component serves a specific structural purpose.
- All-Purpose Flour and Cornstarch: We use a precise blend to control protein levels. The cornstarch (2 TBSP) effectively lowers the overall gluten content, resulting in a tender crumb that offers less resistance to the fork.
- Dutch-Processed Cocoa Powder: This provides a darker color and a smoother, less acidic chocolate flavor than natural cocoa, which is essential for the refined palate of this dessert.
- Buttermilk and Sour Cream: These provide the necessary acidity to react with the baking soda, producing carbon dioxide for a controlled, even rise. They also contribute fat for a moist mouthfeel.
- Instant Chocolate Pudding Mix: This serves as a stabilizer for the mousse. The starches in the mix bind the moisture in the heavy cream, preventing the mousse from deflating or becoming soggy.
- Heavy Cream (36% Fat): It is vital to use cream with a high fat content to ensure the creation of stable air pockets when whipped. This is what provides the structural lift for the top two layers.
- Hot Water: Adding water at a temperature near boiling at the end of the mixing process helps to fully hydrate the cocoa particles and creates a thin batter that bakes into a delicate, uniform texture.
The Method
Step 1: Prepare the Structural Environment
Preheat your oven to 350℉ (177℃). Prepare a 9-inch springform pan by applying a thin coating of baking spray and lining the bottom with a precise parchment paper circle. This double-layer protection guarantees the cake will release without tearing the delicate crumb.
Step 2: Sift and Integrate Dry Components
In a large glass bowl, whisk together the flour, cornstarch, baking powder, baking soda, salt, and cocoa powder. Sifting these ingredients is a critical technical step; it removes lumps and aerates the mixture, ensuring the leavening agents are distributed evenly throughout the structure.
Step 3: Emulsify the Liquid Base
In a separate vessel, combine the oil, granulated sugar, brown sugar, eggs, vanilla, vinegar, buttermilk, and sour cream. Use a whisk to emulsify these ingredients until the mixture is uniform. Gradually pour in the hot water while whisking constantly; this prevents the heat from cooking the eggs and helps bloom the cocoa.
Step 4: Final Batter Integration
Slowly pour the liquid mixture into the dry ingredients. Whisk with a gentle but firm hand until the batter is smooth and no pockets of dry flour remain. Avoid over-mixing at this stage, as excessive agitation can develop too much gluten and toughen the cake.
Step 5: Precision Baking
Pour the batter into the prepared pan and place it in the center of the oven. Bake for 33–36 minutes. To check the internal structure, insert a toothpick; it should come out clean or with a few moist crumbs. Let the cake rest in the hot pan for exactly 10 minutes before transferring it to a cooling rack to reach room temperature.
Step 6: Prepare the Stabilized Mousse
In a large bowl, combine the instant pudding mix and milk. Beat on high speed for two minutes until a thick, uniform paste forms. This creates the foundational structure for your mousse layer.
Step 7: Achieve Stiff Peaks
Using a chilled metal bowl and whisk attachment, beat the heavy cream, cocoa powder, and vanilla. Monitor the texture closely; you are looking for stiff peaks that hold their shape without appearing grainy. This aeration provides the “melt” in your mousse.
Step 8: The Folding Process
Using a large rubber spatula, gently fold the whipped cream into the pudding mixture. Use a “cut and lift” motion to preserve the air bubbles you have painstakingly created. Once combined, the mousse should be light but hold its weight.
Step 9: Assembly and Chilling
Level the cooled cake using a serrated knife to remove any dome. Place the cake back into the springform pan and line the perimeter with acetate or parchment paper. Spread the mousse evenly across the top and refrigerate for at least 6 hours to allow the structure to set fully.
Step 10: Final Whipped Topping
Beat the remaining heavy cream, powdered sugar, cocoa, and vanilla until medium peaks form. Remove the springform ring and the acetate liner. Top the cake with the whipped cream, creating decorative swirls for a professional finish.
Precision Secrets
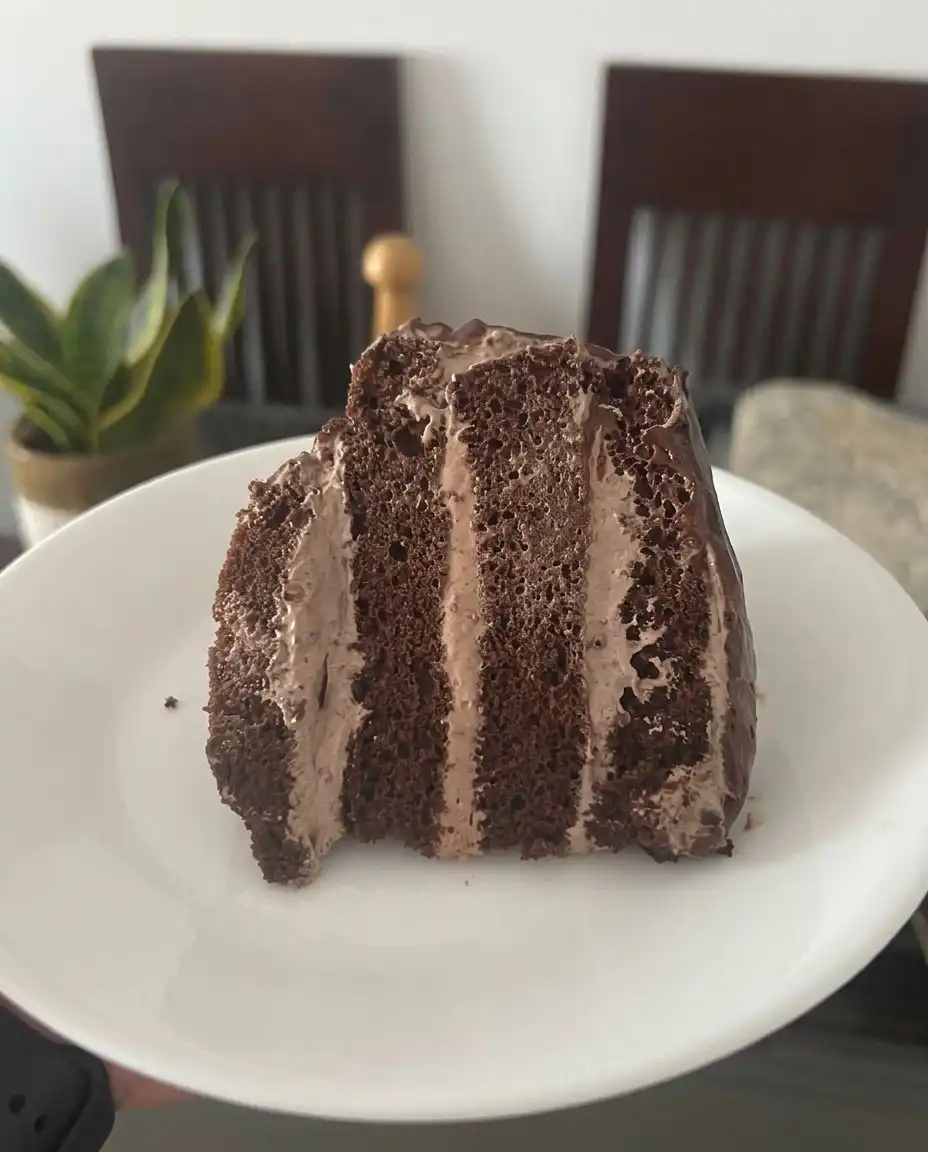
Temperature management is the secret to a professional finish. Make certain that your dairy ingredients, specifically the buttermilk and eggs, are at room temperature before you begin the baking process to achieve a perfect emulsion. When whipping the cream for the mousse, a chilled metal bowl is superior to plastic as it helps maintain the fat’s stability. For the cleanest presentation, I recommend using a thin-bladed knife dipped in hot water and wiped dry between every cut. This prevents the mousse from sticking to the blade and dragging into the lower cake layer. If you are looking to master more intricate layering techniques, you should consider the methods used in our chocolate-ganache-cake for a high-gloss finish.
Advanced Options
For a more intense aromatic profile, you can substitute the hot water in the cake batter with an equal amount of freshly brewed strong coffee; the caffeine acts as a flavor enhancer for the cocoa without adding a distinct coffee taste. If you prefer a fruit-forward contrast, a thin layer of raspberry jam spread over the cake before adding the mousse provides a sharp, acidic counterpoint to the rich fats. For those who enjoy a denser, more fudge-like texture, our chocolate-truffle-cake serves as an excellent technical comparison. You might also consider using a dark cocoa powder in the whipped cream topping for a more sophisticated, less sweet final note.
Textural Balance
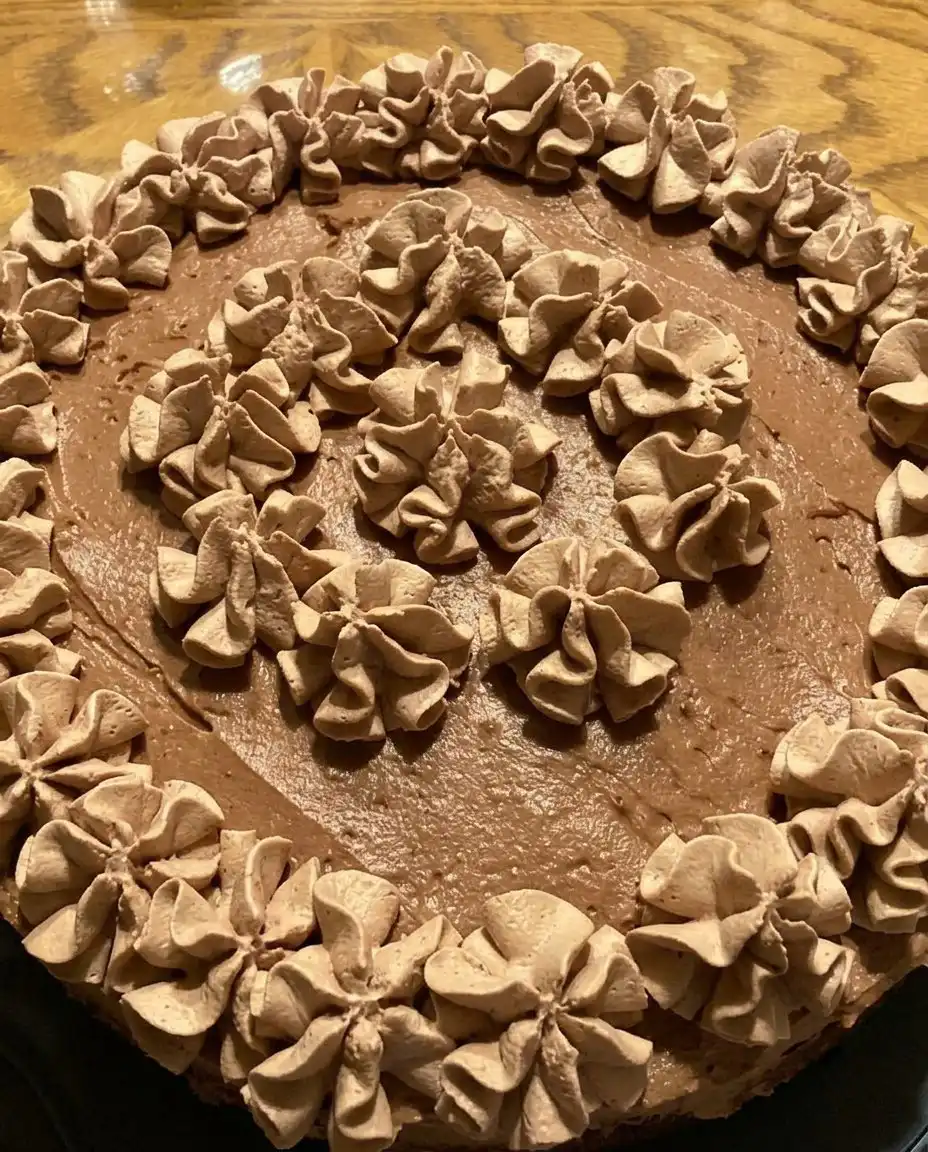
Presentation is as important as preparation. Serve this cake on a chilled platter to maintain the integrity of the mousse layers while it sits on the table. I find that a small dollop of unsweetened creme fraiche or a few fresh berries can provide a necessary acidity that cuts through the profound richness of the chocolate. This cake is quite substantial, so I suggest slicing it into sixteen thin wedges to appreciate the ratio of sponge to mousse. For a variation on this presentation style, look at our guide on the chocolate-layer-cake for more traditional plating ideas. Always use a warm knife to guarantee that the decorative whipped cream top remains undisturbed during the transition to the plate.
The Technical Truth
Mastering the balance of a multi-textured dessert like this is a significant achievement for any home baker. It requires patience and a commitment to the technical details of pastry science, but the reward is a cake that is as beautiful to look at as it is to eat. Once you have perfected this recipe, your understanding of structural stability in chilled desserts will be greatly improved. For further exploration of chocolate textures, I invite you to read our guide on the flourless-chocolate-cake. You can find more of my technical tutorials and share your own baking successes on Instagram, Facebook, and Pinterest. For the original inspiration behind this method, visit Stephanie’s Sweets.