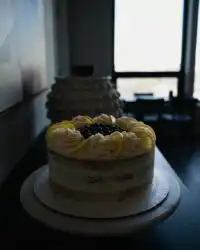
This Chantilly Cake uses a streamlined whisk-and-bake sponge to get that fluffy berry-filled dessert on your plate in under an hour without sacrificing a single ounce of flavor.

Making a light and airy Chantilly Cake usually feels like a weekend project, but this version is designed for the baker who needs indulgence on a deadline. The cake features a tender crumb that pairs beautifully with the richness of freshly whipped heavy cream and the tartness of fresh fruit. It offers that classic bakery texture with a timeline that fits perfectly into a busy schedule, proving that fast and luscious is always possible. You will love how the sweet vanilla notes and the cool cream melt together to create a dessert that tastes like a professional pastry chef spent all afternoon in your kitchen.
Why You’ll Love This Shortcut
Prep: 15 min · Serves: 8 · Difficulty: Easy
- Achieve professional bakery results in fifty minutes.
- Fluffy vanilla sponge stays moist and tender.
- Whipped heavy cream creates a light finish.
- Fresh berries add a bright burst of flavor.
- Clean up is fast for busy bakers.
This classic vanilla butter cake method ensures your dessert is ready between dinner and bedtime.
Gooey center, weeknight timeline, and a spoon is all you really need.
Get The Full Cake Recipe
Print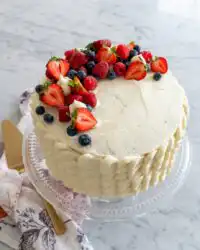
Chantilly Cake
- Total Time: 45 mins
- Yield: 8 servings
Description
This elegant Chantilly cake combines a light, fluffy vanilla sponge with freshly whipped cream and a burst of tart seasonal berries. Designed for efficiency, this streamlined recipe delivers a bakery-quality dessert in under an hour without requiring extensive preparation.
Ingredients
- All-purpose flour
- Granulated sugar
- Baking powder
- Salt
- Whole milk
- Large eggs
- Vanilla extract
- Heavy whipping cream
- Fresh berries (strawberries or blueberries)
Instructions
- Prep baking equipment. Preheat your oven to 350°F (175°C) and grease two round cake pans, lining the bottoms with parchment paper.
- Combine dry ingredients. In a large bowl, whisk together the flour, sugar, baking powder, and salt until uniform.
- Whisk wet ingredients. In a separate bowl, blend the milk, eggs, and vanilla extract until smooth and well-integrated.
- Fold the batter. Gradually stir the wet mixture into the dry ingredients just until combined, being careful not to over-mix.
- Bake the layers. Divide batter between the prepared pans and bake for 25 to 30 minutes, or until a toothpick comes out clean.
- Cool completely. Allow the cakes to set in the pans for 10 minutes before transferring to a wire rack to cool fully.
- Whip the cream. Beat chilled heavy cream in a cold bowl until stiff, glossy peaks form.
- Assemble and garnish. Layer one cake with cream and berries, top with the second layer, frost the exterior, and decorate with fresh fruit.
Notes
- Ensure all dairy components are thoroughly chilled before whipping to achieve maximum volume.
- Use a serrated knife for slicing and wipe the blade between cuts to maintain clean, professional edges.
- Add a small dab of whipped cream to the base of your serving plate to anchor the cake layers during assembly.
- Wait until just before serving to add fresh berries to prevent their natural juices from bleeding into the cream.
- Prep Time: 15 mins
- Cook Time: 30 mins
- Category: Dessert
- Method: Baking
- Cuisine: American
Shortcut-Friendly Pantry
This recipe relies on basic staples you likely already have in your cupboard, allowing you to skip the extra trip to the grocery store. Each component is selected to maximize the soft texture of the cake while keeping the preparation steps as efficient as possible.
- All-purpose flour: This provides the essential structure for your sponge without making the crumb too heavy or dense for the cream.
- Granulated sugar: Beyond adding sweetness, the sugar helps to tenderize the cake and create that light golden exterior during the baking process.
- Baking powder: This is the secret to a quick rise, ensuring your cake layers are airy and light enough to hold the fruit.
- Whole milk: Using full-fat milk adds a necessary richness and moisture that mimics the profile of a more complex European sponge.
- Heavy whipping cream: Freshly whipped cream is the star of the show, providing the signature silky mouthfeel that defines this dessert.
- Fresh berries: Strawberries or blueberries provide a natural acidity that balances the sweetness of the vanilla and the richness of the cream.
| Ingredient | Why It Matters |
|---|---|
| Baking Powder | Ensures a rapid and airy rise |
| Whole Milk | Adds fat for a tender crumb |
| Vanilla Extract | Provides the classic aromatic profile |
| Heavy Cream | Creates the light and fluffy topping |
| Fresh Berries | Offers a tart contrast to the sugar |
The Quick Method
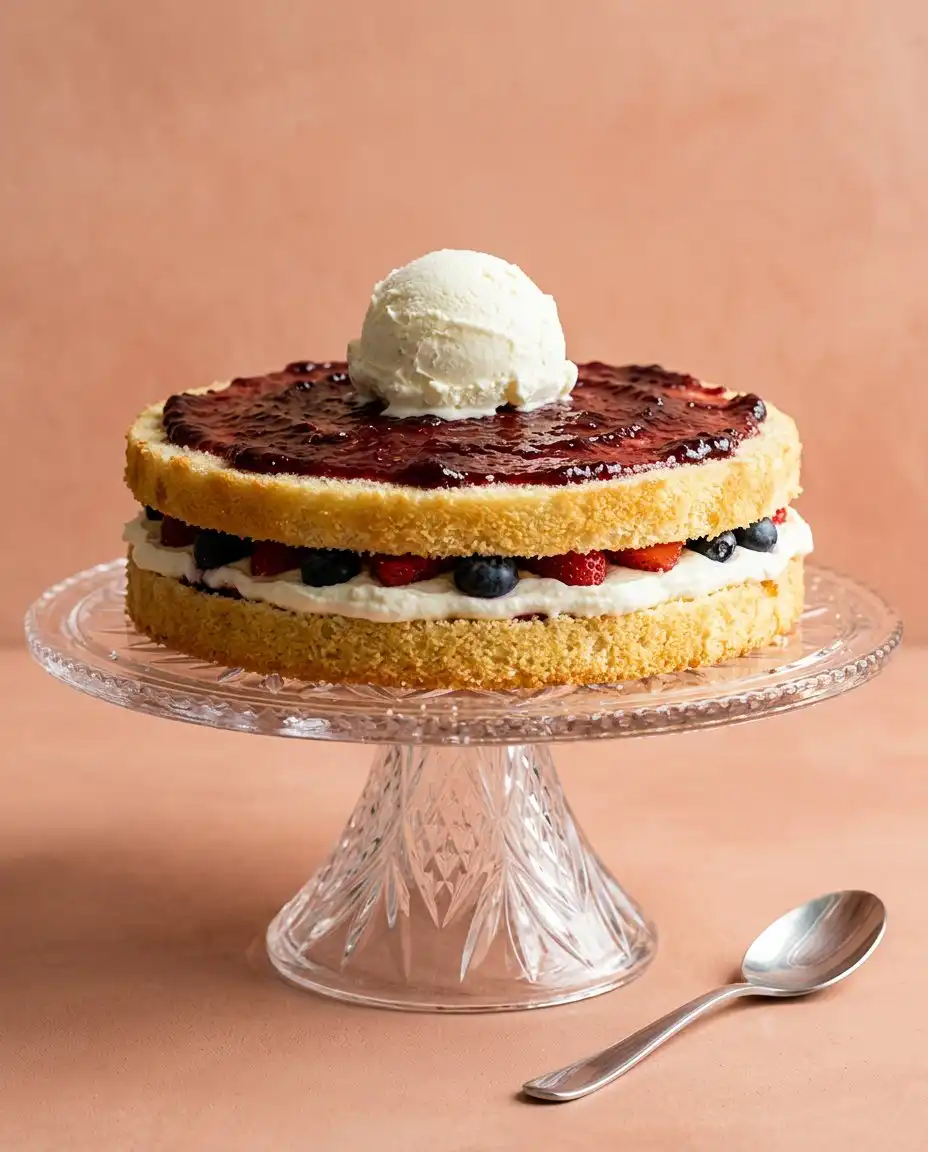
Step 1: Prep Your Equipment
Begin by preheating your oven to 350°F (175°C) to ensure it is at the correct temperature the moment your batter is ready. Grease two round baking pans thoroughly with butter or non-stick spray, then line the bottoms with parchment paper to guarantee the cakes release without sticking or tearing. You want the pans ready so the batter can go straight into the heat while the leavening agents are most active.
Step 2: Combine the Dry Base
In a large mixing bowl, whisk together the all-purpose flour, granulated sugar, baking powder, and salt until the mixture looks uniform and light. This step aerates the flour and ensures the salt and baking powder are distributed evenly, which prevents uneven rising or salty pockets in the finished sponge. The dry ingredients should feel fine and powdery, without any large clumps of sugar or flour remaining.
Step 3: Mix the Liquid Components
In a separate medium bowl, whisk the whole milk, large eggs, and vanilla extract together until the yolks are fully broken and the liquid is a smooth, pale yellow. The aroma of the vanilla should be quite strong at this stage, as it will be the primary flavor note in the cake layers. Ensure the eggs are well-integrated so the batter remains stable and does not separate when you add the dry ingredients.
Step 4: Fold the Chantilly Cake Batter
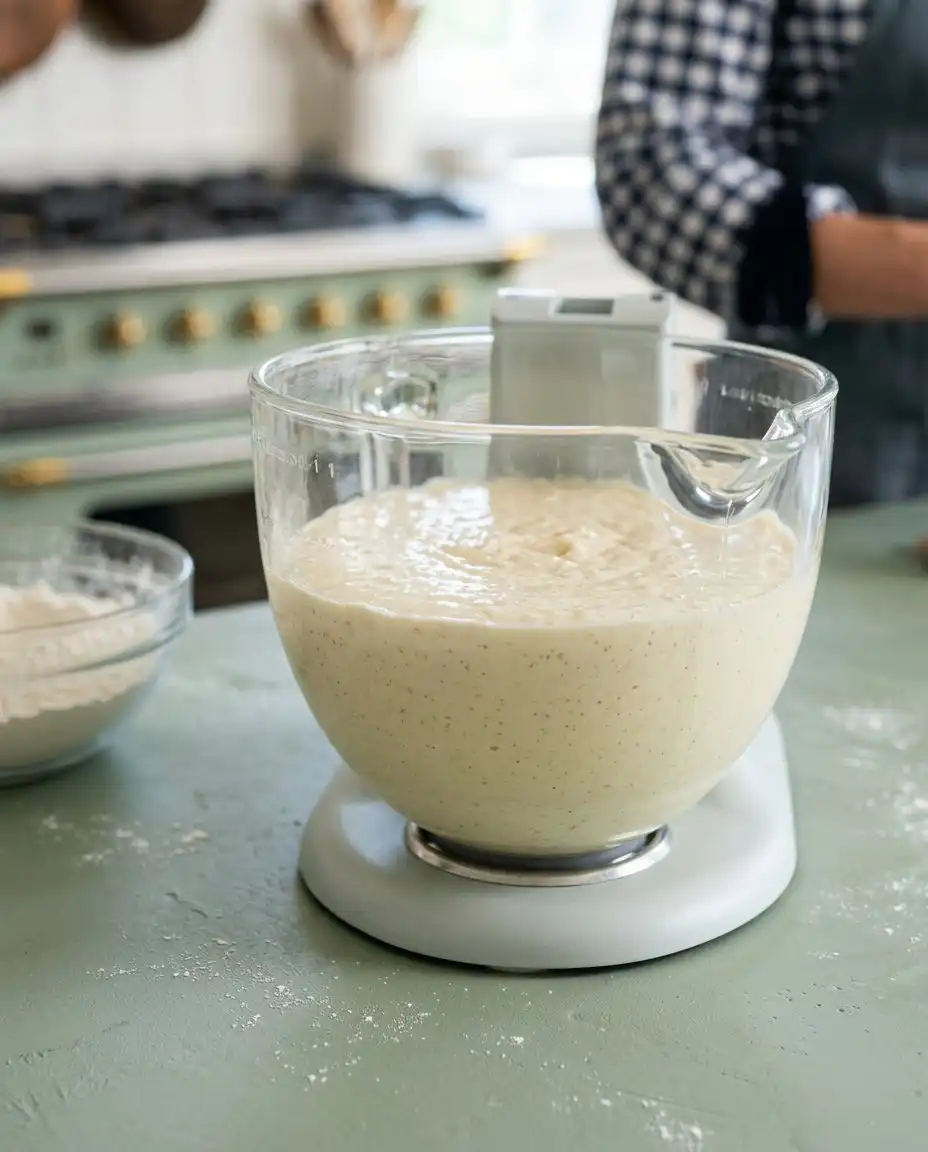
Gradually pour the wet mixture into the dry ingredients while stirring gently with a spatula or whisk to create the smooth Chantilly Cake batter. Work until no dry streaks remain, but avoid over-mixing, which can develop the gluten and result in a tough, rubbery texture instead of a soft crumb. The batter should flow like thick silk and have a pale, creamy appearance that smells intensely of sweet vanilla.
Step 5: Bake the Layers to Perfection
Divide the batter evenly between your two prepared pans and slide them onto the center rack of your oven for 25 to 30 minutes. The cakes are finished when the tops turn a light golden brown and a toothpick inserted into the center comes out clean or with just a few moist crumbs. Your kitchen will fill with a warm, sugary scent as the cakes pull slightly away from the edges of the pans.
Step 6: Cool the Sponge Completely
Allow the cakes to sit in their pans for about 10 minutes to set their structure before you carefully invert them onto wire cooling racks. It is vital that the sponge is completely cold to the touch before you begin the frosting process, as even a hint of warmth will cause your whipped cream to melt into a soupy mess. Patience here ensures that your layers remain distinct and the cream stays fluffy and stable.
Step 7: Prepare the Whipped Topping
While the cakes cool, pour the chilled heavy whipping cream into a cold metal bowl and beat it at medium-high speed until stiff peaks form. The cream should look glossy and hold its shape firmly when you lift the beaters, providing a cloud-like texture that will support the weight of the berries. Avoid over-beating the cream past this point, or it will start to turn grainy and eventually separate into butter.
Step 8: Assemble and Garnish
Place one cooled cake layer on a serving plate and spread a generous amount of whipped cream across the surface before topping with a layer of sliced berries. Place the second cake layer on top, then cover the entire cake with the remaining cream and decorate the top with whole fresh fruit. The white cream should look pillowy and soft, providing a beautiful contrast to the bright colors of the strawberries or blueberries.
Shortcut Notes
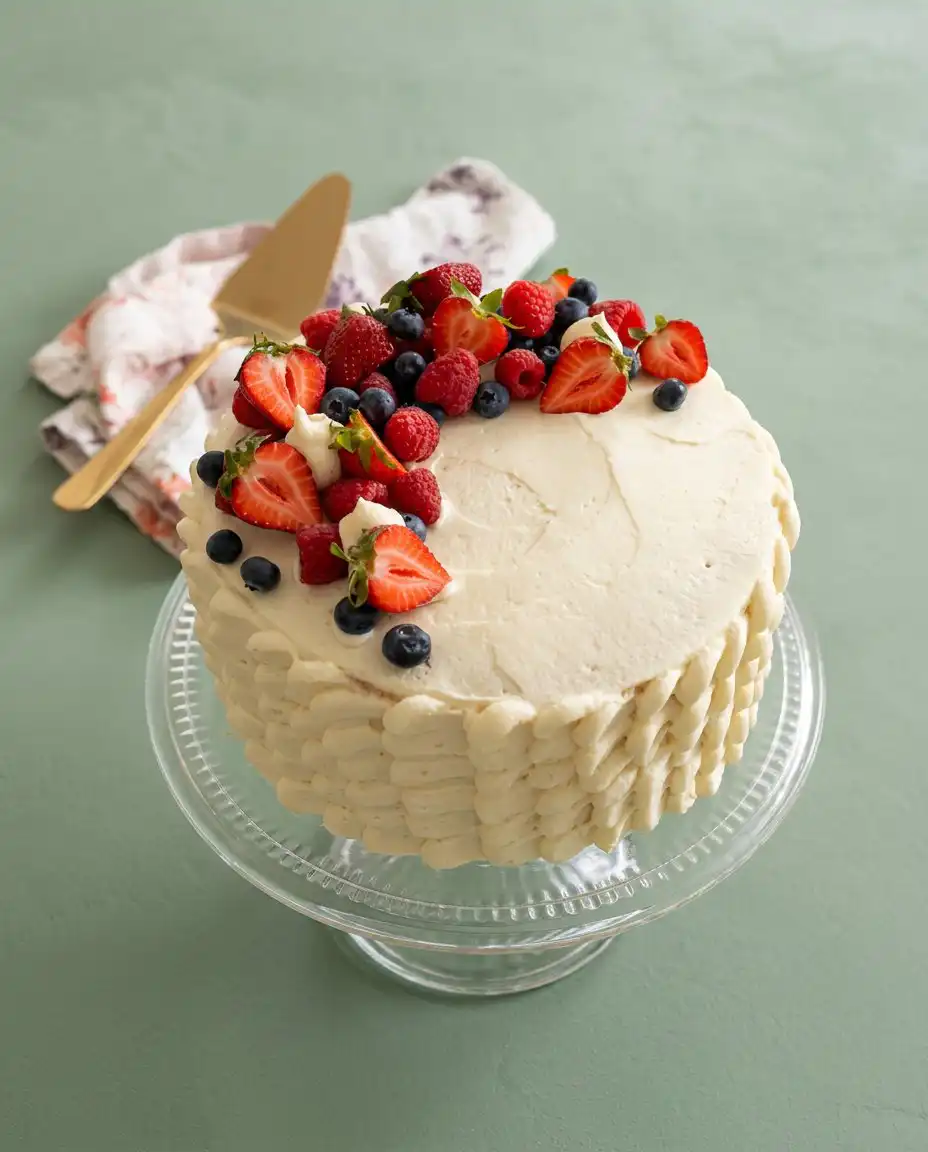
Always use chilled heavy cream and a cold metal bowl to achieve the best volume when whipping your topping. If your equipment is warm, the fat in the cream will not trap air as effectively, leading to a flat and uninspiring finish that lacks the signature airiness.
If your cream is soupy, your bowl or the cream itself might be too warm, or you simply need to beat it for another minute at high speed. If the cream becomes grainy, it is over-beaten; you can sometimes fix this by gently folding in a few tablespoons of fresh, liquid heavy cream to smooth it out.
To keep your cake from sliding during assembly, place a small dollop of whipped cream on the cake plate before laying down your first sponge layer. This acts as a delicious glue that keeps the dessert stable as you spread the rest of the toppings and move the plate.
For a more intense flavor profile, you can brush the cooled cake layers with a light syrup or a splash of berry juice before adding the cream. This adds an extra layer of moisture and ensures the dessert stays luscious even if you need to store it in the refrigerator overnight.
You can find more ideas for moist textures in our guide to tres leches cake which also features a wonderful soaked sponge. Using high-quality vanilla extract is one of the easiest ways to make a simple pantry recipe taste like it came from an expensive boutique bakery.
Avoid washing your berries until the very last second before you put them on the cake to prevent excess moisture from weeping into the cream. If the berries are too wet, they will cause the white cream to turn pink or purple and can make the top of the cake look slightly messy over time.
Frequently Asked Questions
What is chantilly cake?
Chantilly cake is a classic dessert that features light sponge layers filled with sweetened whipped cream and fresh fruit. It is known for its airy texture and refreshing flavor, making it a staple for celebrations and warm-weather gatherings. The focus is on the quality of the cream and the freshness of the berries used for garnish.
How do I make chantilly cream for my cake?
To make the cream, beat chilled heavy whipping cream with a bit of sugar and vanilla extract until stiff peaks form. It is essential to keep the ingredients cold to ensure the cream reaches the proper volume and stability. The result should be a thick, fluffy topping that holds its shape when spread between the cake layers.
Can I customize my chantilly cake?
Yes, this recipe is highly versatile and allows you to swap the berries for other fruits like peaches, kiwis, or mangoes. You can also add different extracts to the cream or the batter to change the flavor profile to suit your personal preferences. The simple vanilla base acts as a blank canvas for many different flavor combinations.
How long will chantilly cake last?
Because of the fresh whipped cream and fruit, this cake is best enjoyed within one to two days of assembly. Store it in an airtight container in the refrigerator to keep the cream stable and the fruit from wilting. The sponge will continue to absorb moisture from the cream, which can actually improve the texture on the second day.
Can I use frozen berries for this recipe?
It is better to use fresh berries whenever possible because frozen fruit tends to release a lot of liquid as it thaws. This excess moisture can bleed into the white whipped cream and make the cake look unappealing or soggy. If you must use frozen berries, drain them thoroughly and pat them dry before adding them to the cake.
Can I make this cake ahead of time?
You can bake the sponge layers a day in advance and store them at room temperature in plastic wrap to save time. However, it is best to whip the cream and assemble the fruit components on the day you plan to serve it. This ensures the cream is at its fluffiest and the berries are as fresh as possible for your guests.
Fast Flavor Swaps
You can easily transform this recipe into a chocolate version by substituting half a cup of the flour for high-quality cocoa powder and adding chocolate shavings on top. This creates a deeper flavor profile that still feels light thanks to the airy whipped cream and the fresh fruit accents.
If you prefer a citrus twist, fold some lemon zest into the batter and use the techniques found in this limoncello mascarpone cake to create a zesty filling. The bright acidity of the lemon pairs beautifully with the sweet cream and creates a refreshing dessert that is ideal for a summer afternoon.
For those who enjoy a more tropical approach, try using coconut milk in the sponge and garnishing with pineapple chunks instead of berries. You can learn more about creating dreamy fruit-based desserts that use these types of flavor combinations to provide a unique spin on the traditional vanilla and berry pairing.
Bring It to the Table Fast
This dessert looks most impressive when served on a simple white pedestal or a vintage glass cake stand that allows the colors of the berries to shine. Because the cake is so light, it does not need much accompaniment, but a side of extra berries or a drizzle of berry coulis can add a nice touch. For a different take on fruit and cream, you might also enjoy our angel food cake coconut whipped cream berries which offers a similar airy experience.
When slicing the cake, use a long serrated knife and clean the blade between every cut to ensure each piece has clean, sharp edges. This prevents the cream from smearing across the sponge and keeps the presentation looking professional and appetizing for your guests. Serving the cake while it is still chilled from the refrigerator provides the best texture and makes the cream feel especially refreshing.
Pair this cake with a light sparkling wine or a cup of herbal tea to complement the delicate vanilla and fruit flavors. It is an ideal dessert for a mid-afternoon garden party or as a sweet finish to a festive dinner with friends. The elegant appearance belies the fact that you put it together in under an hour, making it a secret weapon for the busy host.
The Weeknight Wrap-Up
This recipe proves that you do not need hours of prep work to create a dessert that feels truly special and indulgent. By using a few simple shortcuts and focusing on the texture of the cream and the freshness of the fruit, you can pull off a stunning centerpiece on any night of the week. This is the kind of treat that reminds us why we love baking—the ability to turn basic pantry staples into something that brings joy to the table. Our coconut cake is another wonderful option if you find yourself craving something sweet and tropical after you master this one.
I hope you enjoy every fluffy bite of this cake and share it with the people you love most. It is designed to be a stress-free experience that yields high-impact results with minimal cleanup at the end of the night. Please let us know how your version turns out and if you tried any of our suggested variations to make the recipe your own. You can find more inspiration and share your baking photos with our community on Pinterest and Facebook.
Follow us for more quick and luscious ideas on TikTok or join our conversation on Telegram. We love seeing how you bring these recipes to life in your own kitchen. Happy baking and enjoy your weeknight indulgence.