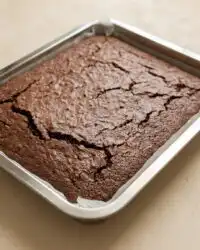
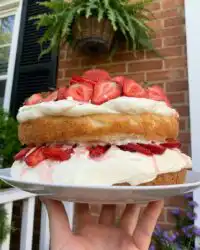
During my apprenticeship in a renowned London pastry kitchen, I discovered that a Chocolate Cake Birthday creation is more than just a sweet treat; it is a fundamental exercise in structural engineering. The way the fats interact with the dry proteins determines whether the final result is a dry disappointment or a triumph of moist, velvet-like crumb. This specific method focuses on high-speed emulsification to achieve a texture that holds its form while melting instantly on the palate.

This recipe deviates from the standard creaming method to embrace the efficiency of a food processor, which results in a tighter, more uniform cell structure. By separating a portion of the base liquid, we create an integrated glaze that guarantees the crumb remains hydrated from the inside out. It is a reliable, technical approach to the classic celebration dessert that yields professional results every single time.
The Science of the Chocolate Cake Birthday
Ambitious bakers appreciate this recipe because it prioritizes the physics of the batter. Most amateur cakes suffer from uneven aeration, but using a high-speed blender or food processor forces the oil and evaporated milk into a stable emulsion. This stability is the secret to a cake that doesn’t crumble under the weight of its own success. The inclusion of instant coffee and cardamom isn’t just for flavor; these elements act as chemical catalysts that sharpen the perception of the cocoa solids, making the chocolate taste more like itself.
Furthermore, the technique of reserving a portion of the liquid base provides a structural safety net. This reserved liquid, which eventually becomes a pour-over glaze, fills the microscopic gaps in the baked crumb. This process, known as capillary action, allows the moisture to penetrate the sponge without making it soggy or weak. It creates a mouthfeel that is remarkably consistent, proving that precision in the preparation stage leads to a superior sensory experience.
Finally, the structural beauty of this cake lies in its versatility. It is robust enough to be carved or stacked, yet the interior remains tender and delicate. It is the definitive choice for those who want to master the balance of a firm exterior and a creamy, melting heart. Achieving this level of technical mastery brings a sense of pride to any baker who values the intersection of science and art.
Print
Chocolate Cake Birthday
- Total Time: 55 mins
- Yield: 10 servings
- Diet: Vegetarian
Description
This technically-focused chocolate birthday cake utilizes a unique emulsification method and a reserved liquid glaze to ensure a moist, stable crumb. Finished with a professional-grade dark chocolate ganache, it is the ultimate celebration dessert for bakers who appreciate precision and science.
Ingredients
- 1 cup granulated sugar
- 1/2 cup vegetable oil
- 1 cup evaporated milk
- 4 tablespoons high-quality cocoa powder
- 1 teaspoon instant coffee
- 1/2 teaspoon ground cinnamon
- 1/2 teaspoon ground cardamom
- 2 large eggs
- 1 teaspoon vanilla extract
- 1 cup all-purpose flour
- 2 teaspoons baking powder
- 200g dark chocolate
- 200ml heavy cream
Instructions
- Preheat your oven to 180°C (350°F) and grease a baking pan with oil and a dusting of flour to prevent sticking.
- In a food processor or high-speed blender, combine the sugar, vegetable oil, evaporated milk, cocoa powder, coffee, cinnamon, and cardamom until the mixture is smooth and fully emulsified.
- Measure and set aside exactly 3/4 cup of this dark liquid to be used later as an internal hydration glaze.
- Add the eggs and vanilla extract to the remaining mixture in the processor and blend on high for 2 to 3 minutes to aerate the batter.
- Add the flour and baking powder, pulsing only until the white streaks of flour disappear to ensure a delicate crumb.
- Pour the batter into the prepared pan and bake for 30 to 40 minutes, or until a toothpick inserted into the center comes out clean.
- Let the cake rest in the pan for 10 minutes before inverting onto a wire rack; pour the reserved 3/4 cup of liquid over the warm cake so it absorbs.
- Once cooled, prepare a ganache by melting together the dark chocolate and heavy cream, then spread it evenly over the cake for a professional finish.
Notes
For the most successful emulsion, ensure your eggs and evaporated milk are at room temperature before blending. Sifting the dry ingredients twice will further refine the cell structure of the sponge, resulting in a more professional mouthfeel.
- Prep Time: 15 mins
- Cook Time: 40 mins
- Category: Dessert
- Method: Baking
- Cuisine: International
The Technical Foundation of Flavor
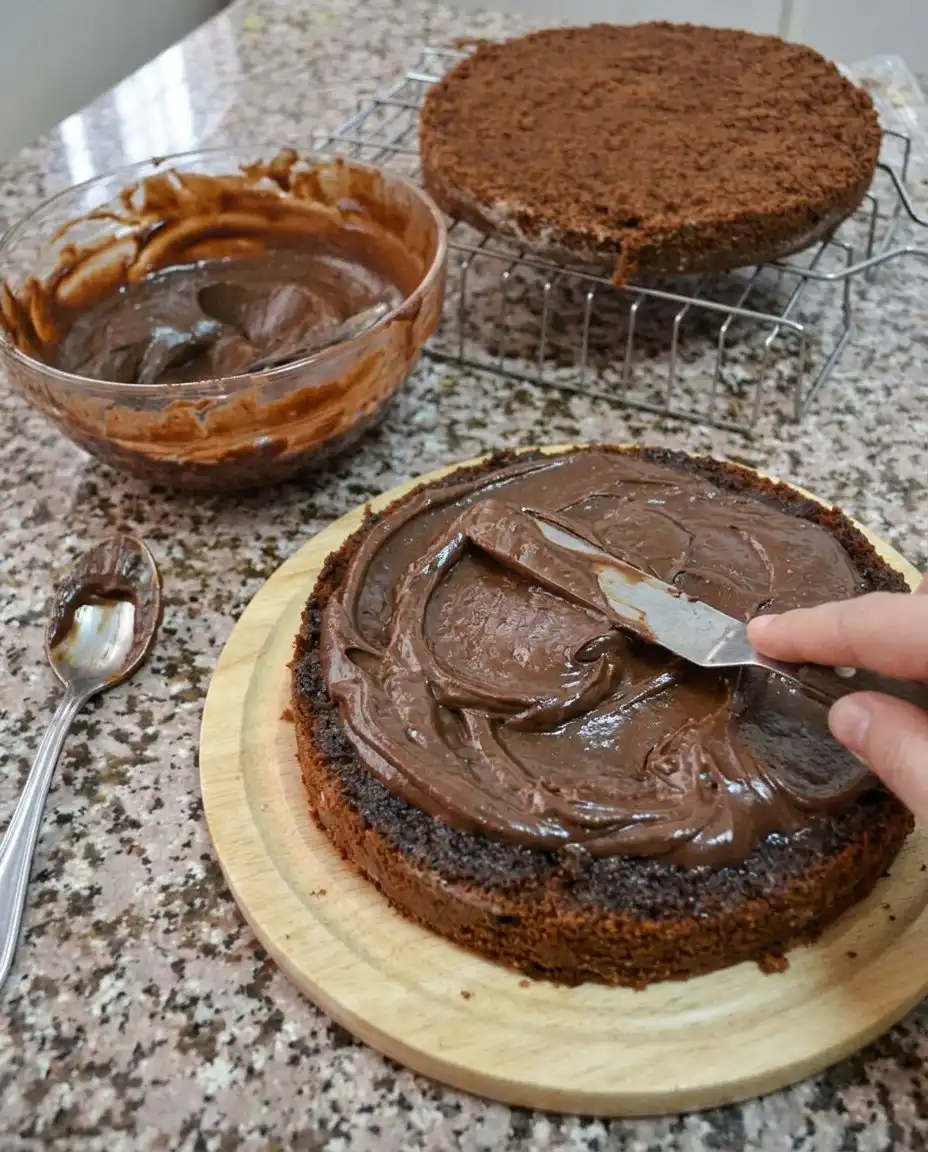
Success in the pastry arts begins with an understanding of your raw materials. Each ingredient in this Chocolate Cake Birthday recipe serves a specific structural or chemical purpose. We avoid complex substitutions because the balance of protein, fat, and hydration is calculated for a specific result. Below is a breakdown of why these components are vital for your success.
- Granulated Sugar (1 cup): Beyond sweetness, sugar is a humectant that attracts moisture and a tenderizer that interferes with gluten development, keeping the crumb soft.
- Vegetable Oil (1/2 cup): Unlike butter, oil remains liquid at room temperature and even when chilled, which guarantees a moist mouthfeel even if the cake is refrigerated.
- Evaporated Milk (1 cup): This provides a concentrated source of milk proteins and lactose without the excess water found in regular milk, contributing to a richer structure.
- High-Quality Cocoa Powder (4 tablespoons): We look for a cocoa with a fat content of at least 20% to provide a deep flavor and a smooth texture.
- Instant Coffee, Cinnamon, and Cardamom: These spices provide a complex aromatic profile that enhances the cocoa without overwhelming it. The coffee, in particular, intensifies the dark notes of the chocolate.
- Large Eggs (2): Eggs act as the primary emulsifier and structural binder, providing the leavening strength needed to lift the heavy cocoa batter.
- All-Purpose Flour (1 cup): This provides the gluten framework. We use a precise amount to avoid a dense or gummy texture.
- Baking Powder (2 teaspoons): This chemical leavener reacts with the heat of the oven to create carbon dioxide bubbles, which are trapped by the gluten and egg proteins to create height.
- Chocolate Ganache (200g chocolate + 200ml cream): A 1:1 ratio of chocolate to cream creates a stable, glossy emulsion that sets firmly but remains smooth.
The Method of Precision
Step 1: Thermal Calibration and Pan Preparation
Begin by preheating your oven to 180 C (350 F). Place the oven rack in the middle position to allow for even air circulation around the cake pan. Grease your baking pan with oil and dust it with flour, tapping out any excess. This physical barrier prevents the batter from adhering to the metal, which is crucial for maintaining the structural integrity of the cake’s exterior walls once it is inverted.
Step 2: The Emulsification Process
In a food processor or high-speed blender, combine the sugar, vegetable oil, evaporated milk, cocoa powder, instant coffee, cinnamon, and cardamom. Process the mixture until the sugar crystals are fully dissolved and the liquid is completely homogeneous. This stage is about creating a stable base emulsion where the fats and liquids are perfectly suspended. If the mixture looks split, continue blending for another thirty seconds.
Step 3: Reserving the Internal Hydration
Measure out exactly 3/4 of a cup of this dark, aromatic liquid and set it aside in a separate container. This reserved portion will serve as the technical finish for the cake after it is baked. By keeping this liquid separate, we prevent it from being altered by the eggs and flour, preserving its pure chocolate intensity and low viscosity for better absorption later.
Step 4: Building the Aerated Structure
Add the two eggs and the vanilla extract to the remaining mixture in the food processor. Blend on high for 2-3 minutes. This step is vital for aeration; you are incorporating tiny air bubbles into the egg proteins, which will expand during baking. The mixture should appear slightly lightened in color and significantly increased in volume. This mechanical aeration is the secret to a cake that feels light despite its rich ingredients.
Step 5: Folding and Incorporation
Add the flour and baking powder to the processor. Pulse the machine just until the white streaks of flour disappear. Do not overmix at this stage. Overworking the batter will develop the gluten proteins too much, leading to a tough, bready texture rather than a delicate cake crumb. We want to reach the point of incorporation without triggering the elastic properties of the flour.
Step 6: The Thermal Transformation
Pour the batter into your prepared pan and place it in the center of the preheated oven. Bake for 30 to 40 minutes. You are looking for a specific visual cue: the edges should slightly pull away from the pan, and a toothpick inserted into the center must come out clean. Avoid opening the oven door during the first 25 minutes, as the sudden drop in temperature can cause the delicate air pockets to collapse before the structure has set.
Step 7: The Cooling and Glazing Sequence
Remove the cake from the oven and allow it to rest in the pan for exactly 10 minutes. This resting period allows the internal steam to redistribute, making the cake easier to handle. Invert the cake onto a wire rack to cool. While the cake is still warm, you can choose to brush or pour the reserved 3/4 cup of liquid over the top, allowing the sponge to draw the moisture into its core. Allow it to cool completely before applying the final ganache.
Precision Secrets for the Perfect Crumb
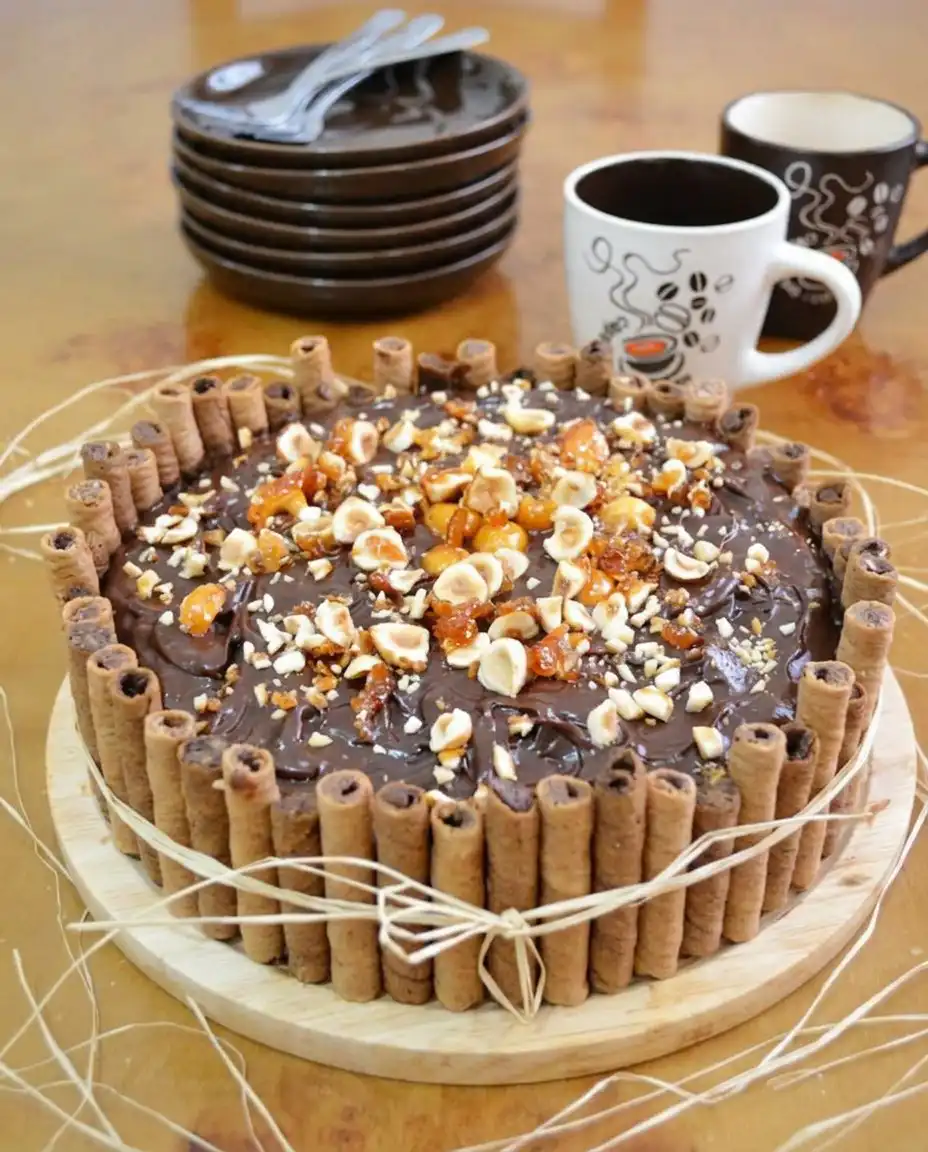
To achieve the ultimate texture, I recommend sifting your cocoa powder and flour together twice before adding them to the batter. This breaks up any microscopic clumps and introduces more air, which contributes to a more refined cell structure in the finished sponge. If you are looking for more traditional textures, you might find our old-fashioned chocolate cake helpful for comparing the crumb differences between various mixing methods. Always ensure your eggs are at room temperature (21 C / 70 F) before blending; cold eggs can cause the fat in the oil-milk emulsion to seize, which leads to an uneven bake.
Another technical secret is the use of high-quality dark chocolate for the ganache. For those who want to refine their chocolate work, examining professional techniques like the New York Times chocolate cake recipe can provide insight into how different fat ratios affect the gloss and set of your frosting. When making the ganache, pour the hot cream over the chopped chocolate and let it sit for five minutes without stirring. This slow heat transfer prevents the chocolate from scorching and guarantees a smooth, professional finish.
Technical Tweaks for Advanced Bakers
For those who wish to modify the structural profile of this recipe, you can experiment with the liquid component. Replacing the evaporated milk with a high-protein nut milk can alter the flavor while maintaining a similar density. If you are a fan of complex textures and layered flavors, you should examine our snickers cake which demonstrates how to incorporate denser elements like caramel and nuts without compromising the lift of the sponge. Adding a tablespoon of dark rum or cognac to the reserved glaze can also provide a sophisticated aromatic layer that balances the sweetness of the sugar.
Another advanced option is to adjust the cocoa intensity. You can swap one tablespoon of the cocoa powder for black cocoa to create a deep, Oreo-like color and a different pH level. However, be mindful that changing the acidity of the batter may require a slight adjustment in the amount of baking powder used to maintain the same height. These small changes are what allow a baker to move from following a recipe to mastering the craft of pastry science.
Presentation and Textural Balance
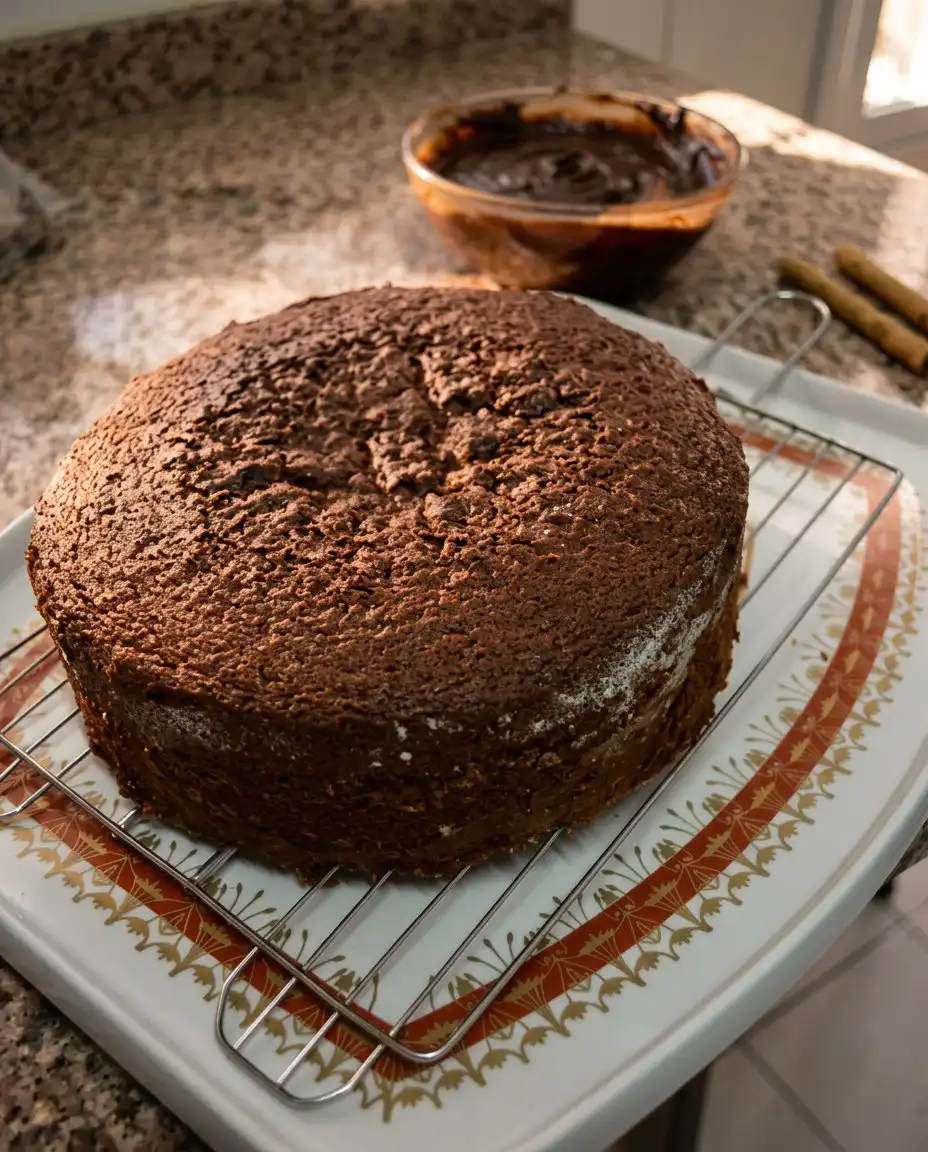
When presenting your masterpiece, the temperature is just as important as the decoration. Serve the cake at room temperature to ensure the fats in the ganache and the crumb are at their most supple, providing that signature melt-in-the-mouth experience. For those who enjoy themed presentations, our guide on the custom car cake offers excellent tips on how to carve and structure cakes for more elaborate displays. Always use a sharp knife dipped in hot water and wiped dry between each cut; the heat of the blade will glide through the ganache, creating clean, professional slices.
To balance the richness of the chocolate, I suggest serving each slice with a dollop of unsweetened creme fraiche or a few tart raspberries. The acidity of the fruit or the tang of the cream cuts through the dense cocoa, refreshing the palate for the next bite. This balance of flavors is a fundamental principle in high-end pastry work, where every element on the plate serves to highlight the main component’s texture and taste.
Master the Craft of Celebration
Creating the perfect Chocolate Cake Birthday is a rewarding journey into the heart of pastry science. By following these precise steps and understanding the role of each ingredient, you have moved beyond simple baking into the realm of technical mastery. For another variation on a fruit-based technical triumph, I highly recommend our raspberry white chocolate cake. I am proud of the progress you are making in your baking journey and look forward to seeing your technical successes. Please share your creations with our community and continue to refine your skills by following us on Pinterest, Instagram, Facebook, and X.