We have all been there—it is Tuesday night, the craving for something deep and cocoa-rich hits hard, but the idea of a four-hour baking project feels impossible. This recipe is my answer to those moments when you need a moist, tender crumb without the long-haul commitment. It is the kind of cake that reminds you why we bake in the first place: for that immediate, gooey satisfaction that only real chocolate can provide.

This specific method focuses on high-moisture results through a thin, pourable batter that transforms in the oven. By using an express technique involving boiling water, we bloom the cocoa instantly, creating a flavor profile that tastes like it took all day to develop. It is fast, it is luscious, and it is the only chocolate base you will ever need for a quick win.
Express Indulgence for Busy Bakers
You will love this recipe because it prioritizes the “melt” factor above everything else. Most traditional cakes rely on creaming butter and sugar, which can lead to a dry result if you are not careful. This version uses vegetable oil, which stays liquid at room temperature, meaning your cake stays soft and moist for days, not just hours. It is a texture-first approach that fits perfectly into a hectic schedule.
Another reason this is a keeper is the sheer simplicity of the process. You do not need to pull out multiple bowls or wait for butter to soften on the counter. We go from pantry to oven in about fifteen minutes. The boiling water step might feel unusual if you are new to this style, but it is the secret to that signature velvety finish. It breaks down the cocoa particles and helps the leavening agents react quickly, giving you a beautiful rise every single time.
Finally, this cake is incredibly versatile. Whether you are making a quick birthday treat or a simple weeknight dessert, the deep chocolate flavor stands up to any frosting or topping. It is the ultimate reliable bake that delivers a professional-grade crumb with minimal effort. Quick doesn’t mean dry, and this recipe proves that every single bite.
Print
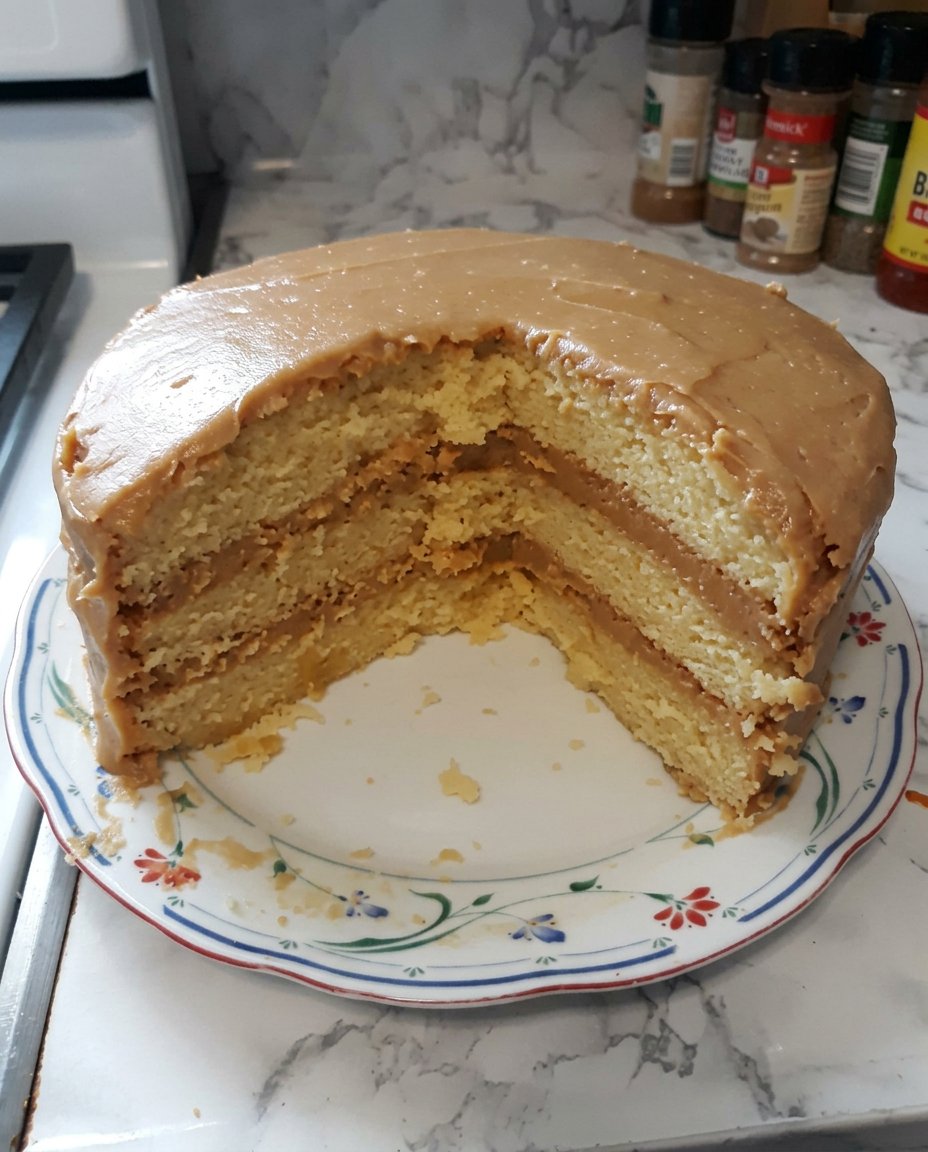
Homemade Chocolate Cake
- Total Time: 50 mins
- Yield: 12 servings
- Diet: Vegetarian
Description
This incredibly moist and tender chocolate cake uses an express method to deliver bakery-quality results in less than an hour. By blooming the cocoa with boiling water, you achieve a deep, rich flavor profile that perfectly complements the soft, oil-based crumb.
Ingredients
- 2 cups granulated sugar
- 1 ¾ cups all-purpose flour
- ¾ cup unsweetened cocoa powder
- 1 ½ tsp baking powder
- 1 ½ tsp baking soda
- 1 tsp salt
- 2 large eggs
- 1 cup milk
- ½ cup vegetable oil
- 2 tsp vanilla extract
- 1 cup boiling water
Instructions
- Preheat your oven to 350°F (175°C) and grease and flour two 9-inch round baking pans.
- In a large mixing bowl, whisk together the sugar, flour, cocoa, baking powder, baking soda, and salt until well combined and lump-free.
- Add the eggs, milk, oil, and vanilla extract to the dry mixture and beat with an electric mixer on medium speed for 2 minutes.
- Reduce the mixer speed to the lowest setting and carefully pour in the boiling water, stirring until the batter is smooth and uniform.
- Divide the thin batter evenly between the prepared pans and bake for 30 to 35 minutes, or until a toothpick inserted in the center comes out clean.
- Cool the cakes in their pans for 10 minutes before transferring them to a wire rack to cool completely.
Notes
For the best texture, ensure your eggs and milk are at room temperature before mixing to allow the fats to emulsify properly. If you prefer a more intense chocolate hit, replace the boiling water with hot brewed coffee to further enhance the cocoa’s natural depth without adding a coffee flavor.
- Prep Time: 15 mins
- Cook Time: 35 mins
- Category: Dessert
- Method: Baking
- Cuisine: American
The Express Ingredients for Maximum Moisture

To get that perfect melt-in-your-mouth feel, we use a specific set of pantry staples that work together to keep the cake tender.
- Granulated Sugar (2 cups): This provides sweetness and helps hold onto moisture during the bake.
- All-Purpose Flour (1 ¾ cups): The structural base; we keep the amount precise to avoid a dense or heavy texture.
- Unsweetened Cocoa Powder (¾ cup): This is the heart of the flavor. Using a high-quality cocoa makes a massive difference in the final result.
- Baking Powder and Baking Soda (1 ½ tsp each): These provide the lift, working with the acidic cocoa to create a light, airy crumb.
- Salt (1 tsp): Essential for balancing the sugar and making the chocolate flavor pop.
- Large Eggs (2): These bind the batter together and add a touch of richness.
- Milk (1 cup): Adds fat and liquid to help the dry ingredients hydrate quickly.
- Vegetable Oil (½ cup): Our secret weapon for moisture. Unlike butter, oil keeps the cake tender even after it has cooled completely.
- Vanilla Extract (2 tsp): A back-note that rounds out the cocoa flavors.
- Boiling Water (1 cup): The magic ingredient. It blooms the cocoa and thins the batter for a delicate finish.
The Quick Process
Step 1: Prep and Heat
Start by preheating your oven to 350 degrees F (175 degrees C). This ensures the cake begins rising the moment it hits the oven. Grease and flour two 9-inch round baking pans carefully. If you want an even easier release, you can line the bottoms with parchment paper rounds. This little step makes a huge difference in keeping the edges clean and professional.
Step 2: Combine the Dry Base
In a large mixing bowl, whisk together the sugar, flour, cocoa, baking powder, baking soda, and salt. Spend a minute here making sure there are no large lumps of cocoa or flour. This dry-mix stage is where you distribute the leavening agents evenly, which prevents the cake from having huge air pockets or sinking in the middle later.
Step 3: Mix the Wet Ingredients
Add the eggs, milk, oil, and vanilla extract directly into the dry mixture. Use an electric mixer on medium speed for about 2 minutes. You want the batter to look smooth and well-combined. Do not worry about over-mixing at this stage; we need to build just enough structure to support the liquid we are about to add. The batter will look fairly thick at this point, which is completely normal.
Step 4: The Boiling Water Pour
Lower your mixer speed and carefully pour in the boiling water. This is the moment of truth where the batter becomes very thin and watery. This is exactly what we want. Stir it in by hand or on the lowest mixer setting until the color is uniform. The hot water dissolves the cocoa completely and activates the baking soda for an immediate reaction.
Step 5: Bake to Perfection
Pour the thin batter evenly into your prepared pans. Place them in the center of the oven and bake for 30 to 35 minutes. You will know they are done when a toothpick inserted into the center comes out clean or with just a few moist crumbs. Let the cakes cool in the pans for about 10 minutes to set their structure, then move them to a wire rack to cool the rest of the way.
Fast Wins for the Perfect Melt

To make sure your cake comes out perfectly every time, pay close attention to your oven temperature. Many ovens run hot or cold, so using a separate thermometer can prevent the edges from drying out before the center is set. If you find your cakes are doming too much in the middle, try using damp cake strips around the pans. This helps the cake rise evenly for a flat top that is much easier to frost. For more on the science of how these ingredients react, take a look at our cocoa dream lab where we break down the chemistry of chocolate.
Another trick for the best texture is to avoid over-baking at all costs. Since this cake is oil-based, it can go from perfect to slightly burnt very quickly in the final five minutes. Start checking at the 28-minute mark. If the top springs back when lightly touched, it is ready. Remember that the cake will continue to cook slightly from the residual heat while it sits in the pan for those first 10 minutes of cooling.
Easy Twists for More Flavor
If you want to change things up, try adding a teaspoon of espresso powder to the dry ingredients. Coffee doesn’t make the cake taste like mocha; instead, it acts as a flavor booster that makes the chocolate taste even deeper and more intense. For those who love a bit of crunch, you can fold in half a cup of mini chocolate chips right before pouring the batter into the pans. They will sink slightly but create little pockets of molten chocolate throughout the crumb. If you are feeling adventurous, you can even adapt this base into a snickers cake by adding layers of caramel and peanuts between the cooled rounds.
You can also swap the milk for buttermilk if you prefer a slightly tangier flavor and an even more tender crumb. The extra acid in the buttermilk reacts beautifully with the baking soda. For a fruit-filled version, try serving the layers with fresh raspberries and a light dusting of powdered sugar. This keeps the prep time low while making the dessert look like it came straight from a high-end bakery.
Quick Serving Ideas

When it comes to serving, simple is usually best for a cake this moist. A light dusting of powdered sugar is often all you need for a weeknight treat. If you want something more substantial, a quick chocolate ganache made by melting equal parts chocolate chips and heavy cream can be poured over the top for a stunning, glossy finish. For a classic look, you can follow the techniques found in our old fashioned chocolate cake guide to create thick, swooping swirls of buttercream.
If you are serving this warm, a scoop of vanilla bean ice cream is a mandatory addition. The way the cold cream melts into the warm chocolate crumb creates a restaurant-style experience in your own kitchen. You can also pair this with a tart berry compote to cut through the richness. For a more sophisticated presentation, try a dollop of lightly sweetened whipped cream and a few shavings of dark chocolate on top of each slice.
Keep It Quick and Sweet
There is no reason to wait for a special occasion to enjoy a world-class dessert. This homemade chocolate cake is designed for the modern baker who values both time and quality. It delivers a rich, molten-like texture that satisfies even the most intense cravings without requiring hours in the kitchen. If you enjoyed this express method, you might also love our raspberry white chocolate cake for another fruit-forward option. For more inspiration and to see this recipe in action, be sure to visit the Best Chocolate Cake Recipe for a look at other classic variations.
We would love to see your results! Tag us on Pinterest or share your cake photos with us on Instagram. You can also find more quick tips on our Facebook page. Happy baking!

