In Mediterranean baking, we know that the finest desserts are those that slow you down, demanding patience before yielding a crumb so tender it melts upon the tongue.

There is a quiet wisdom in waiting for a cake to settle, allowing the crumb to mature and the fats to harmonize. This Two-Layer Peanut Butter Cake is built upon that exact philosophy of patience, offering a crumb that is remarkably soft, rich, and deeply satisfying. Unlike modern cakes that rely on overwhelming sweetness, this recipe balances the salted earthiness of creamed peanut butter with a velvety buttermilk crumb. We cream the butter and oil together slowly, guaranteeing a delicate structure that glides like butter under your fork. It is a dessert born of slow afternoons and shared moments, where every slice tells a story of patience and care.
What Makes the Texture of This Two-Layer Peanut Butter Cake Sing
Prep: 15 min · Serves: 12 · Difficulty: Medium
If you love a three layer coconut cream cake, this texture will feel beautifully familiar.
- Deeply moisturizing crumb that never turns dry.
- Silky frosting that glides like soft butter.
- Balanced saltiness tempering the rich brown sugar.
- Elegant layers slicing with clean precision.
I promise this slow-baked crumb will melt on your tongue with every single forkful.
Get The Full Cake Recipe
Print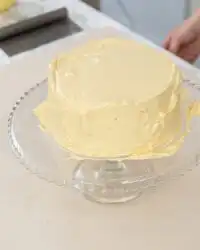
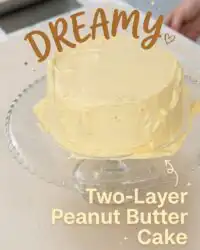
Two-Layer Peanut Butter Cake
- Total Time: 1 hour 50 mins
- Yield: 12 slices
- Diet: Vegetarian
Description
A remarkably moist and tender double-layered peanut butter cake paired with an incredibly silky, cloud-like peanut butter buttercream frosting. This cake is sweet but never cloying, balancing the deep, roasted flavor of peanuts with a soft buttermilk crumb.
Ingredients
- 1 2/3 cups (210 g) all purpose flour
- 3 tbsp (24 g) cornstarch
- 1/2 tsp baking soda
- 2 tsp baking powder
- 1/2 tsp salt (omit if using salted butter)
- 1/3 cup (80 g) unsalted butter, room temperature
- 1/3 cup (75 g) unflavored vegetable oil
- 1/2 cup (100 g) white granulated sugar
- 3/4 cup (150 g) soft brown sugar
- 2/3 cup (150 g) smooth unsweetened peanut butter
- 3 large eggs, room temperature
- 1 1/2 tsps vanilla extract
- 1 cup (225 g) buttermilk, room temperature
- 1 1/2 cups (340 g) unsalted butter, room temperature (for frosting)
- 3 cups (375 g) powdered sugar (for frosting)
- 2 tsps vanilla extract (for frosting)
- 1/2 cup (120 g) heavy cream, room temperature (for frosting)
- 1/2 tsp salt (for frosting)
- 1 cup (250 g) smooth unsweetened peanut butter (for frosting)
Instructions
- Prep the oven and pans: Preheat oven to 180°C (350°F) or 160°C (320°F) for convection/fan ovens. Grease and line two 8-inch cake tins with parchment paper.
- Sift dry ingredients: Sift together the flour, cornstarch, baking soda, baking powder, and salt into a bowl. Whisk until fully combined and set aside.
- Cream fats and sugars: In a large bowl, combine butter, vegetable oil, white sugar, soft brown sugar, and peanut butter. Beat with an electric mixer on medium speed for 3 minutes until light and creamy.
- Add eggs: Add the eggs one at a time on low speed, mixing for 10-15 seconds between each addition to maintain the emulsion.
- Combine wet ingredients: Mix in the vanilla and buttermilk on medium speed until you have a smooth, creamy liquid batter.
- Fold dry ingredients: Add the pre-sifted dry ingredients. Fold gently by hand using a spatula until just combined and no flour streaks remain.
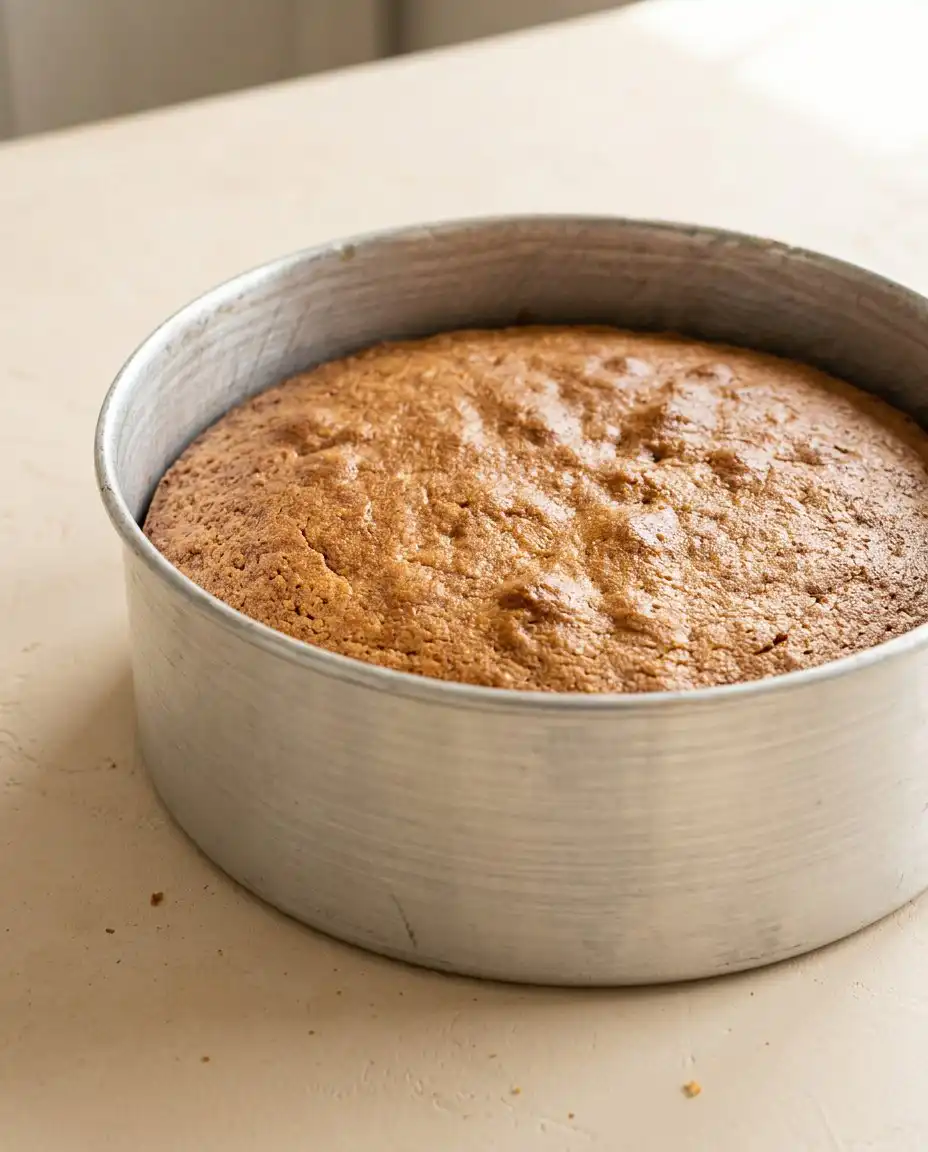
- Bake the layers: Divide batter evenly between the two tins. Tap lightly on the counter to release air bubbles, then bake for 30-35 minutes until a toothpick comes out clean.
- Cool completely: Let cakes cool in their tins for 15-20 minutes, then turn out onto a wire rack to cool completely before frosting.
- Whip the frosting: Combine all frosting ingredients in a bowl. Mix on low for 1 minute, then turn up to medium-high and whip for a full 10 minutes until silky smooth.
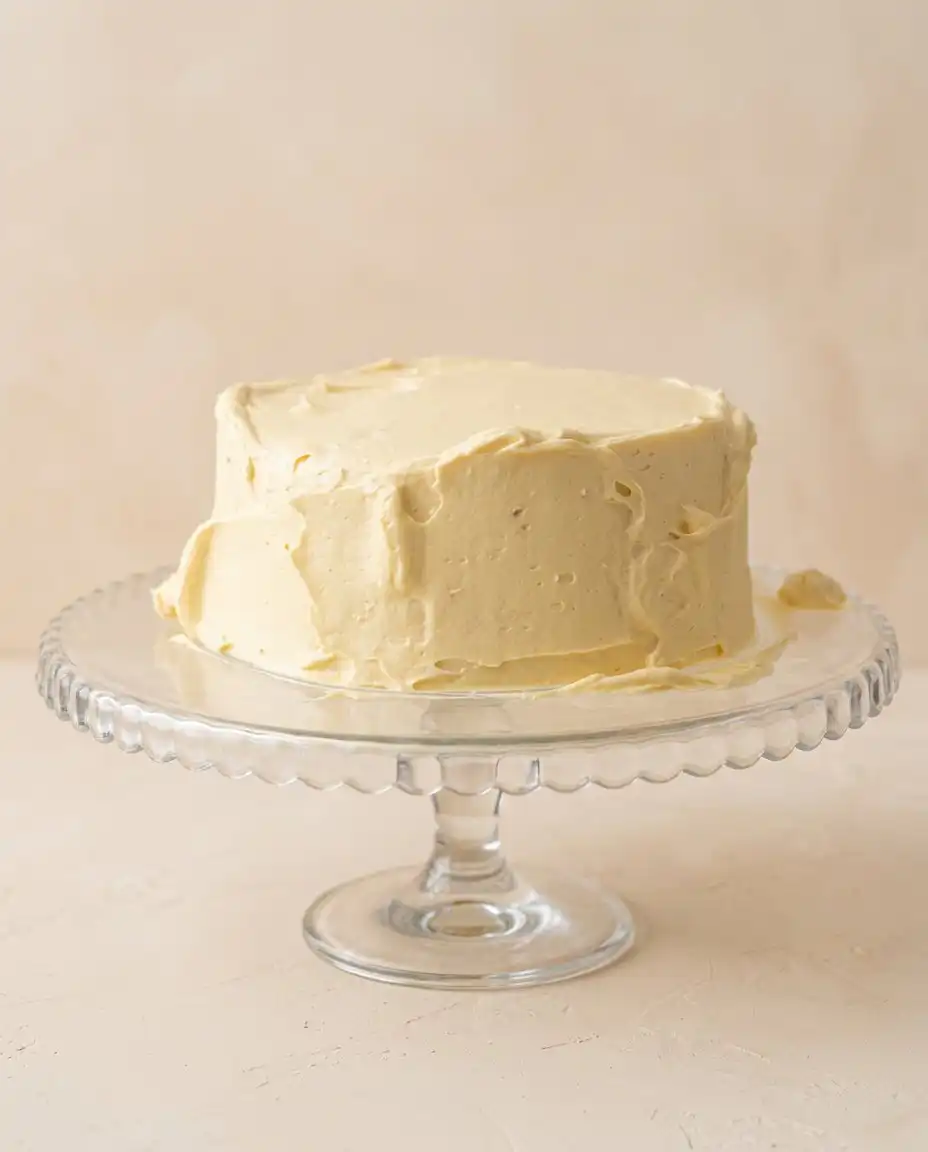
- Assemble: Place the first cooled layer on a plate, spread 1 cup of frosting on top, stack the second layer, and frost the top and sides of the cake.
Notes
- Room Temperature Ingredients: Always ensure buttermilk, eggs, and butter are at room temperature to prevent the batter from curdling.
- Measuring Flour: Use a kitchen scale for best accuracy. If using cups, spoon and level to prevent adding too much flour and drying out the cake.
- Peanut Butter Choice: Use a commercial, processed creamy peanut butter. Natural peanut butters that separate will add too much liquid fat and ruin the cake’s structure.
- Fixing Stiff Frosting: If your frosting feels stiff, warm it in the microwave in 5-second bursts and re-whip to restore its silky texture.
- Prep Time: 15 mins
- Cook Time: 35 mins
- Category: Dessert
- Method: Baking
- Cuisine: American
From the Mediterranean Pantry
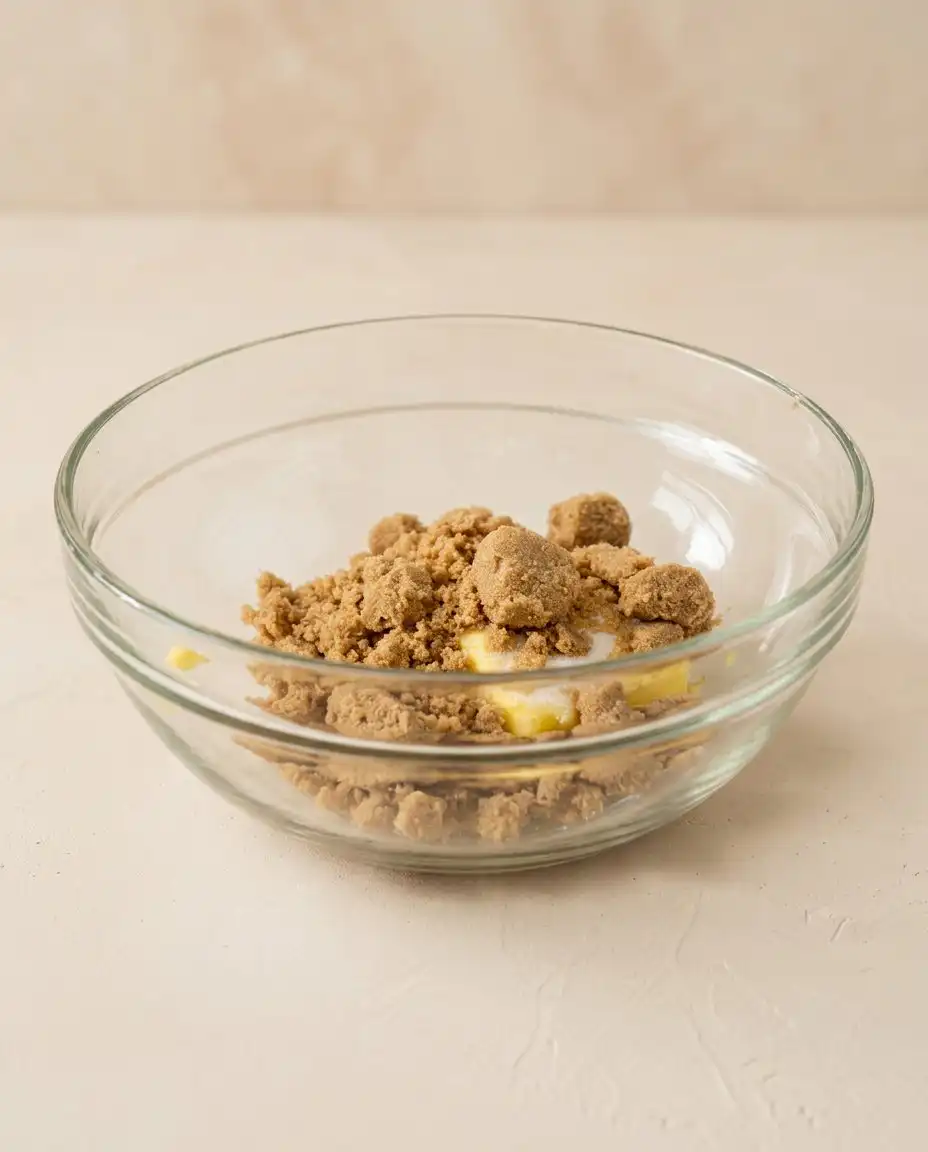
Though peanut butter is a modern favorite, the way we treat our dry and wet ingredients mirrors the patience of old-world baking. We select elements that bring moisture, structure, and a velvety mouthfeel to make sure the crumb remains tender for days. Each component is chosen for its specific role in creating a cake that is sweet, never cloying. By balancing the fats and sugars with precision, we create a dessert that is rich yet light enough to enjoy alongside a strong cup of coffee.
- Creamy Unsweetened Peanut Butter: This provides the rich, fatty base that coats the flour proteins, making sure of a meltingly tender texture that glides on the tongue.
- Buttermilk: The natural acidity tenderizes the gluten gently, creating a soft, velvet-like crumb that holds its moisture beautifully.
- Unflavored Vegetable Oil: Combined with butter, oil keeps the cake layers incredibly moist even when chilled, preventing any dryness.
- Soft Brown Sugar: This adds a deep, caramel-like moisture and warmth, complementing the roasted notes of the peanuts.
- Cornstarch: By softening the all-purpose flour, cornstarch mimics cake flour, yielding a delicate and fine crumb.
- Unsalted Butter: Creamed slowly with the sugars, it provides that classic, rich dairy flavor and a structure that melts beautifully.
| Ingredient | Why It Matters |
|---|---|
| Creamy Peanut Butter | Brings rich fats and a deep, roasted flavor that defines the cake. |
| Buttermilk | Tenderizes the gluten for an incredibly soft, velvet-like crumb. |
| Soft Brown Sugar | Adds essential moisture and a warm, caramel-like sweetness. |
| Vegetable Oil | Keeps the cake layers tender and moist even after cooling. |
| Cornstarch | Softens the flour to create a delicate, fine-textured bake. |
The Method, Step by Step
Step 1: Prep and Preheat the Oven
Before mixing any ingredients, preheat your oven to 180°C (350°F) or 160°C (320°F) if using a convection fan. Gently grease two eight-inch cake tins with a light coating of butter or homemade cake release, lining the bottoms with parchment paper. Preparing your pans ahead makes sure that the batter can go straight into the oven once mixed, preserving the delicate lift from the leaveners. This initial step is crucial for establishing the proper environment for your cake to rise evenly.
Step 2: Sift the Dry Ingredients
In a large bowl, sift together the all-purpose flour, cornstarch, baking soda, baking powder, and salt. Use a fine whisk to stir the mixture thoroughly, making certain the leavening agents are evenly distributed throughout the starch. This straightforward step prevents any pockets of baking soda from ruining the delicate balance of the crumb. Set this bowl aside while you prepare the rich, fragrant wet base that will carry these dry elements.
Step 3: Cream the Fats and Sugars
In a spacious mixing bowl, combine the room-temperature unsalted butter, vegetable oil, white granulated sugar, soft brown sugar, and creamed peanut butter. Using an electric hand mixer or a stand mixer fitted with a paddle attachment, cream these ingredients together on medium speed for three minutes. You will watch the mixture transform into a pale, fluffy paste that smells intensely of roasted peanuts and sweet caramel. This process incorporates tiny air pockets that will expand in the oven, creating a light, melt-in-your-mouth texture.
Step 4: Incorporate the Eggs Slowly
Add the room-temperature eggs to the creamed mixture one at a time, mixing on low speed for about ten to fifteen seconds after each addition. Taking your time here prevents the emulsion from breaking, which is crucial for a smooth, uniform batter. The mixture should look glossy and cohesive, with no signs of separation or curdling. Scrape down the sides of the bowl with a flexible spatula to make sure every bit is fully incorporated.
Step 5: Pour the Buttermilk and Vanilla
Slowly pour in the room-temperature buttermilk and the vanilla extract, mixing on medium speed until combined. The batter will become quite fluid and creamy, smelling wonderfully rich and slightly tangy from the buttermilk. Do not worry if the batter looks slightly textured at this stage; the acid in the buttermilk is already working to tenderize the proteins. Keep your mixer on low to avoid splashing as the liquids combine with the creamed fats.
Step 6: Fold the Dry Ingredients by Hand
Set your electric mixer aside completely, as the final step of the batter must be finished with gentle hands. Add the pre-sifted dry ingredients into the wet mixture, and use a silicone spatula to fold them together gently. Draw the spatula down through the center, sweep it around the bottom of the bowl, and fold the batter over itself. Stop the moment you can no longer see any streaks of dry flour, keeping the gluten development to an absolute minimum for a soft, tender crumb.
Step 7: Bake the Two-Layer Peanut Butter Cake Layers
Distribute the smooth batter evenly between your two prepared eight-inch cake tins. Tap the tins gently on your kitchen counter once or twice to release any large air bubbles trapped inside. Slide them onto the center rack of your preheated oven and bake for thirty to thirty-five minutes. You will know they are finished baking when the tops are golden brown, and a toothpick inserted into the center comes out clean or with a few moist crumbs clinging to it.
Step 8: Cool and Prepare for Frosting
Allow the baked cakes to rest in their tins for fifteen to twenty minutes, letting the delicate structure firm up slightly. Carefully run a thin knife around the edges, then turn the layers out onto a wire cooling rack to cool completely. It is essential that the cakes are entirely cool to the touch before you begin frosting them, or the rich peanut butter buttercream will melt and slide off the layers. Patience is the secret during this cooling phase, allowing the crumb to settle into its final, velvety texture.
Step 9: Whip the Silky Peanut Butter Frosting
In a clean, large bowl, combine the room-temperature butter, powdered sugar, vanilla, heavy cream, smooth peanut butter, and salt. Start your mixer on the lowest speed for about a minute to prevent a cloud of sugar from escaping the bowl. Once the sugar is incorporated, turn the speed up to medium-high and whip the frosting for a full ten minutes, scraping down the sides halfway through. The frosting will transform into an incredibly silky, light, and spreadable cloud that holds its shape beautifully.
Step 10: Assemble and Decorate Your Masterpiece
Place your first cooled cake layer onto a serving plate or cake board, securing it with a small dollop of frosting underneath. Spread about one cup of the silky peanut butter frosting evenly over the top of this layer using an offset spatula. Gently place the second cake layer on top, pressing down very lightly to secure it in place. Use the remaining frosting to cover the top and sides of the cake, smoothing it out or creating rustic swirls as you prefer.
Getting the Texture Right
Always make sure your buttermilk and eggs are at true room temperature before you begin mixing. Cold ingredients will cause the creamed butter and peanut butter to seize, resulting in a curdled batter that bakes unevenly. If you are in a hurry, place your cold eggs in a bowl of warm water for ten minutes and warm the buttermilk slightly in the microwave.
When measuring your flour, always use a digital kitchen scale for the most accurate results. Scooping flour directly from the bag with a measuring cup packs it down, adding too much starch and leading to a heavy, dry cake. If you must use cups, fluff the flour with a fork, spoon it gently into the cup, and level it off with a flat knife, similar to how we prepare our vanilla pound cake recipe for a perfect crumb.
If your frosting feels too stiff or shows too many air bubbles, here is why and how to fix it. This usually happens when the butter or heavy cream was slightly too cold, preventing a smooth emulsion from forming. To fix this, warm the bowl of buttercream in the microwave in very short five-second bursts, mixing thoroughly between each burst until it softens, then whip it again for a few minutes until it becomes silky and smooth.
For the peanut butter, choose a creamy, processed variety that does not require stirring before use. Natural peanut butters that separate and have oil pooling at the top contain too much liquid fat, which can cause the cake layers to become greasy or sink in the middle. Save the artisanal, stone-ground jars for your morning toast and stick to classic, smooth spreads for baking.
To get flawlessly flat cake layers that are easy to stack, consider using cake strips wrapped around the outside of your tins. These damp fabric strips insulate the edges of the pan, guaranteeing the cake bakes evenly from the edges to the center rather than domeing in the middle. If you do end up with a slight dome, merely trim it flat with a serrated bread knife once the cake is fully cooled.
Letting the baked cake layers rest in the refrigerator for an hour before frosting makes assembly much easier. Cold cake layers are firmer and produce far fewer crumbs, allowing you to apply a clean crumb coat without any dark specks showing through. Wrap the cooled layers tightly in plastic wrap before chilling to keep them from drying out in the cold air.
Frequently Asked Questions
Can I use natural peanut butter in a cake?
It is highly recommended to avoid natural peanut butter that separates, as the excess oil sitting at the top can disrupt the balance of fats in the batter. This can lead to cake layers that are overly greasy, dense, or prone to sinking in the middle. Instead, choose a creamy, processed peanut butter that remains stable and smooth at room temperature.
Should a peanut butter cake have peanut butter or chocolate frosting?
Both options are wonderful, but they offer very different experiences. A peanut butter frosting creates a rich, deeply cohesive flavor profile that highlights the roasted nuttiness throughout the entire dessert. A chocolate frosting, on the other hand, provides a classic, sweet contrast that cuts through the saltiness of the peanut butter beautifully.
Why is my peanut butter cake dry?
A dry cake is usually the result of overbaking or adding too much flour to the batter. Always check your cakes a few minutes before the baking time is up, and use a digital kitchen scale to measure your flour accurately. Overmixing the batter after adding the dry ingredients can also develop too much gluten, making the crumb tough and dry.
How do you prevent peanut butter frosting from becoming too stiff?
To keep your frosting silky and spreadable, ensure both your butter and heavy cream are at true room temperature before mixing. If the frosting becomes too stiff or develops air bubbles, gently warm it in the microwave in five-second bursts and re-whip it. Adding a tablespoon of heavy cream can also help soften the consistency.
How do you decorate a two-layer peanut butter cake?
Keep the decoration simple and rustic to reflect the warm, homemade nature of the recipe. Spread a thick, smooth layer of frosting between and around the layers, then use a spatula to create elegant swirls on the top and sides. Finish with a generous scatter of finely chopped roasted peanuts or a gentle drizzle of melted peanut butter.
Can I make this cake ahead of time and freeze the layers?
Yes, you can bake the cake layers ahead of time, let them cool completely, and wrap them tightly in plastic wrap and aluminum foil before freezing. They can be frozen for up to three months and thawed in the refrigerator overnight before assembling. Frosting the cake while the layers are slightly cold actually helps reduce crumbs and makes spreading easier.
How should I store leftover peanut butter cake?
Store any leftover cake in an airtight container or under a cake dome at room temperature for up to three days. If your kitchen is very warm, you can store it in the refrigerator, but be sure to bring slices to room temperature before serving. This allows the fats in the cake and frosting to soften, restoring its signature melting texture.
Flavor Swaps
For those who adore the timeless combination of chocolate and peanut butter, you can easily transform this recipe into a marbled masterpiece. Fold a half cup of dark chocolate chips into the batter at the very end, or swirl in a rich cocoa paste before baking. If you want a full chocolate experience, you can pair these peanut butter layers with the deep cocoa frosting from our hersheys perfectly chocolate cake for a decadent contrast.
If you prefer a fruit-forward twist reminiscent of a classic childhood sandwich, spread a generous layer of high-quality raspberry or blackberry jam between the cake layers before adding the frosting. The bright, tart acidity of the berries cuts through the rich, buttery peanut frosting beautifully, offering a delightful surprise with every bite. Be sure to pipe a border of peanut butter frosting around the edge of the first layer first to act as a dam, keeping the jam securely in the center.
To add a delightful crunch to your cake, you can substitute a portion of the smooth peanut butter in the frosting with a crunchy variety, or fold in finely chopped roasted peanuts between the layers. The contrast between the soft, melting crumb and the crisp, salty nuts elevates the sensory experience of the dessert. You can also sprinkle a handful of toasted chopped peanuts onto the top of the finished cake for a rustic, elegant presentation.
Coffee & Cake Pairings
To truly enjoy a slice of this rich cake, pair it with a beverage that balances its deep, buttery saltiness. A small cup of unsweetened Turkish coffee or a strong, dark espresso is the perfect companion, cutting through the density of the peanut butter and cleansing your palate between bites. The bitter notes of the coffee highlight the caramel undertones of the soft brown sugar, making each bite taste as fresh as the first.
For a cozy afternoon gathering, serve this cake slightly cool but not ice-cold, allowing the fats in the buttercream to soften just enough to glide like butter. Place each slice on a simple, elegant plate and garnish with a dusting of cocoa powder or a few whole roasted peanuts on the side. If you are looking for more ideas to complete your dessert table, browse through our extensive recipe index for complementary sweet treats.
This cake is wonderful for celebrations, family gatherings, or quiet Sunday afternoons spent with loved ones around a low table. Because it is incredibly rich, a thin slice is often more than enough to satisfy, meaning a single two-layer cake can easily serve a dozen appreciative guests. Serve it alongside a glass of cold milk for the younger ones, making sure everyone at the table finds their perfect pairing.
Let It Rest, Then Slice
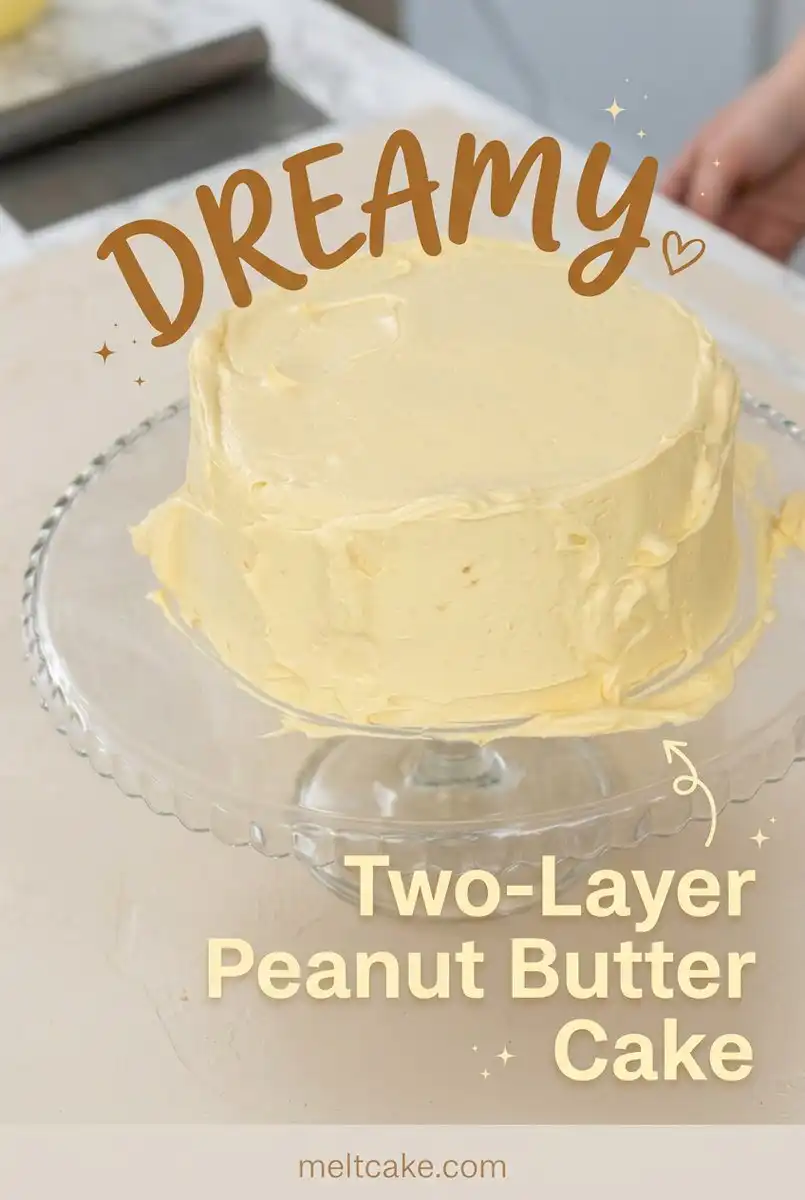
Like all the best things in life and baking, patience is the secret that unlocks the true potential of this cake. Letting the frosted cake rest in the refrigerator for a few hours before slicing allows the peanut butter frosting to set and the layers to fuse into a single, harmonious dessert. When you finally press your fork through the layers, it should glide through like butter, offering a texture that is sweet, never cloying.
If you find yourself craving more comforting bakes, try our rich brown butter chocolate chip cookie cake for another deep, caramelized flavor experience. Gathering around a table with a homemade dessert is a tradition that brings warmth to any home, and we hope this recipe brings a moment of sweet peace to your kitchen. Take your time, enjoy the process of creaming and folding, and let the aroma of roasted peanuts fill your home.
We would love to see your beautiful creations and hear about your baking journey. Share your photos and connect with our community on Facebook and Pinterest, or join our conversation on Telegram for daily baking inspiration. Let us keep the art of slow, patient baking alive together, one delicious slice at a time.