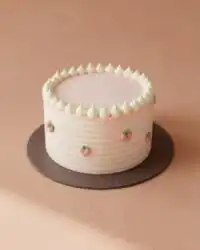
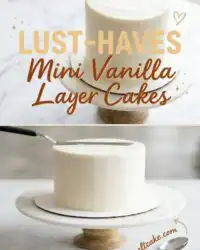
Imagine reaching for a spoon at 9 p.m. and finding a tender, tiered cake waiting for you in under twenty minutes of active work.

These Mini Vanilla Layer Cakes are the secret to turning a quiet Tuesday into a celebration without spending the entire evening in the kitchen. By utilizing a specific mixing method, we achieve a tight, velvety crumb that feels sophisticated despite the incredibly fast turnaround time. You can expect a texture that yields to the lightest pressure, paired with a vanilla buttercream that stays stable but remains luscious. This recipe proves that you do not need a massive gathering to justify a beautiful layer cake on your table.
What Makes These Mini Vanilla Layer Cakes Quick & Luscious
Prep: 15 min · Serves: 8 · Difficulty: Easy
- Small pans ensure faster even baking.
- Tender crumb achieved through reverse crumbing.
- Rich flavor from real vanilla bean.
- Stable buttercream that pipes very smoothly.
- Compact size for intimate weeknight celebrations.
These mini cakes deliver a gourmet bakery texture without the heavy time commitment usually required for layered desserts.
Get The Full Cake Recipe
Print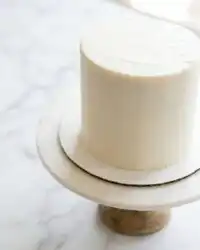
Mini Vanilla Layer Cakes
- Total Time: 70 mins
- Yield: 8 servings
- Diet: Vegetarian
Description
These delightful mini vanilla layer cakes feature a tender, velvety crumb and stable buttercream, making them perfect for an elegant weeknight dessert. By using a clever reverse-crumbing method and shortcut cooling techniques, you can achieve gourmet-bakery results in under twenty minutes of active prep time.
Ingredients
- All-purpose flour
- Granulated sugar
- Baking powder
- Fine salt
- Unsalted butter, melted and cooled
- Vegetable oil
- Large egg, room temperature
- Buttermilk, room temperature
- Vanilla bean paste
- Powdered sugar
- Heavy cream
Instructions
- Prep pans and oven. Preheat oven to 350°F and prepare three 4-inch or two 6-inch pans with parchment paper and non-stick spray.
- Combine dry base. Whisk together the flour, sugar, baking powder, and salt in a large bowl until uniform and sandy.
- Incorporate primary fats. Add melted butter, oil, and egg to the dry mixture, whisking until the batter is thick and pasty.
- Stream in liquids. Pour in buttermilk and vanilla, mixing for 30 seconds until the batter is smooth, glossy, and pourable.
- Bake the layers. Divide batter into prepared pans and bake for 32 to 35 minutes, or until a skewer comes out with a few moist crumbs.
- Chill for handling. Rest pans for 10 minutes, then transfer to the freezer for 20 minutes to firm up the structure before frosting.
- Whip the buttercream. Beat room temperature butter, then gradually add powdered sugar and heavy cream until fluffy and stiff.
- Assemble the cakes. Stack layers with buttercream between them, apply a thin crumb coat, chill briefly, and finish with a smooth outer layer of frosting.
Notes
- Ensure all dairy and egg components are at room temperature to prevent the batter from curdling during the mixing process.
- Use a kitchen scale to measure flour accurately, as packing it into a cup can lead to a dry, dense sponge.
- If the frosting becomes too soft, simply refrigerate the bowl for 10 minutes before re-whipping to restore its structure.
- Applying a crumb coat is essential to lock in stray particles and achieve a polished, professional finish on your tiny tiers.
- Leveling the cake tops with a serrated knife is necessary to ensure the stacked tiers remain stable and do not slide.
- Prep Time: 15 mins
- Cook Time: 35 mins
- Category: Dessert
- Method: Baking
- Cuisine: American
Shortcut-Friendly Pantry
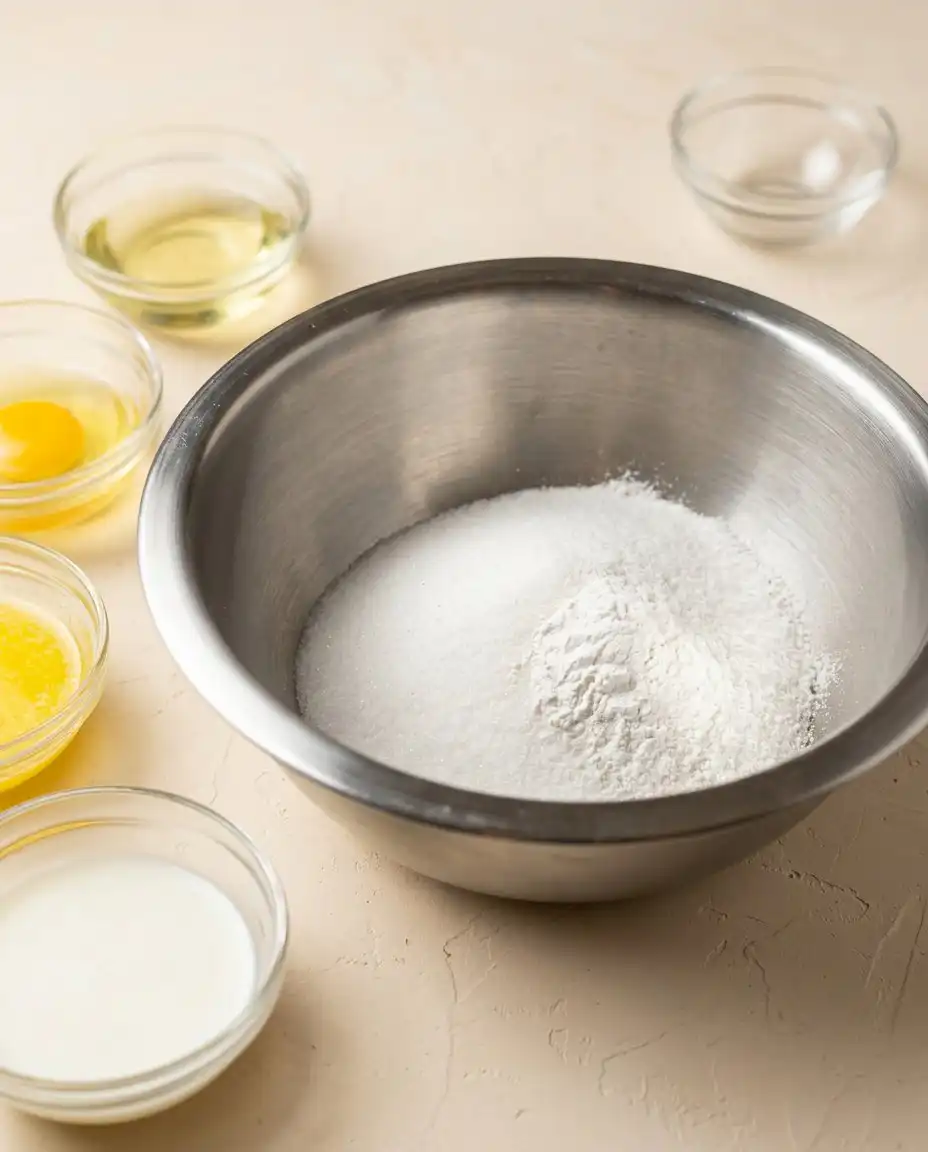
Creating a high-quality dessert requires a few specific staples that work together to ensure the cake remains soft even if stored in the refrigerator. We focus on ingredients that provide immediate moisture and a reliable rise so your tiny tiers look as good as they taste.
- All-Purpose Flour: This provides the necessary structure to support the weight of the buttercream while keeping the layers manageable for stacking.
- Buttermilk: The acidity in buttermilk breaks down gluten strands, ensuring your cake has that signature melt-in-the-mouth quality we love.
- Unsalted Butter and Oil: Combining these two fats gives you the rich flavor of butter with the superior moisture retention of vegetable oil.
- Vanilla Bean Paste: Using paste instead of extract provides those beautiful dark flecks and a more concentrated floral aroma throughout the sponge.
- Heavy Cream: Adding a splash to the frosting transforms a standard sugar mix into a cloud-like topping that spreads with zero resistance.
| Ingredient | Why It Matters |
|---|---|
| Buttermilk | Tenderizes the crumb and adds a slight tang |
| Vegetable Oil | Keeps the cake moist even when chilled |
| Baking Powder | Provides a reliable and even vertical rise |
| Powdered Sugar | Creates a stable and grit-free buttercream |
| Fine Salt | Balances the sweetness of the vanilla frosting |
From Bowl to Spoon
Step 1: Prep Your Pans and Oven
Begin by preheating your oven to 350°F and preparing your small-scale bakeware. Line your three 4-inch or two 6-inch pans with parchment paper rounds and apply a light coating of non-stick spray to the sides. Using light-colored aluminum pans is a major win here as they reflect heat, preventing the edges of your tiny cakes from browning too quickly before the centers are set.
Step 2: Combine the Dry Base
In your large mixing bowl, whisk together the flour, granulated sugar, baking powder, and fine salt until the mixture is uniform. This step ensures that the leavening agent is distributed evenly so you don’t end up with lopsided tiers. You are looking for a sandy, aerated texture that feels light when you run the whisk through the center of the bowl.
Step 3: Incorporate the Primary Fats
Add the cooled melted butter, vegetable oil, and the room temperature egg directly into the dry mixture. Use your whisk or a hand mixer on low speed to combine these elements until the batter becomes quite thick and pasty. This specific order coats the flour particles in fat, which is the core of the reverse crumbing method designed to prevent excess gluten development.
Step 4: Stream in the Buttermilk
Pour the buttermilk and vanilla into the thick paste and continue mixing for an additional thirty seconds until the batter becomes smooth and glossy. If you want to add a splash of color, this is the moment to fold in your gel food coloring for a vibrant look. The batter should look creamy and pourable, resembling heavy silk as it falls off the spatula back into the bowl.
Step 5: Bake to Perfection
Divide your batter evenly among the prepared pans, using a kitchen scale if you want the layers to be identical in height. Bake on the middle rack for about 32 to 35 minutes, or until a wooden skewer inserted into the center comes out with just a few moist crumbs attached. The kitchen will begin to smell like warm sugar and toasted vanilla the moment these are ready to be pulled.
Step 6: The Quick Chill Method
Allow the pans to rest on a wire rack for ten minutes before running a small spatula around the edges to loosen the cakes. Transfer the layers directly into the freezer for twenty minutes to stop the baking process and firm up the structure for easier handling. This shortcut is essential for a weeknight timeline because it allows you to start frosting almost immediately without the risk of the butter melting.
Step 7: Whip the Vanilla Buttercream
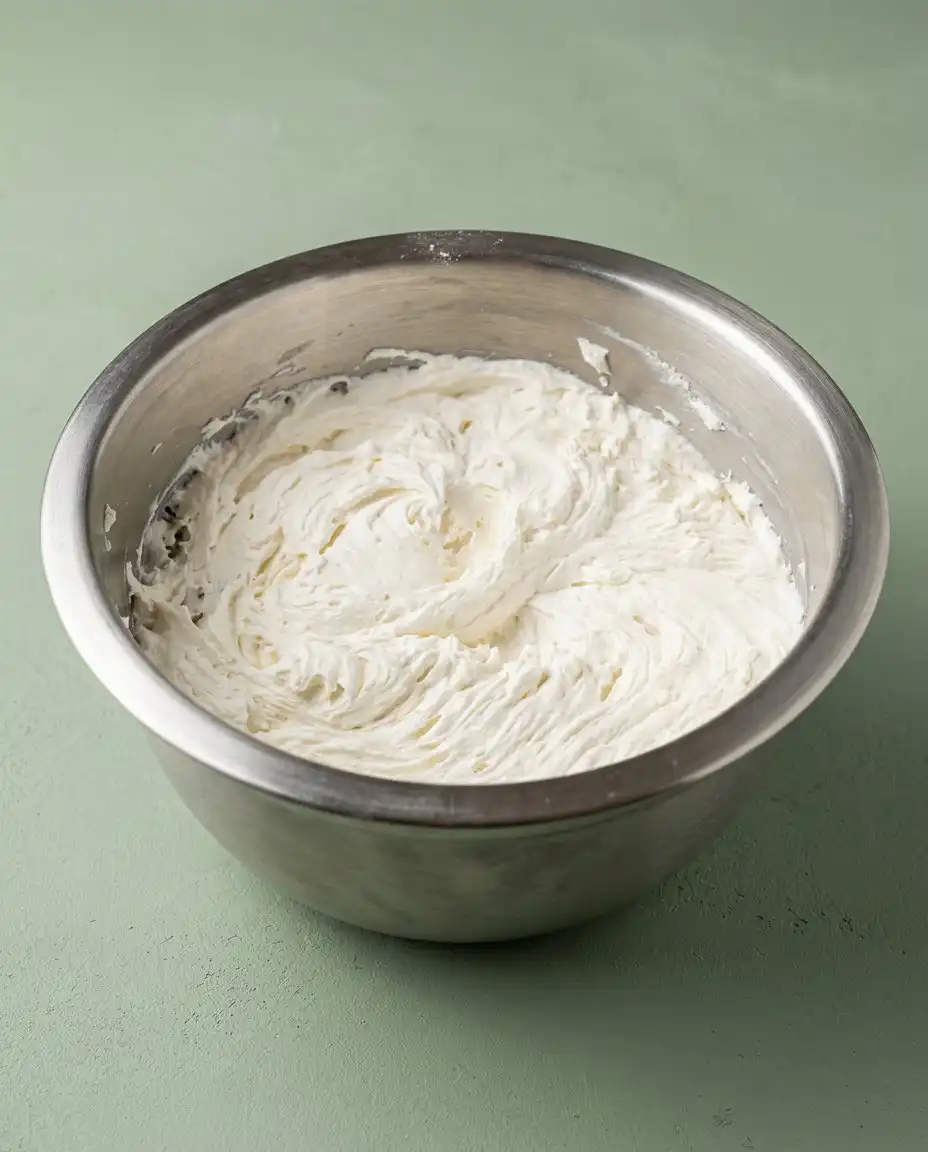
While the layers are chilling, beat your room temperature butter for thirty seconds before gradually adding the powdered sugar and heavy cream. Mix on a low speed to prevent a sugar cloud from escaping the bowl, then increase the speed once the ingredients are incorporated. The frosting should look pale, fluffy, and stiff enough to hold a peak when you lift the beaters.
Step 8: Assembling Your Mini Vanilla Layer Cakes
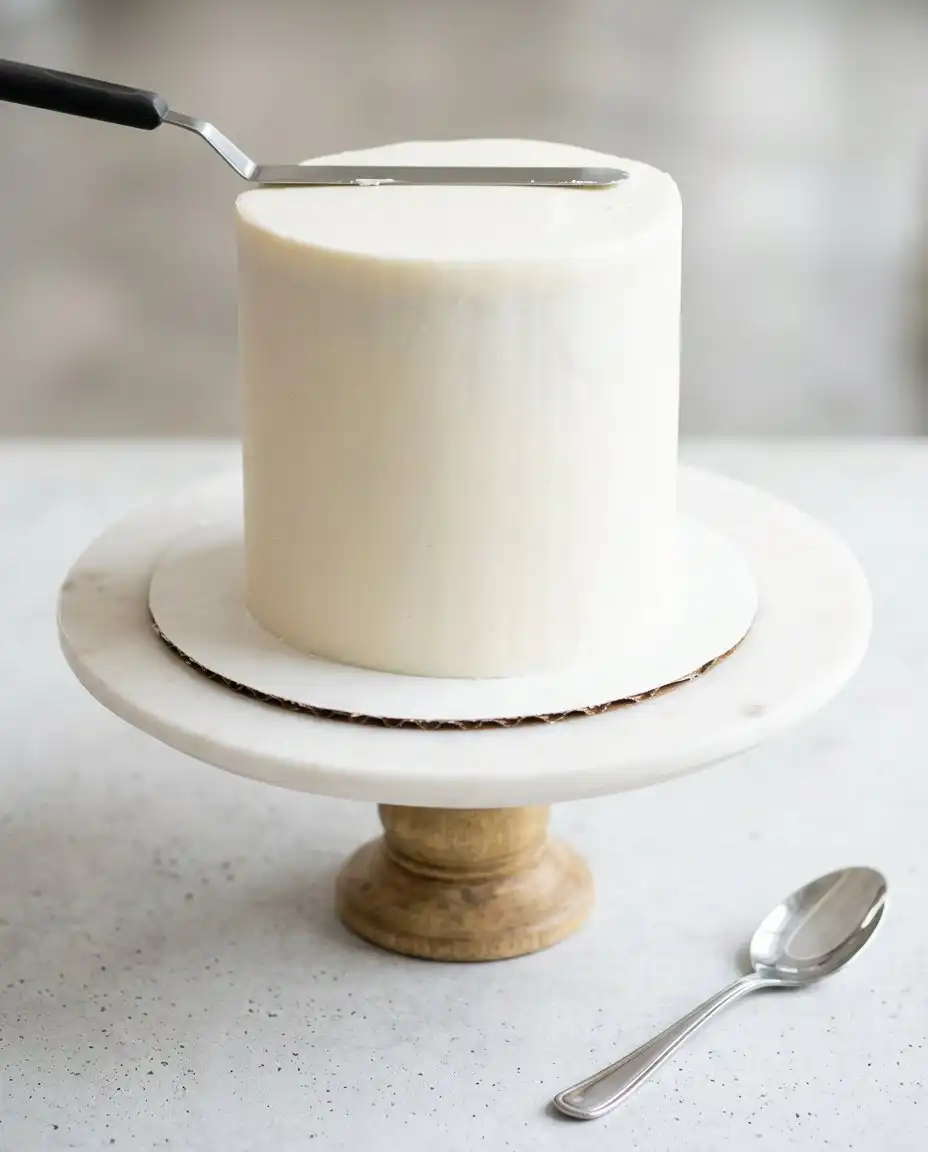
Place your first level layer on a small plate and spread a generous portion of buttercream across the top using an offset spatula. Repeat this process with the remaining layers, then apply a thin crumb coat around the exterior to lock in any loose bits of cake. After a five-minute freezer rest, apply the final thick layer of frosting and smooth the sides with a bench scraper for a professional finish.
Easy-Baker Texture Tricks
Measuring your flour correctly is the difference between a dense brick and a cloud-like sponge. Always fluff the flour with a spoon before leveling it off in the measuring cup to ensure you are not packing too much into the recipe. If you have a kitchen scale, using 125 grams of flour will yield the most consistent results every single time.
Temperature control is your best friend when working with butter-based batters and frostings. Ensure your egg and buttermilk are at room temperature so they emulsify properly with the fats rather than causing the batter to curdle. This classic vanilla butter cake technique ensures the emulsion stays strong for a superior crumb.
If your buttercream feels too soft or soup-like, it is likely because the butter was too warm or the room is too hot. To fix this, place the entire mixing bowl in the refrigerator for ten minutes, then beat it again on medium speed. This cools the fat molecules and allows them to regain their structure so you can pipe clean swirls on top of your cake.
Weighing your cake pans while filling them is a pro move that saves you from uneven tiers. When the layers are the same height, they bake at the same rate and stack much more securely. You can learn more about mini cake baking techniques to refine your stacking process for smaller desserts.
Using a serrated knife to level the tops of your cooled cakes is non-negotiable for stability. A flat surface prevents the layers from sliding around once the buttercream is applied between them. It also gives you scraps to snack on while you finish the decorating process.
Always apply a crumb coat before your final layer of frosting to ensure a clean look. This thin layer of buttercream acts as a primer, sealing the cake surface so no crumbs end up in your decorative finish. It only takes five extra minutes but changes the entire professional appearance of the dessert.
Frequently Asked Questions
Can I make these mini cakes in a standard cupcake tin?
Yes, this batter works perfectly for cupcakes if you do not have small cake pans. You will need to reduce the baking time to approximately 18 to 22 minutes. Keep a close eye on them and use the toothpick test to ensure they stay moist and tender.
How should I store leftover mini cakes?
Frosted cakes can stay in the refrigerator for up to one week if they are kept in an airtight container. The buttercream acts as a sealant that locks in the moisture of the sponge. For the best texture, allow the cake to sit at room temperature for twenty minutes before serving.
Can the cake layers be made in advance?
Absolutely, as these layers freeze beautifully for up to one month. Wrap the cooled, leveled cakes tightly in plastic wrap and store them in the freezer until you are ready to assemble. Frosting them while they are still slightly chilled actually makes the process much easier.
What if I do not have buttermilk on hand?
You can create a quick substitute by adding half a tablespoon of lemon juice or white vinegar to half a cup of regular milk. Let the mixture sit for five minutes until it slightly curdles before adding it to your batter. This provides the necessary acidity to keep the crumb tender.
Why did my cake sink in the middle?
Cakes typically sink if the oven door is opened too early or if the leavening agent is expired. Ensure your baking powder is fresh and avoid jarring the oven during the first twenty minutes of the baking cycle. Using a thermometer to verify your oven temperature can also prevent this common issue.
How do I get perfectly smooth sides on a mini cake?
The key is using a metal bench scraper and a rotating cake stand if possible. Apply a thick layer of frosting, hold the scraper at a 45-degree angle, and turn the cake in one fluid motion. Keeping the scraper clean and warm under running water can also help achieve a glass-like finish.
Fast Flavor Swaps
Switching up the flavor profile is incredibly simple once you have mastered this base recipe. You can replace the vanilla with almond extract or even a touch of lemon zest to create a bright, citrusy version of these petite indulgences for a spring brunch. The small scale of the recipe makes it the perfect canvas for experimenting with different aromatic additions.
For a fruit-forward twist, try adding a thin layer of raspberry preserves between the cake tiers before applying the buttercream. The tartness of the berries cuts through the richness of the vanilla frosting, providing a balanced flavor profile that feels sophisticated. This addition does not change the baking time, making it an easy upgrade for a special occasion.
If you prefer a chocolate version, you can replace two tablespoons of the flour with high-quality Dutch-processed cocoa powder. This small swap maintains the structural integrity of the cake while delivering a deep chocolate flavor that pairs beautifully with the vanilla frosting. Ensure the cocoa is sifted to prevent any lumps from forming in your quick-mix batter.
Bring It to the Table Fast
Plating these tiers on a small elevated pedestal makes them feel like a grand centerpiece despite their smaller diameter. I love serving a slice of this classic vanilla bean layer cake alongside a hot cup of Earl Grey tea or a dark roast coffee. The bitterness of the beverage provides a wonderful contrast to the sweet, creamy notes of the vanilla bean.
For a more formal presentation, you can garnish the top with fresh edible flowers or a handful of seasonal berries. Adding a few mint leaves provides a pop of color and a fresh aroma that enhances the vanilla profile. These small details take very little time but make the dessert feel like it came from a high-end patisserie.
If you are serving these at a dinner party, consider slicing them into thin wedges to showcase the delicate layers inside. Because the cake is quite rich, a smaller portion is often exactly what guests want after a full meal. Serve each slice with a small dollop of whipped cream on the side for an extra touch of indulgence.
The Weeknight Wrap-Up
There is no reason to wait for a major milestone to enjoy a high-quality dessert when the process is this efficient. These classic vanilla cake layers provide the perfect balance of ease and indulgence, making them a staple for any home baker’s repertoire. I hope you find as much joy in the quick assembly as you do in the first luscious bite of the finished product.
Please share your beautiful creations with me and let me know how your tiny tiers turned out. You can find more inspiration and follow my latest kitchen shortcuts on our social channels below. Happy baking and enjoy your well-deserved treat tonight.