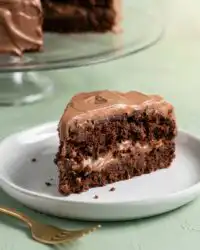
In my early years working in a London pastry shop, I became obsessed with the structural relationship between a soft sponge and a rigid crunch. This Chocolate Caramel Toffee Crunch Cake is the culmination of those experiments, balancing a saturated chocolate base with the brittle snap of toffee. My training taught me that a dessert’s success lies in its textural geometry; every bite must offer a progression from soft to firm.

This specific preparation is an exercise in moisture control and architectural layering within a standard baking pan. We use a precise poke-method to saturate the sponge without compromising its cellular integrity, resulting in a dessert that is incredibly rich yet maintains a clear presence on the plate. By understanding how the caramel interacts with the cocoa-heavy crumb, you can achieve a professional-grade mouthfeel in your home kitchen.
The Architecture of Saturated Texture
This Chocolate Caramel Toffee Crunch Cake succeeds because it masters the art of the ‘soak’ while maintaining structural integrity. Unlike traditional layer cakes that rely on frosting for moisture, this cake uses a dense infusion of sweetened condensed milk and caramel that permeates the crumb. This creates a melt-in-the-mouth sensation that is technically superior to a standard dry sponge.
The inclusion of crushed toffee provides the necessary resistance to the tooth, breaking up the softness of the cake and the silkiness of the whipped topping. This interplay between the high-fat caramel and the brittle candy bits is a classic example of textural contrast. It is a sophisticated composition that appeals to those who appreciate the technical nuances of pastry construction.
Print
Chocolate Caramel Toffee Crunch Cake
- Total Time: 2 hours
- Yield: 15 servings
- Diet: Vegetarian
Description
This decadent poke cake features a moist German chocolate base saturated with a rich blend of sweetened condensed milk and silky caramel. Finished with a light whipped topping and shards of buttery toffee, it is a masterclass in contrasting textures and deep flavors.
Ingredients
- 1 package German Chocolate Cake Mix
- 3 large eggs
- 1/2 cup vegetable oil
- 1 cup milk
- 1/4 cup boiling water
- 1 can (14 oz) sweetened condensed milk
- 1 jar (12 oz) caramel ice cream topping
- 1 tub (8 oz) frozen whipped topping, thawed
- 5 Heath candy bars, crushed
Instructions
- Preheat your oven to 350°F (175°C) and grease and flour a 9×13-inch baking pan.
- In a large bowl, combine the cake mix, eggs, oil, and milk, then gradually stir in the boiling water until the batter is smooth and thin.
- Pour the batter into the prepared pan and bake for 30 to 35 minutes until a skewer inserted into the center comes out clean.
- Let the cake rest for 10 minutes, then use a fork or the handle of a wooden spoon to poke holes across the surface at one-inch intervals.
- Whisk the sweetened condensed milk and caramel topping together until emulsified, then pour the mixture slowly over the warm cake.
- Allow the cake to cool completely to room temperature, then spread the thawed whipped topping evenly across the surface.
- Garnish with the crushed Heath bars and refrigerate for at least one hour to allow the structure to stabilize before serving.
Notes
To ensure the most effective saturation, aim to poke the holes while the cake is still warm; this allows the crumb to act like a sponge for the caramel mixture. For the best texture, always use a serrated knife when slicing to glide through the crunchy toffee layer without compressing the delicate whipped topping.
- Prep Time: 15 mins
- Cook Time: 35 mins
- Category: Dessert
- Method: Baking
- Cuisine: American
The Technical Foundation: Ingredient Precision
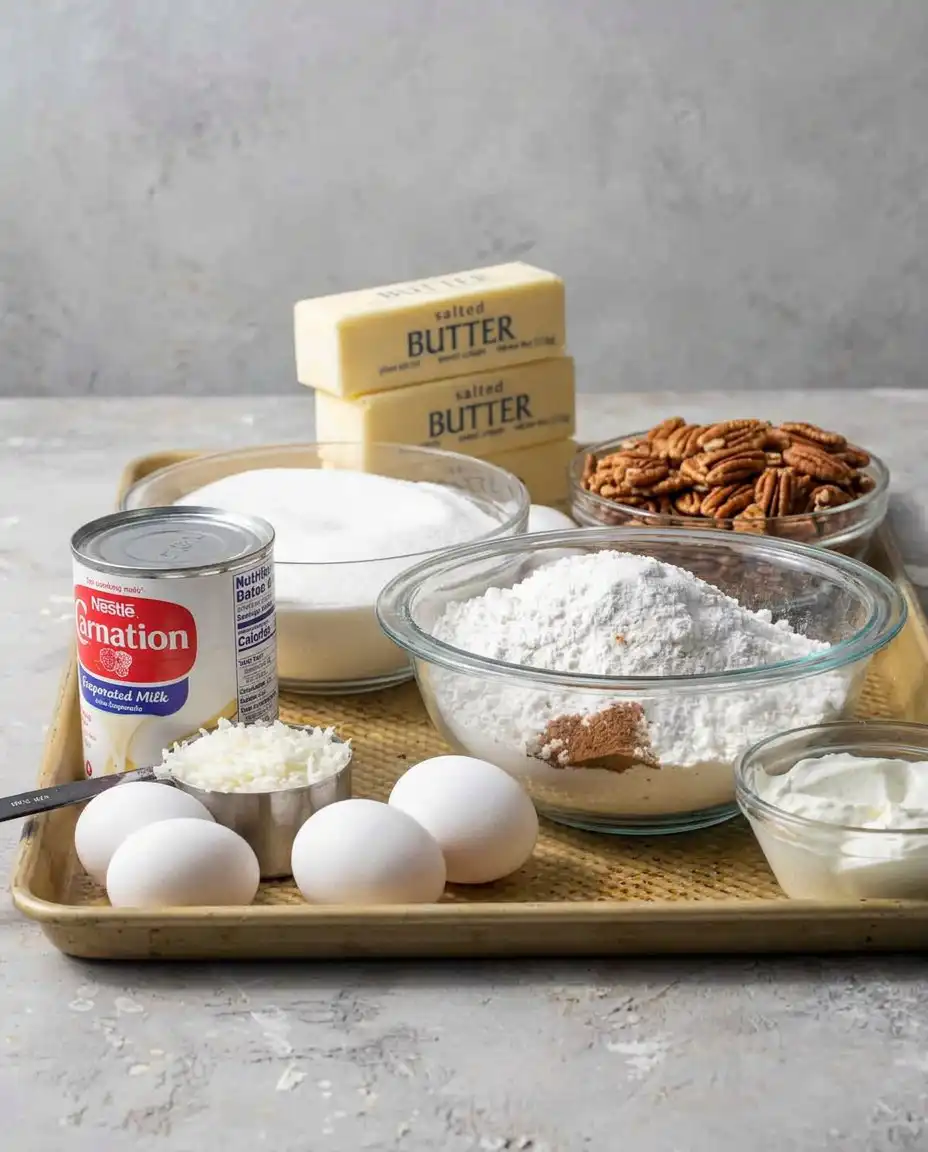
To achieve the perfect balance of structure and melt, every ingredient must serve a specific functional purpose. We are looking for high-quality fats and proteins to support the weight of the caramel soak.
- German Chocolate Cake Mix: This provides a lighter crumb than a traditional devil’s food cake, allowing the caramel to penetrate more deeply without the cake collapsing under its own weight.
- Sweetened Condensed Milk: This acts as a structural humectant, providing a thick, creamy viscosity that clings to the cake fibers rather than simply making them soggy.
- Caramel Ice Cream Topping: For the best results, use a high-viscosity caramel that remains fluid but stable at room temperature.
- Frozen Whipped Topping: Unlike fresh whipped cream, this stabilized topping maintains its aeration even when placed atop the moisture-heavy cake layers.
- Heath Candy Bars: These provide the essential structural ‘crunch’ with a combination of buttery toffee and a thin coating of chocolate.
- Boiling Water: When mixing the batter, boiling water blooms the cocoa powder, releasing deeper flavor compounds and thinning the batter for a more uniform crumb.
The Technical Process: A Step-by-Step Guide
Step 1: Prepare the Structural Base
Begin by preheating your oven to 350°F (175°C). Precise temperature control is vital for the initial rise. Grease and flour a 9×13-inch baking pan, which provides the necessary surface area for the soak. In a large bowl, sift your dry ingredients to remove clumps and aerate the cocoa. Combine with your wet ingredients—eggs, oil, and milk—beating until the mixture is uniform. Gradually stir in the boiling water until the batter is smooth and thin; this ensures a consistent texture throughout the cake.
Step 2: The Baking Phase
Pour the batter into the prepared pan and bake for 30 to 35 minutes. You must monitor the bake closely. Insert a skewer into the center; it should emerge clean, showing that the internal structure has set. Avoid over-baking, as a dry sponge will not absorb the caramel soak as effectively. Once removed from the oven, allow the cake to sit for 10 minutes to stabilize before proceeding to the saturation phase.
Step 3: The Precision Saturation
While the cake is still warm but not hot, use a large fork or the handle of a wooden spoon to poke holes across the entire surface. Space the holes roughly one inch apart to ensure even distribution. Mix the sweetened condensed milk and caramel topping in a separate vessel until the two fats are fully emulsified. Pour this mixture slowly over the cake, focusing on the holes. This ‘soak’ creates pockets of concentrated flavor and moisture that define the cake’s interior texture.
Step 4: Lamination and Topping
Allow the cake to cool completely to room temperature before adding the whipped topping. If the cake is too warm, the air bubbles in the topping will collapse, resulting in a dense, unappealing film. Spread the thawed whipped topping evenly across the surface. Immediately following this, crush your Heath bars into irregular fragments—varying the size provides a better sensory experience—and scatter them generously over the top.
Step 5: Thermal Stabilization
Place the cake in the refrigerator for at least one hour. This cooling period allows the caramel to thicken and the whipped topping to set, creating a clean, professional slice when served. This step is non-negotiable for achieving the correct structural finish.
Jordan’s Precision Secrets
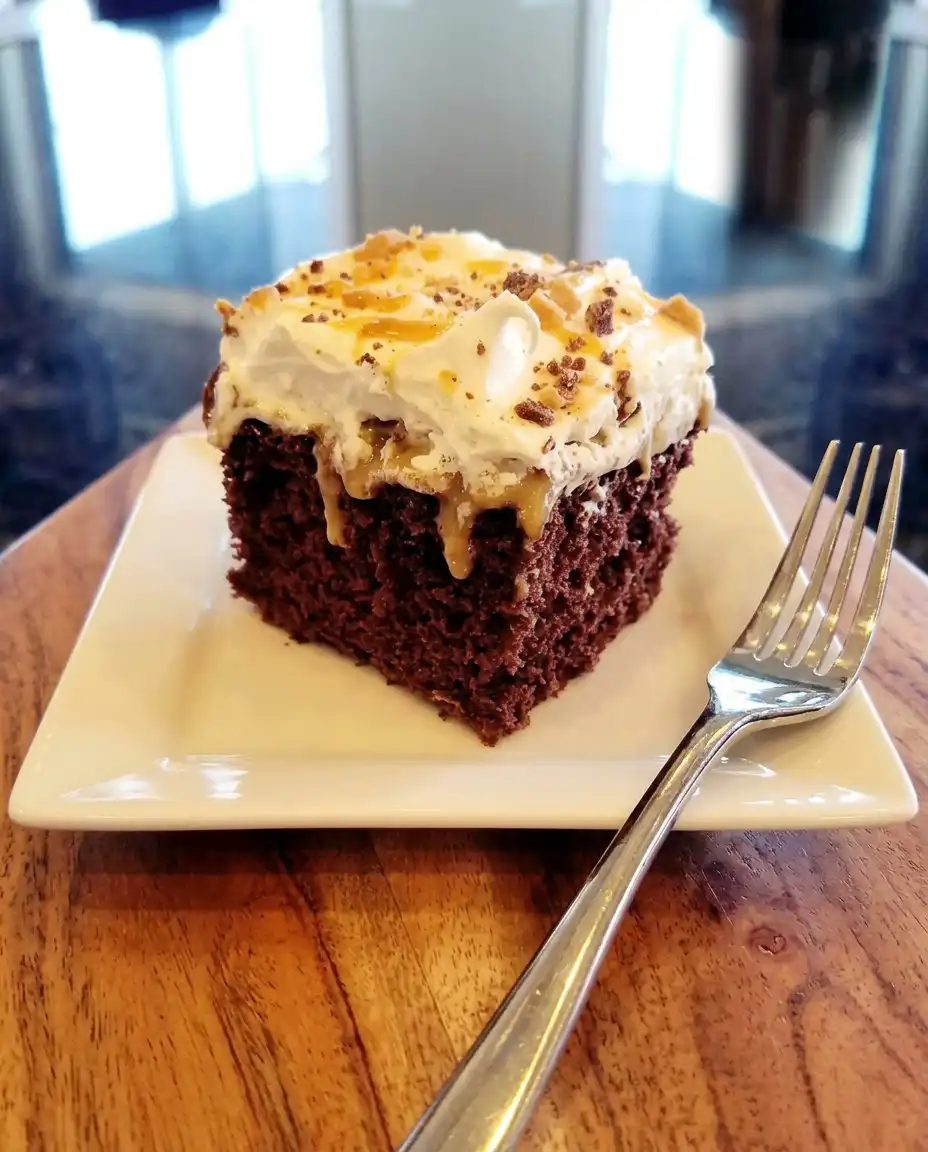
To achieve a truly professional result, temperature management is your most important tool. Ensure your cake has reached room temperature before applying the whipped topping; even a slight residual heat can liquefy the topping, destroying the aerated texture we’ve worked to create. For the cleanest holes during the saturation phase, use a thermometer to check that the internal cake temperature is roughly 140°F (60°C)—this is the sweet spot where the crumb is firm enough to hold its shape but warm enough to draw the caramel deep into its center. For another masterclass in balancing heavy fillings with delicate sponge, I suggest you study our chocolate-turtle-cake which utilizes similar saturation techniques. Always use a serrated knife for the final cut to preserve the integrity of the toffee layer.
Technical Precision Tweaks
If you wish to modify the flavor profile while maintaining the structural success of the recipe, consider a dark chocolate variation. Replace the German chocolate mix with a Dutch-processed cocoa base and add a pinch of Maldon sea salt to the caramel soak to sharpen the flavor profile. For those who prefer a more traditional caramel foundation without the heavy cocoa, my caramel-cake offers a fantastic blueprint for a stable, high-sugar crumb. You might also experiment with toasted pecans instead of toffee for a different type of resistance to the tooth, though this will alter the melt-rate of the dessert. Advanced bakers can find more inspiration for layered textures at efilres.com.
Presentation and Textural Balance
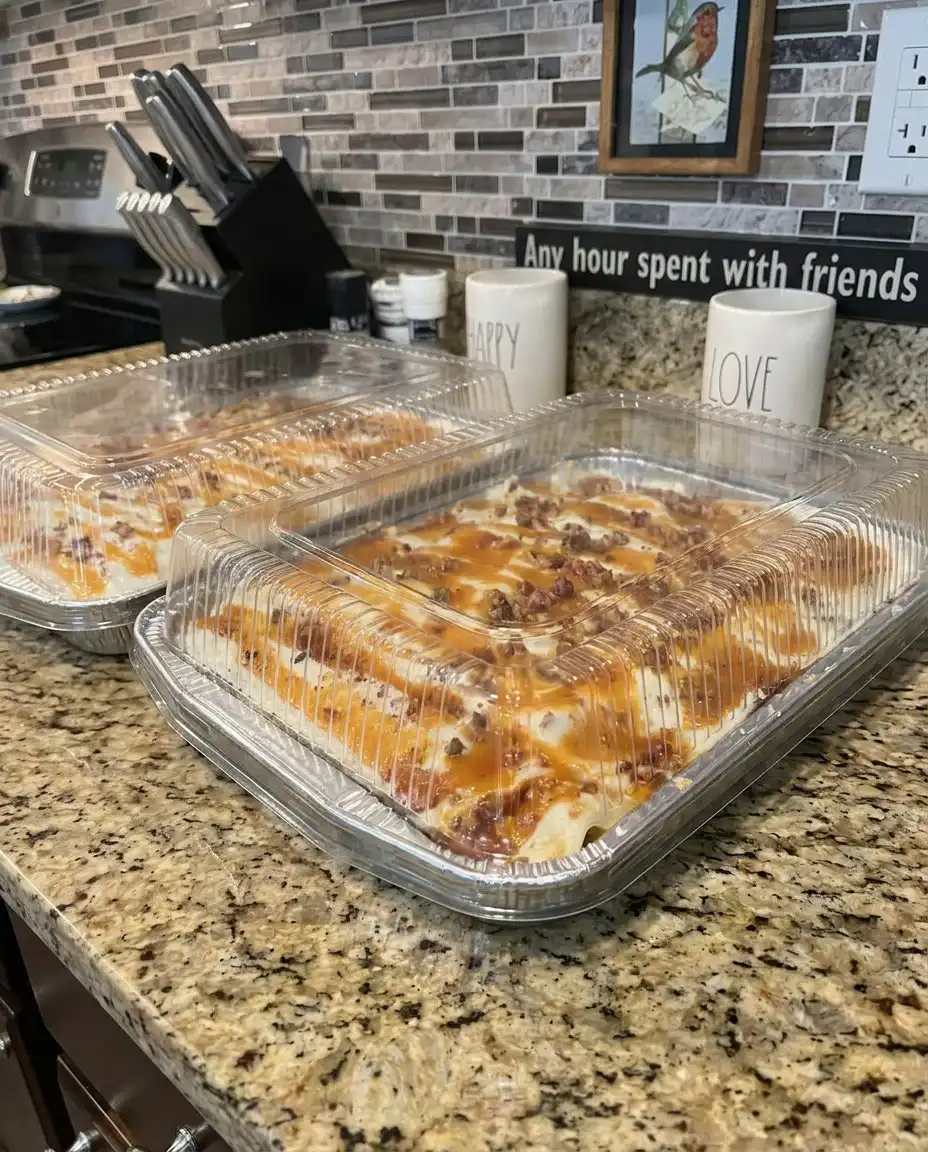
For a professional presentation, use a hot knife to slice the cake. Dip your blade in boiling water and wipe it dry between every single cut; this prevents the caramel and whipped topping from dragging across the dark chocolate crumb, ensuring sharp, clean lines. To further contrast the richness of the toffee, I recommend serving each slice with a small bowl of unsweetened crème fraîche or a tart berry coulis. This acidity cuts through the heavy fats of the condensed milk. If you enjoy desserts that focus on a singular, powerful crunch, you should also examine the technique used in our strawberry-crunch-cake for a different perspective on exterior textures.
Master the Craft of Texture
Achieving the perfect Chocolate Caramel Toffee Crunch Cake is a satisfying victory for any home baker. It proves that by understanding the science of saturation and the importance of temperature, you can create a dessert that is both structurally sound and luxuriously soft. This recipe is a testament to the fact that precision in the kitchen leads to a superior sensory experience. For more explorations into the world of decadent, multi-textured bakes, don’t miss our technical guide to the snickers-cake. Please share your baking triumphs with our community and follow our latest structural experiments on Pinterest, Instagram, and Facebook. Happy baking, and remember that precision is the secret to the perfect melt.