My early days in a London pastry kitchen taught me that moisture is a science of containment. A Chocolate Turtle Cake isn’t just about indulgence; it is a study in how we can force a sponge to hold a massive amount of liquid without losing its crumb. This recipe relies on a precise soaking method to achieve that characteristic melt while maintaining enough structural integrity to serve clean slices.

This specific version uses a poke-method to distribute a rich caramel and milk blend throughout a dark cocoa base. By controlling the temperature of both the cake and the soak, we create a texture that is dense yet incredibly tender. It is the perfect balance of American decadence and technical discipline.
Structure Meets Texture
The beauty of this Chocolate Turtle Cake lies in the calculated contrast between the soft, saturated chocolate sponge and the resistant crunch of toasted pecans. Unlike a standard cake that relies on frosting for moisture, this dessert uses a capillary action—the process where the liquid soak is pulled into the crumb through precisely placed channels. This results in a mouthfeel that is remarkably uniform. You will appreciate how the salted caramel drizzle provides a sharp finish to the mellow whipped topping, creating a sophisticated flavor profile that satisfies without being cloying. It is a technical triumph of temperature and timing.
Print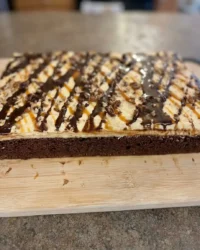
Chocolate Turtle Cake
- Total Time: 2 hours 50 mins
- Yield: 12 servings
- Diet: Vegetarian
Description
This sophisticated Chocolate Turtle Cake utilizes a precise poke-and-soak method to infuse a dark Devil’s Food sponge with a rich caramel emulsion. The result is an incredibly moist and dense dessert finished with light whipped topping and a crunch of toasted pecans for a perfect textural balance.
Ingredients
- 1 box Devil’s Food cake mix
- Ingredients required by cake mix (eggs, water, and oil)
- 14 ounces sweetened condensed milk
- 12 ounces caramel sundae topping
- 8 ounces whipped topping, thawed
- 1/2 cup chopped pecans
- 1/4 cup mini semi-sweet chocolate chips
- Salted caramel sauce
Instructions
- Preheat the oven to 350°F (175°C) and prepare a 9×13-inch pan with aluminum foil and a light coating of cooking oil.
- Whisk the Devil’s Food cake batter until smooth according to package directions, then bake until the center bounces back when lightly pressed.
- In a separate bowl, whisk together the sweetened condensed milk and the 12-ounce jar of caramel sundae topping until a smooth emulsion is formed.
- Using the blunt end of a wooden spoon, poke approximately 60 holes in a grid pattern across the surface of the warm cake.
- Slowly pour the caramel and milk mixture over the cake, directing the liquid into the holes and allowing it to migrate deep into the sponge.
- Place the cake in the refrigerator for 10 minutes to stabilize the surface and allow the soak to begin setting.
- Apply the thawed whipped topping across the cooled surface using an offset spatula for a level and smooth finish.
- Top with chopped pecans and mini chocolate chips, then refrigerate for at least 2 hours or overnight before finishing with a drizzle of salted caramel sauce.
Notes
For the most professional results, ensure your wooden spoon handle is approximately half an inch thick to create substantial channels for the soak. If the caramel mixture feels too viscous to pour easily, warming it slightly for 10 seconds in the microwave will help it reach the bottom of the cake more effectively. Always wait until the cake has chilled for at least two hours before slicing to allow the moisture to distribute evenly throughout the crumb.
- Prep Time: 15 mins
- Cook Time: 35 mins
- Category: Dessert
- Method: Baking
- Cuisine: American
The Technical Foundation
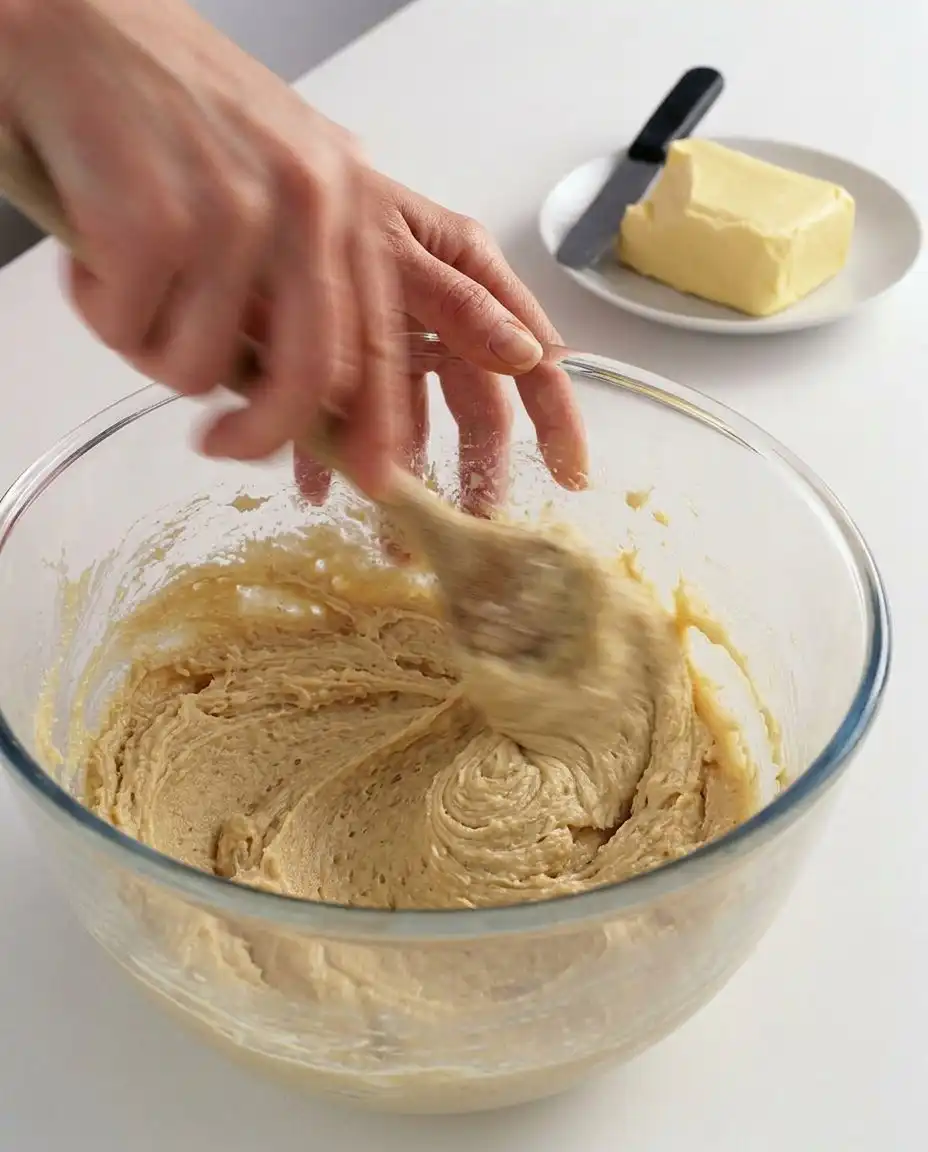
To achieve the perfect Chocolate Turtle Cake, the quality and temperature of your components are paramount. We are building a tiered flavor profile that requires specific structural roles for each ingredient.
- Devil’s Food Cake Mix: We select this for its high cocoa content and reliable acidity, which provides the necessary structural foundation to support the heavy liquid soak.
- Sweetened Condensed Milk: This serves as our primary humectant. Its high sugar concentration prevents the cake from becoming soggy, instead creating a fudgy, dense texture.
- Caramel Sundae Topping: This adds viscosity to the soak. We look for a topping that is pourable at room temperature to confirm it fills the pores of the sponge effectively.
- Whipped Topping: This provides the aerated contrast. It must be fully thawed to a spreadable state to avoid tearing the delicate surface of the saturated cake.
- Pecans: Chopped pecans provide the structural resistance needed for textural variety. Toasting them briefly can further strengthen their flavor.
- Mini Semi-Sweet Chocolate Chips: The mini size is intentional; they provide small bursts of bitterness that cut through the sweet caramel without overwhelming the bite.
- Salted Caramel Sauce: This final touch adds the necessary salt to balance the sugar levels and provides a visual finish that defines the dessert.
The Method
Step 1: Thermal Preparation
Begin by preheating your oven to 350°F (175°C). Prepare a 9×13-inch pan with aluminum foil and a light application of cooking oil. Using foil allows for easier removal and cleaner edges when it comes time for the final portioning.
Step 2: The Sponge Construction
Follow the package instructions for the Devil’s Food mix, typically requiring eggs, water, and oil. Whisk until the batter is smooth and homogeneous. Bake as suggested, but start checking the internal structure at the 20-minute mark. You are looking for a firm bounce-back when pressed lightly in the center. Avoid over-baking, as a dry sponge will not absorb the soak as effectively.
Step 3: Preparing the Emulsion
While the cake is in the oven, combine the sweetened condensed milk and the 12-ounce jar of caramel sundae topping. Whisk these together until they form a single, glossy emulsion. The goal is a uniform density that will flow steadily into the cake channels.
Step 4: Creating the Pore Structure
Once the cake is removed from the oven, do not let it cool completely. Use the blunt end of a wooden spoon to create approximately 60 holes across the surface. Space them evenly in a grid pattern. This precision allows the soak to penetrate every square inch of the crumb, preventing dry spots.
Step 5: The Saturation Phase
Gradually pour the milk and caramel emulsion over the warm cake. Focus on directing the liquid into the holes first. The heat from the cake reduces the viscosity of the liquid, allowing it to migrate deep into the sponge. Wait for the liquid to disappear from the surface before moving to the next phase.
Step 6: Initial Stabilization
Transfer the cake to the refrigerator for exactly 10 minutes. This short burst of cold air begins to set the caramel mixture, providing a stable base for the whipped topping. If the cake is too hot, the whipped topping will collapse into a liquid state.
Step 7: Applying the Aerated Layer
Spread the thawed whipped topping evenly across the surface using an offset spatula. This tool provides the best control for a smooth, level finish. Use light strokes to avoid disturbing the saturated sponge beneath.
Step 8: The Maturation Period
Sprinkle the pecans and mini chocolate chips over the top in an even layer. Cover the pan securely and refrigerate for a minimum of 2 hours. For the best structural result, an overnight rest allows the moisture to distribute perfectly through the fibers of the cake. Drizzle with the salted caramel sauce just before you present the cake.
Precision Secrets
For the best results, always verify the temperature of your soak. If the caramel and milk mixture is too cold, it will sit on top of the cake rather than penetrating the crumb. If the cake has cooled too much before you poke the holes, the crumb will be more likely to tear. If you are looking to master the foundations of a solid sponge before attempting this saturation method, studying our old-fashioned chocolate cake will help you understand how to achieve the ideal crumb density for maximum absorption. Always use the blunt end of a spoon rather than a fork; a fork creates holes that are too small, leading to uneven distribution of the caramel and a potentially dry center.
Technical Variations
If you wish to depart from the standard recipe, consider a Salted Bourbon variation by adding one tablespoon of high-quality bourbon to the milk and caramel blend. This adds a complex, smoky note that pairs beautifully with the chocolate. For those who prefer to build their base from scratch to control the protein levels of the flour, using a well-structured devils food cake recipe is a superior alternative to a box mix. You can also substitute the pecans for toasted walnuts if you prefer a sharper, more tannic crunch. Another advanced option is to use dark chocolate chunks instead of mini chips to create larger pockets of intense bitterness to contrast the sweet soak.
Presentation Precision
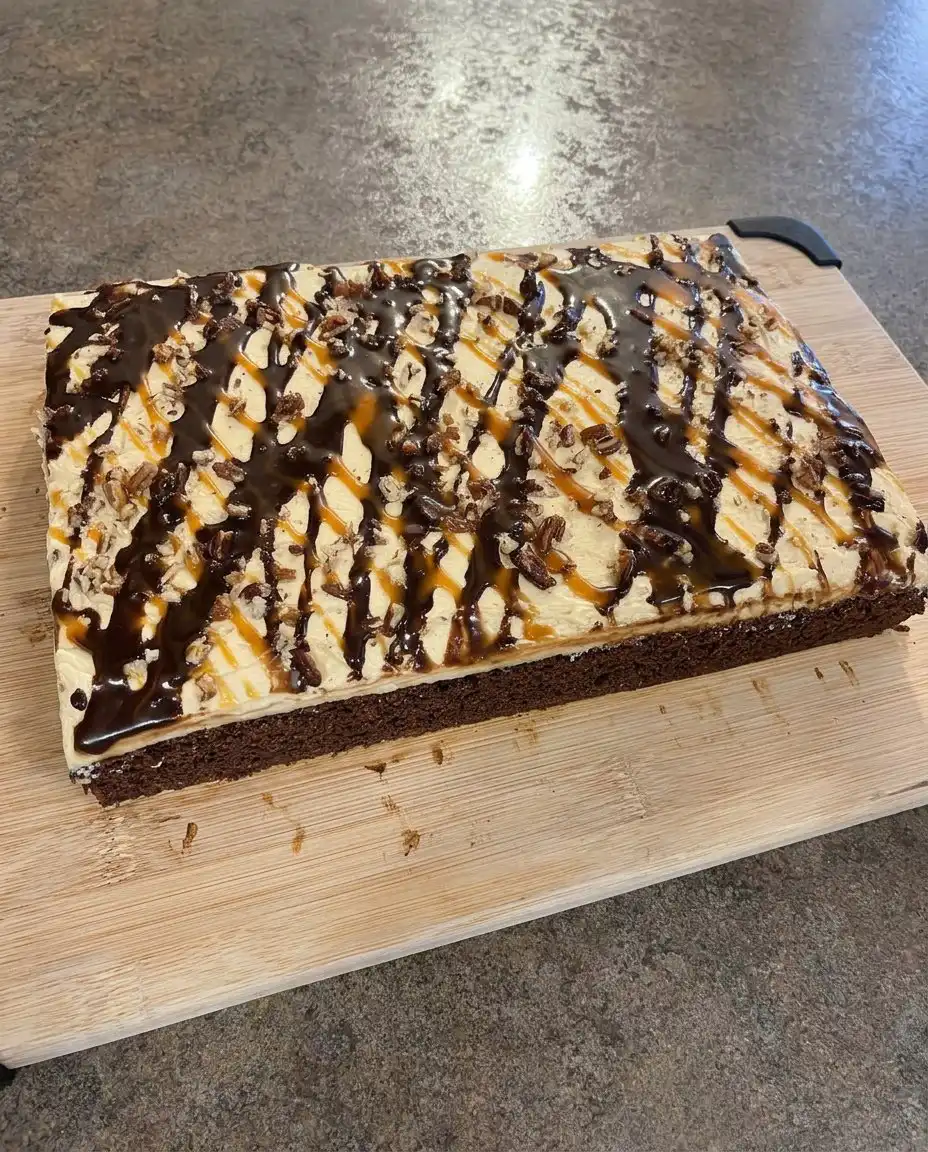
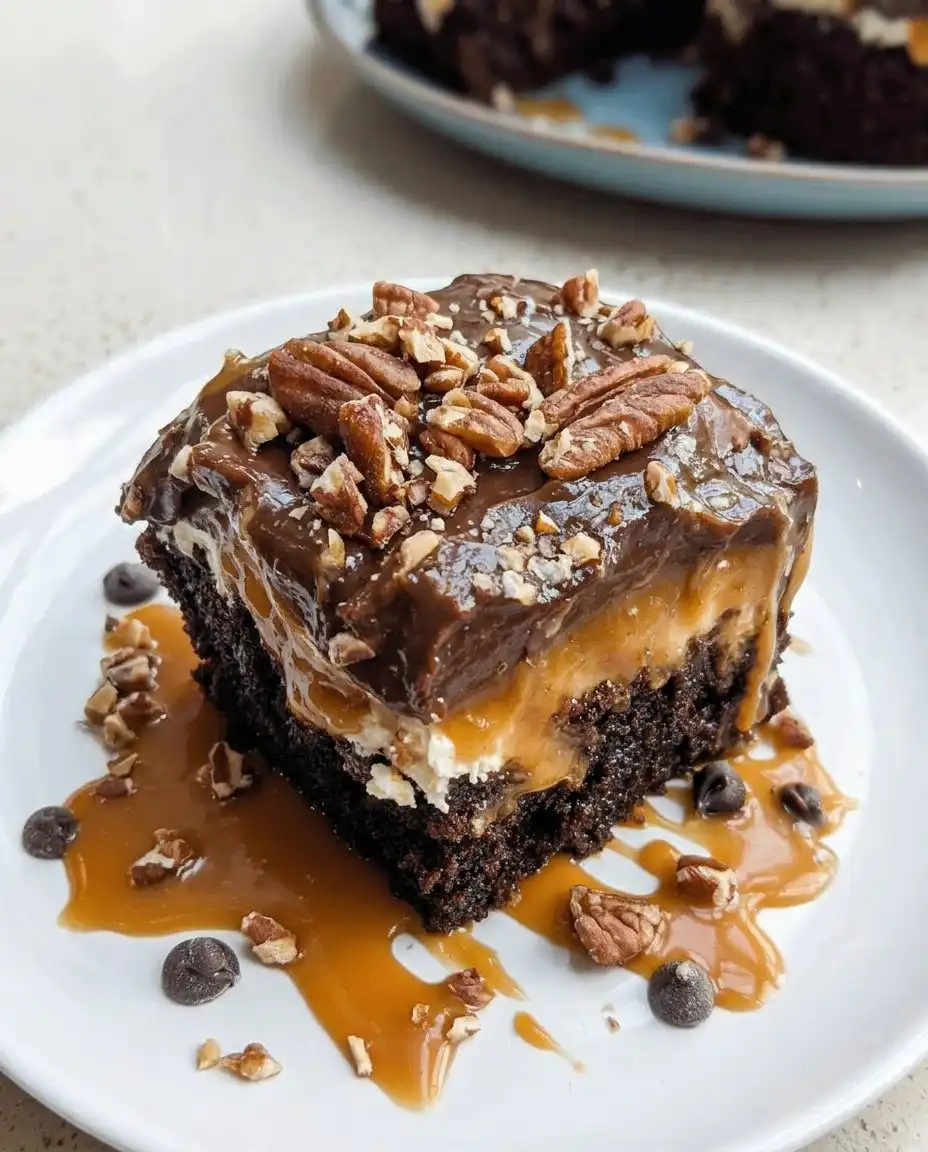
When serving this Chocolate Turtle Cake, presentation should highlight the distinct layers of the dessert. Use a sharp, heated knife to create uniform rectangles, revealing the dark, saturated interior. A white porcelain plate provides the best visual contrast for the deep browns of the cocoa and caramel. To create a more complex dessert course, you might pair this with a small side of lightly salted vanilla bean gelato. The cold, smooth texture of the gelato complements the airy whipped topping and the dense cake. For more inspiration on how to plate rich desserts, take a look at our snickers cake for similar layering techniques.
Master the Craft
Mastering the Chocolate Turtle Cake is about more than just following a recipe; it is about understanding how moisture interacts with a baked structure. Once you have perfected the timing of the soak and the cooling phase, you can apply these principles to any number of technical bakes. If you find yourself craving more cocoa-heavy challenges, verify our latest cake ideas chocolate cake for your next project. We would love to see your results and hear about your technical triumphs in the kitchen. Connect with us on Pinterest, Instagram, or Facebook to join our community of precision-focused bakers.