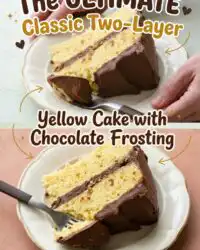
A classic British sponge relies on the precision of the aerated structure, a principle that defines the successful lift of a traditional yellow cake layer.

Finding that nostalgic bakery taste at home can be tough when you want a moist crumb and rich cocoa flavor. This recipe perfects the Classic Two-Layer Yellow Cake with Chocolate Frosting, providing a methodical way to bake a stable structure from scratch. Every bite delivers a buttery texture paired with velvety frosting that makes any celebration special. We focus on the structural skin that protects the soft interior for a professional result.
What Makes the Texture Right for This Classic Two-Layer Yellow Cake with Chocolate Frosting
Prep: 30 min · Serves: 16 · Difficulty: Medium
- Precise aeration ensures a light stable crumb structure.
- Strategic fat ratios produce a tender mouthfeel consistently.
- Whipped egg whites provide necessary lift and height.
- Cream cheese stabilizes the billowy chocolate frosting layer.
- Buttermilk adds subtle acidity for a balanced profile.
Structure is what makes the melt possible for this yellow cake recipe.
Get The Full Cake Recipe
Print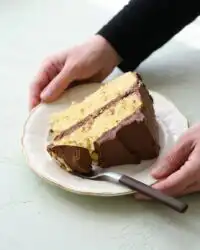
Classic Two-Layer Yellow Cake with Chocolate Frosting
- Total Time: 50 mins
- Yield: 16 servings
Description
Experience the perfect balance of a moist, buttery yellow sponge and a rich, velvety chocolate frosting. This refined recipe uses professional aeration and emulsification techniques to ensure a stable, bakery-quality crumb in every slice.
Ingredients
- Unbleached all-purpose flour
- Cornstarch
- Sugar
- Baking powder
- Baking soda
- Fine sea salt
- Buttermilk
- Melted butter
- Extra virgin olive oil
- Eggs, separated
- Vanilla extract
- Dutch-processed cocoa powder
- Cream cheese
Instructions
- Prepare the pans. Butter two nine-inch round cake pans and line with parchment paper; preheat the oven to 176 degrees Celsius.
- Whip egg whites. Whisk egg whites with fifty grams of sugar until glossy, stiff peaks form.
- Create liquid emulsion. Whisk together buttermilk, melted butter, egg yolks, oil, and extract in a medium bowl.
- Combine dry components. Whisk remaining sugar, flour, cornstarch, baking powder, baking soda, and salt in a large bowl.
- Fold the batter. Gradually stir the buttermilk mixture into the dry ingredients, then gently fold in the whipped egg whites.
- Bake the layers. Divide batter between pans, tap to remove air bubbles, and bake for twenty minutes, rotating pans halfway.
- Cool the cakes. Allow to cool in pans for fifteen minutes before moving to a wire rack to cool completely.
- Emulsify the frosting. Beat room-temperature butter and cream cheese until smooth, then incorporate cocoa powder and extract.
- Assemble the cake. Trim any domes from layers, spread frosting between and over the cake, and smooth with an offset spatula.
Notes
- Ensure all dairy and egg components reach room temperature before mixing to prevent emulsion breakage.
- Sift your cocoa powder through a fine-mesh sieve to eliminate lumps and achieve a silky frosting texture.
- Use a digital kitchen scale rather than measuring cups to maintain the precise flour-to-fat ratio necessary for a tender crumb.
- Chill the frosting bowl briefly if it becomes too soft during mixing to restore the ideal structural consistency for stacking.
- Rotate your baking pans halfway through the cooking process to compensate for uneven heat distribution in most conventional ovens.
- Prep Time: 30 mins
- Cook Time: 20 mins
- Category: Dessert
- Method: Baking
- Cuisine: British-inspired
Weighed & Ready
Preparation begins with precise measurement of each component to ensure the chemical reactions proceed as intended during the bake. Using a digital scale is the only way to guarantee the structural success of this specific crumb.
- Unbleached all-purpose flour provides moderate protein strength for a cake that does not collapse.
- Cornstarch interferes with gluten development to keep the interior crumb tender and fine.
- Extra virgin olive oil offers lasting moisture as a liquid fat at room temperature.
- Separated eggs allow for specific aeration of the whites to create a structural lift.
- Dutch-processed cocoa delivers a smooth and less acidic chocolate flavor for the frosting.
- Cream cheese acts as a stabilizer in the frosting to prevent melting or weeping.
| Ingredient | Why It Matters |
|---|---|
| Buttermilk | Provides acidity for the leavening agent reaction |
| Melted Butter | Contributes essential flavor and a soft fat structure |
| Egg Whites | Creates the aerated framework through whipped protein |
| Fine Sea Salt | Enhances the perception of cocoa and vanilla notes |
The Tested Procedure
Step 1: Prep Your Workbench
Butter two nine-inch round cake pans and line the bottoms with parchment paper for a clean release. Pre-heat your oven to 176 degrees Celsius and place the racks in the center position for even thermal distribution. This preparation prevents the batter from sitting and losing aeration while you wait for the oven to reach temperature.
Step 2: Aerating the Egg Whites
Whisk the egg whites in a clean mixing bowl until soft peaks begin to form. Gradually introduce fifty grams of sugar and continue mixing until the proteins reach a glossy, stiff-peak stage. This stage is crucial as these air bubbles will expand in the oven to create the cake’s height.
Step 3: Creating the Liquid Emulsion
In a medium bowl, whisk together the buttermilk, melted butter, egg yolks, oil, and extract. The butter should be melted but not hot to avoid prematurely cooking the egg yolks or curdling the buttermilk. This emulsion ensures the fat is evenly distributed throughout the dry ingredients later.
Step 4: Combining Dry Components
Whisk the remaining sugar, flour, cornstarch, baking powder, baking soda, and salt in a large bowl for fifteen seconds. This action aerates the flour and ensures the leavening agents are not clustered in one area of the batter. A uniform distribution of dry ingredients prevents large air pockets or dense streaks.
Step 5: Folding Your Classic Two-Layer Yellow Cake with Chocolate Frosting Batter
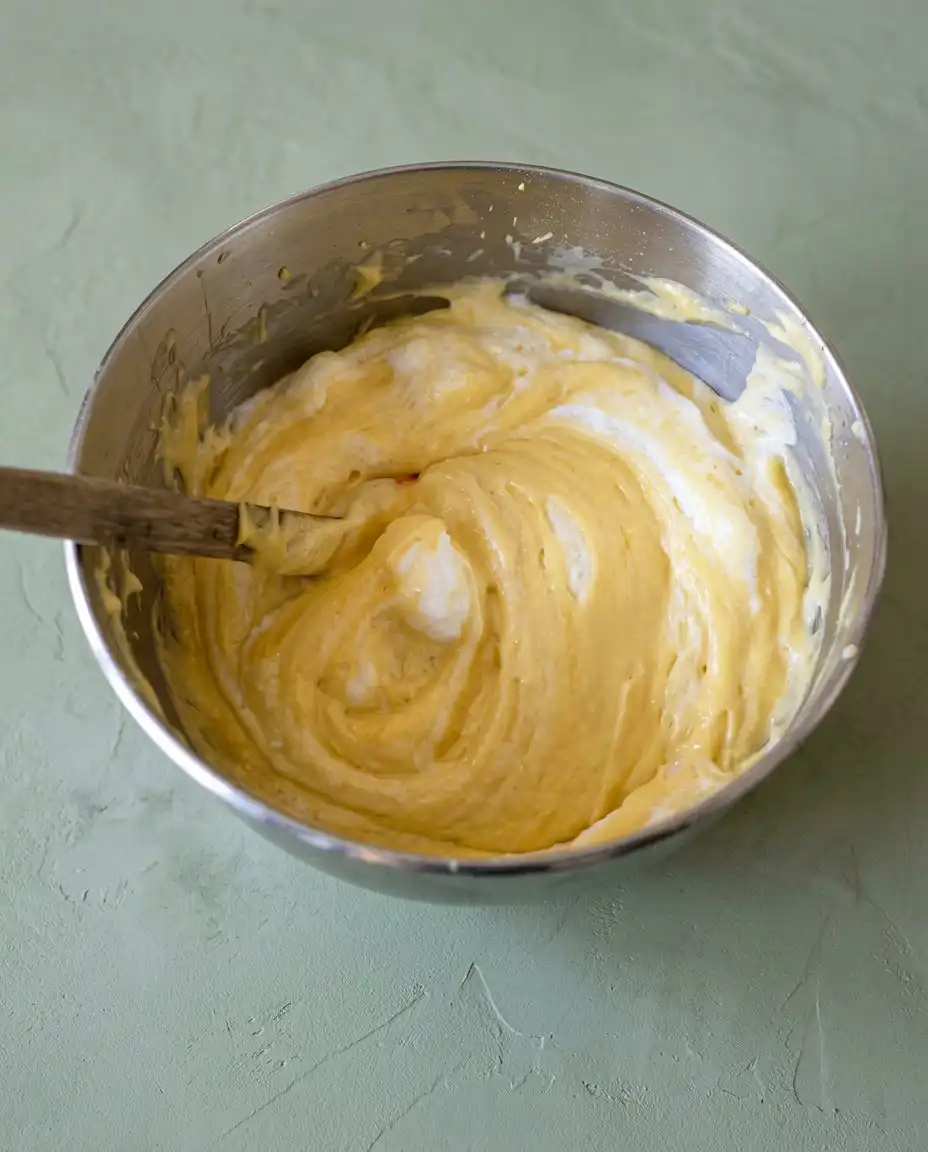
Gradually add the buttermilk mixture to the dry ingredients while stirring only until uniform. Add half of the whipped egg whites to loosen the batter, then gently fold in the remaining whites with a spatula. You must stop as soon as no white streaks remain to avoid deflating the delicate air structure you created.
Step 6: The Baking Phase
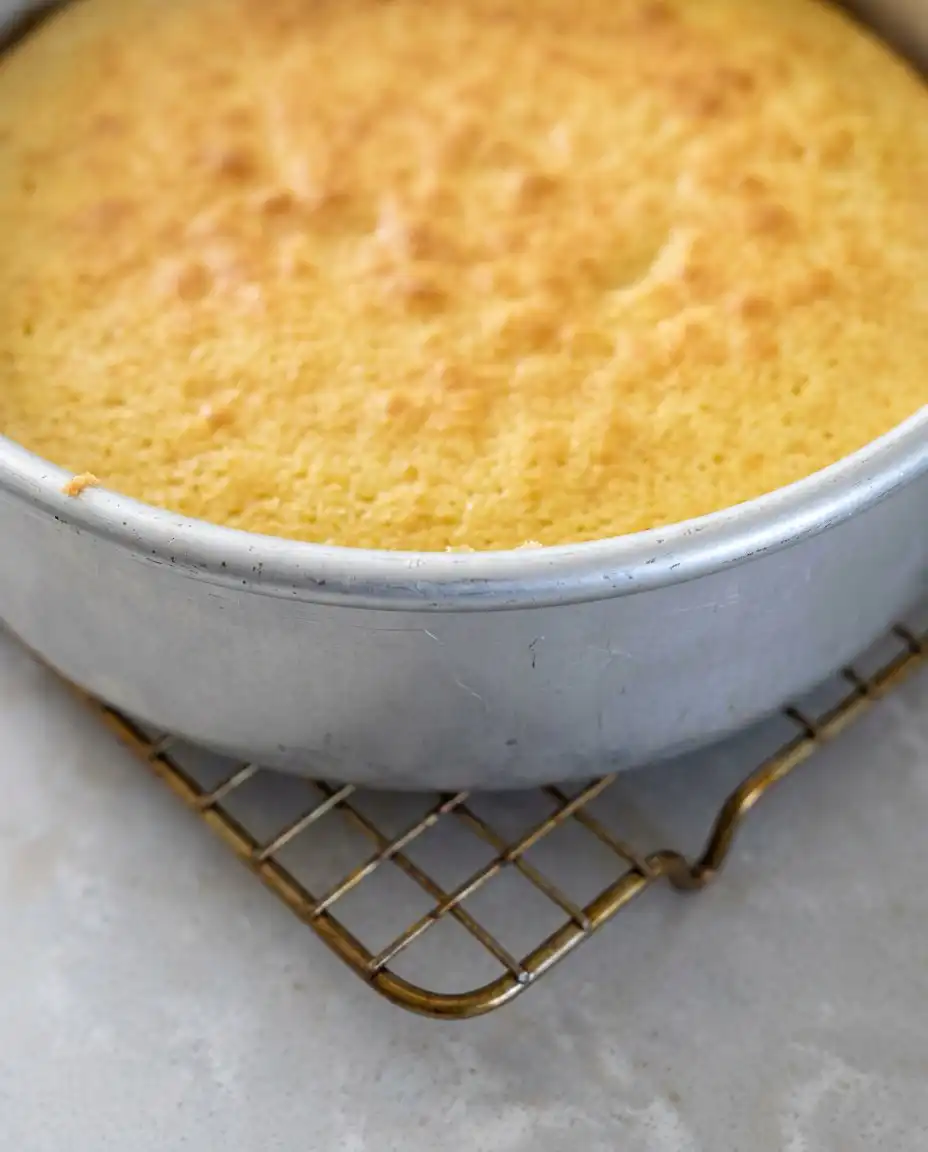
Divide the batter equally between the pans and tap them on the counter to remove large, irregular bubbles. Bake for roughly twenty minutes, rotating the pans halfway through to ensure the heat hits each side equally. The cakes are finished when a tester comes out clean and the edges pull slightly away from the pan.
Step 7: Structural Cooling
Allow the cakes to cool in their pans on a wire rack for fifteen minutes before removing them. Moving them too early can cause the warm crumb to tear or collapse under its own weight. Cooling them completely in the refrigerator later will make the slicing and frosting process much more manageable with an offset spatula.
Step 8: Emulsifying the Chocolate Frosting
Beat the room-temperature butter and cream cheese until they form a smooth, pale emulsion. Add the cocoa powder and extract on low speed, using a towel to prevent the fine powder from escaping the bowl. The cream cheese provides a structural backbone that keeps the frosting billowy rather than greasy.
Step 9: Final Assembly and Plating
Trim any domes from the cake layers using a serrated bread knife to create a flat surface. Place the first layer on a platter and spread a generous amount of frosting to the very edge. Place the second layer on top, pressing lightly to establish a firm connection before finishing the sides and top.
Technique Refinements
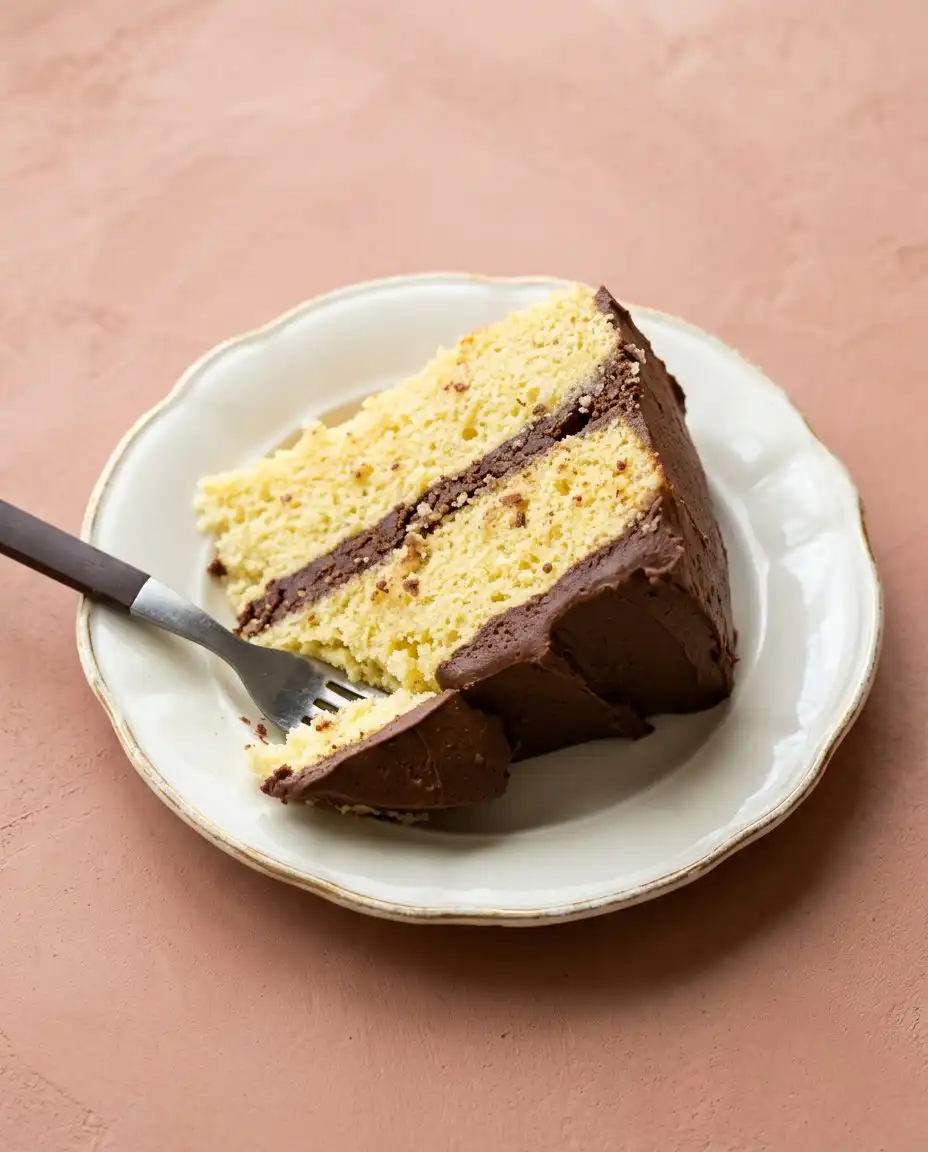
Temperature control is the most frequent point of failure in cake baking. If your batter appears curdled after adding the liquids, your ingredients were likely at different temperatures, preventing a proper emulsion. To fix this, ensure the buttermilk and eggs reach room temperature before you begin the process.
Sifting your cocoa powder is not an optional step for a professional finish. Small lumps of cocoa are difficult to break down once they hit the butter and cream cheese, resulting in a speckled frosting. Using a fine-mesh sieve guarantees a velvety mouthfeel in every bite of this chocolate cake recipe.
Precision for the sake of mouthfeel requires a digital scale rather than measuring cups. Flour can be compressed in a cup, leading to an extra fifty grams of weight that will turn a tender cake into a dry, dense sponge. Weigh it, time it, and trust it for the most consistent results.
For more information on the science of crumb structure, you can study proper yellow cake ratios to understand how fat and flour interact. This knowledge helps you troubleshoot why a cake might feel crumbly or overly oily.
If your frosting feels too soft to hold its shape, it is likely due to the friction of the mixer warming the butter. Place the entire mixing bowl in the refrigerator for ten minutes, then beat it again briefly to restore the stable, billowy texture. This prevents the top layer of the cake from sliding during assembly.
Always use an offset palette knife when applying the frosting to the exterior. This tool allows you to maintain an even pressure and creates the signature smooth finish seen in professional patisseries. The structural skin of the frosting should be thick enough to seal in the moisture of the cake.
Frequently Asked Questions
Can I substitute the buttermilk for regular milk?
Buttermilk is essential because its acidity reacts with the baking soda to create carbon dioxide, which provides lift. If you must substitute, add one tablespoon of lemon juice to a cup of whole milk and let it sit for ten minutes. This mimics the acidity required for the chemical leavening process to function correctly.
Why did my cake layers dome excessively in the middle?
Excessive doming usually indicates that the oven temperature was too high, causing the edges to set before the center could finish rising. Using a probe thermometer to verify your oven’s accuracy can prevent this issue. If it happens, merely trim the dome with a serrated knife to ensure a stable, flat surface for stacking.
How should I store the leftover cake?
Because the frosting contains cream cheese, the cake must be refrigerated if it will be sitting for more than two hours. Store it in an airtight container to prevent the crumb from drying out in the cold air. Always bring the cake back to room temperature before serving to ensure the fats in the crumb soften for the best texture.
Why do the egg whites need to be at room temperature?
Room temperature egg whites have less surface tension, which allows them to whip into a higher volume of foam more quickly. Cold whites are more stable but will not achieve the same degree of aeration needed for this specific recipe. Placing whole eggs in a bowl of warm water for five minutes is a quick way to reach the ideal temperature.
Can I use natural cocoa powder instead of Dutch-processed?
Yes, you can use either for the frosting as there is no chemical leavening involved in that component. Natural cocoa will provide a sharper, more acidic chocolate flavor and a lighter color. Dutch-processed cocoa has been neutralized with alkali, resulting in a darker appearance and a smoother, more mellow finish on the palate.
What is the best way to freeze these cake layers?
Wrap the cooled, unfrosted layers tightly in plastic wrap, followed by a layer of aluminum foil to prevent freezer burn. They can be stored this way for up to three months without significant loss of quality. Thaw the layers in the refrigerator overnight before you plan to frost and assemble the cake.
Considered Adjustments
You may choose to swap the vanilla extract for almond extract to produce a more complex, nutty profile. While vanilla is the traditional choice for a yellow cake, almond extract provides a floral note that pairs exceptionally well with the dark cocoa in the frosting. This minor shift changes the character of the dessert without compromising the crumb stability.
For those who prefer a more traditional European profile, you can follow the techniques in this classic vanilla butter cake for the base layers. This variation focuses on a denser, more buttery crumb that stands up well to heavier fillings like ganache. It is a robust alternative if you plan to stack the cake higher than two layers.
A salted caramel version can be achieved by adding a layer of fleur de sel between the frosting and the cake. The salt cuts through the sweetness of the powdered sugar and highlights the depth of the 100% cocoa powder. It is a sophisticated modification that appeals to those who enjoy a savory-sweet balance in their pastry.
Serving the Structure
Serve this cake at room temperature to ensure the butter within the crumb has softened sufficiently. A cold cake will feel dense and the flavors of the cocoa and vanilla will be muted. For the cleanest slices, use a long thin knife dipped in hot water and wiped dry between each cut.
This dessert is traditionally served with a strong cup of English breakfast tea or a dark roast coffee. The bitterness of the beverage balances the seventy-eight grams of sugar per serving. If you are looking for a lighter accompaniment, consider the pairing suggestions for a classic vanilla cake to find a fruit-based side.
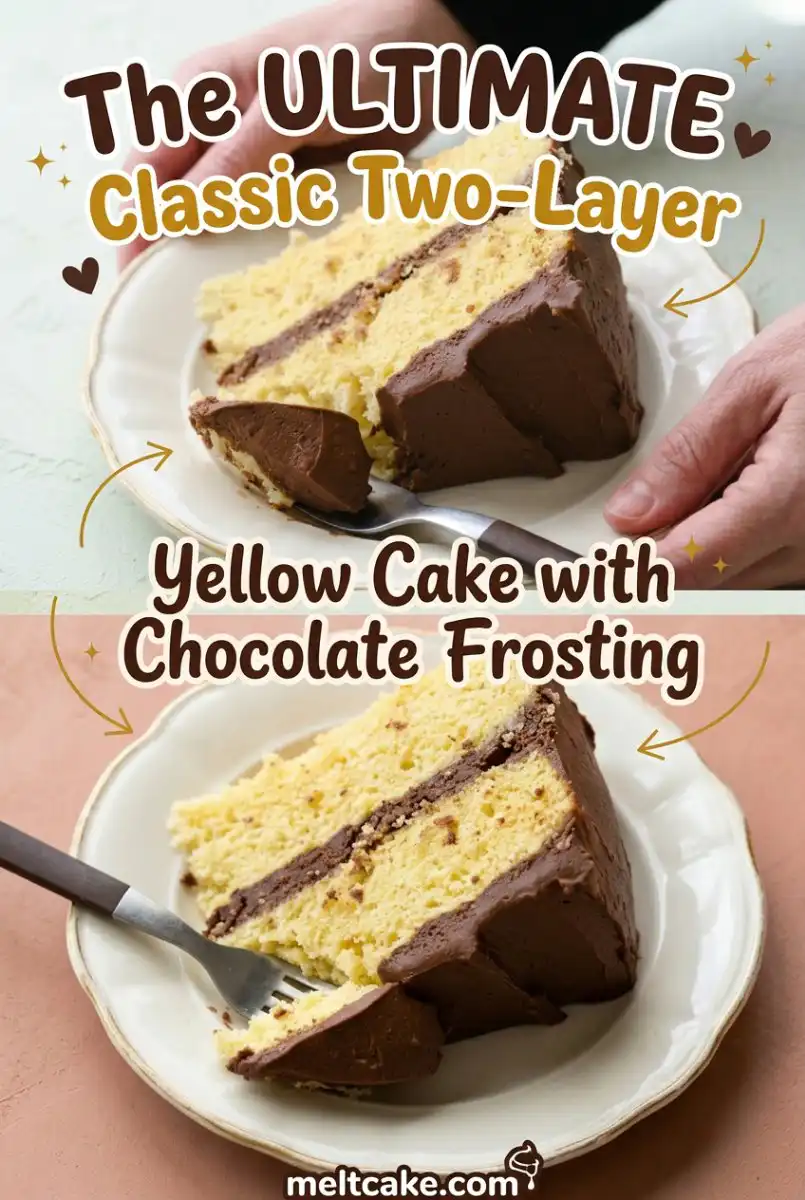
Plating should be methodical, with a single slice centered on a neutral-colored plate to highlight the contrast between the yellow crumb and dark frosting. Avoid adding unnecessary garnishes that might detract from the structural elegance of the layers. A simple dusting of cocoa powder on the plate is the only flourish needed.
Recipe Recap
Achieving the ideal Classic Two-Layer Yellow Cake with Chocolate Frosting is a matter of respecting the technical details of aeration and emulsion. By weighing your ingredients and managing the temperatures of your fats, you create a dessert that is both structurally sound and exceptionally tender. The 30-second window between a billowy frosting and a broken one is narrow, but your attention to detail will ensure success.
We encourage you to share your results and technical observations with the wider baking community. Understanding the why behind the bake turns a simple recipe into a foundational skill. For more inspiration on layered desserts, explore our guide on the chocolate layer cake to expand your repertoire.