A tender crumb melts on the tongue, carrying the lush sweetness of summer peaches and the silkiest vanilla buttercream in every single bite.

When the afternoon sun stretches long across the table, there is nothing quite like a dessert that captures the warmth of the season. This Peach Watercolor Cake Design brings together the gentle softness of a golden sponge, the cool richness of a fruit-infused mousse, and the smooth stroke of painted frosting. Each layer is baked with patience, creating a crumb so tender that it yields effortlessly under a silver dessert fork. It is a slow, beautiful creation that turns any small gathering into a celebration of quiet, shared moments.
What Makes the Texture Sing in This Peach Watercolor Cake Design
Prep: 105 min · Serves: 10 · Difficulty: Medium
- Tender layers offering a soft golden crumb.
- Silky peach mousse providing a cool creaminess.
- Velvety vanilla buttercream that glides like butter.
- Beautiful painted watercolor design that charms guests.
- Natural peach reduction offering real fruit sweetness.
In my years at the baking table, I have learned that a cake should never be a rushed affair. The slow process of reducing fresh fruit down to its sweet, essential syrup creates a deep flavor that cannot be found in a store-bought jar. When you take the time to assemble these soft, gold layers, you are creating more than a dessert; you are preparing an experience where every bite feels like a gentle luxury.
If you appreciate a delicate fruit dessert, you might also adore a traditional peach cake that focuses on rustic simplicity. This recipe, however, takes those same sweet notes and wraps them in a stunning, artistic display that will leave your family in awe. I promise this delicate creation will become the centerpiece of your most cherished celebrations.
Get The Full Cake Recipe
Print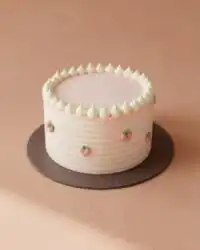
Peach Watercolor Cake Design
- Total Time: 2 hours 10 mins
- Yield: 10 servings
- Diet: Vegetarian
Description
This elegant peach watercolor cake features four layers of tender golden sponge filled with a silky, fruit-infused mousse. Finished with a delicate hand-painted buttercream design, it is the perfect centerpiece for sophisticated summer celebrations.
Ingredients
- Fresh peaches
- Yellow cake mix
- Instant vanilla pudding powder
- Egg whites
- Sour cream
- Vegetable oil
- Vanilla extract
- Almond extract
- Salt
- Unflavored gelatin
- Granulated sugar
- Heavy cream
- Fresh lemon juice
- Unsalted butter
- Powdered sugar
- Gel food coloring (pink, peach, white)
Instructions
- Reduce peach puree. Blend peaches until smooth and simmer in a saucepan over medium-low heat for 12-15 minutes until reduced to two cups; cool completely.
- Prepare cake batter. Combine cake mix, pudding powder, egg whites, sour cream, oil, vanilla, salt, almond extract, and one cup of cooled peach puree until smooth.
- Bake sponge layers. Divide batter into four 6-inch pans and bake at 350°F for 23-25 minutes; cool completely on a wire rack.
- Whip heavy cream. Use a chilled bowl and whisk to whip heavy cream until stiff peaks form, then store in the refrigerator.
- Cook gelatin base. Heat one cup of reduced peach puree with gelatin, sugar, and salt until bubbling; remove from heat, stir in lemon juice and vanilla, then cool in an ice bath.
- Fold peach mousse. Gently fold the whipped cream into the cooled peach gelatin base until no white streaks remain.
- Assemble cake layers. Place one cake layer on a plate, spread with a portion of peach mousse, and repeat until all layers are stacked; chill for 15 minutes.
- Decorate with watercolor. Frost the chilled cake with a crumb coat, chill for 30 minutes, then apply patches of tinted buttercream and smooth with an offset spatula to create a watercolor effect.
Notes
- Ensure all dairy ingredients are at room temperature before starting the buttercream to avoid curdling.
- Use a clean, dry offset spatula and wipe it frequently while painting to prevent the colors from blending into a single muddy shade.
- Chill the mixing bowl and whisk attachment thoroughly to achieve the stiffest possible peaks for the whipped cream.
- Do not rush the reduction of the peach puree, as the correct thickness is vital for the stability of the mousse.
- Allow the assembled cake to set properly in the refrigerator before applying the final exterior frosting to ensure clean, sharp edges.
- Prep Time: 105 mins
- Cook Time: 25 mins
- Category: Dessert
- Method: Baking
- Cuisine: Modern American
Ingredients for the Cake & the Soak
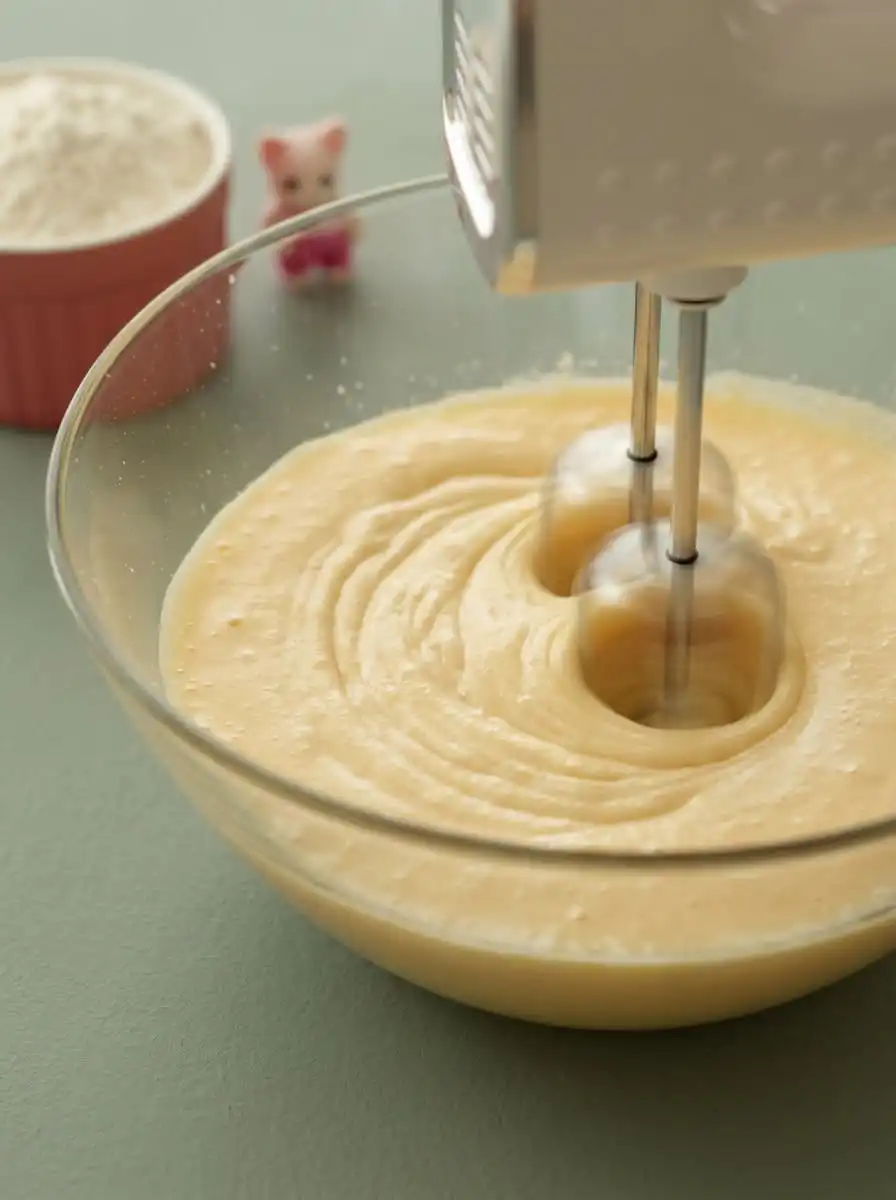
Preparing this dessert requires a balance of simple pantry staples and fresh summer fruit. By reducing the peaches to a thick, fragrant purée, we capture the natural sweetness of the orchard without adding unnecessary moisture to the delicate batter. Each component works in harmony to construct a dessert that is as stable as it is tender.
- Peach Purée Reduction: Fresh peaches are cooked slowly until thick and fragrant, intensifying their natural sweetness and flavor.
- Instant Vanilla Pudding Mix: This addition keeps the cake sponge remarkably soft, ensuring it retains its tender structure over several days.
- Sour Cream: Adding this rich ingredient provides the necessary acidity and fat, creating an exceptionally moist crumb that never feels dry.
- Gelatin: This setting agent stabilizes the delicate peach mousse, allowing it to hold its shape beautifully between the heavy cake layers.
- Whipped Cream: Gently folded into the peach base, it creates a light, airy mousse that melts delightfully on the tongue.
- Almond Extract: A small touch of this warm extract enhances the stone-fruit notes, bringing out a deeper, more rounded peach flavor.
- Vanilla Buttercream: A combination of whipped butter, sugar, and heavy cream that provides the perfect canvas for our watercolor painting.
| Ingredient | Why It Matters |
|---|---|
| Peach Purée | Concentrates the pure stone-fruit flavor and reduces excess moisture in the sponge. |
| Sour Cream | Introduces rich fat and acidity to yield an incredibly soft, melting texture. |
| Gelatin | Provides structure to the airy peach mousse, keeping the layers neatly aligned. |
| Almond Extract | Complements and highlights the natural floral notes of the sweet summer peaches. |
| Heavy Cream | Whipped to stiff peaks to give both the mousse and the buttercream a velvety finish. |
Cake, Syrup, Rest
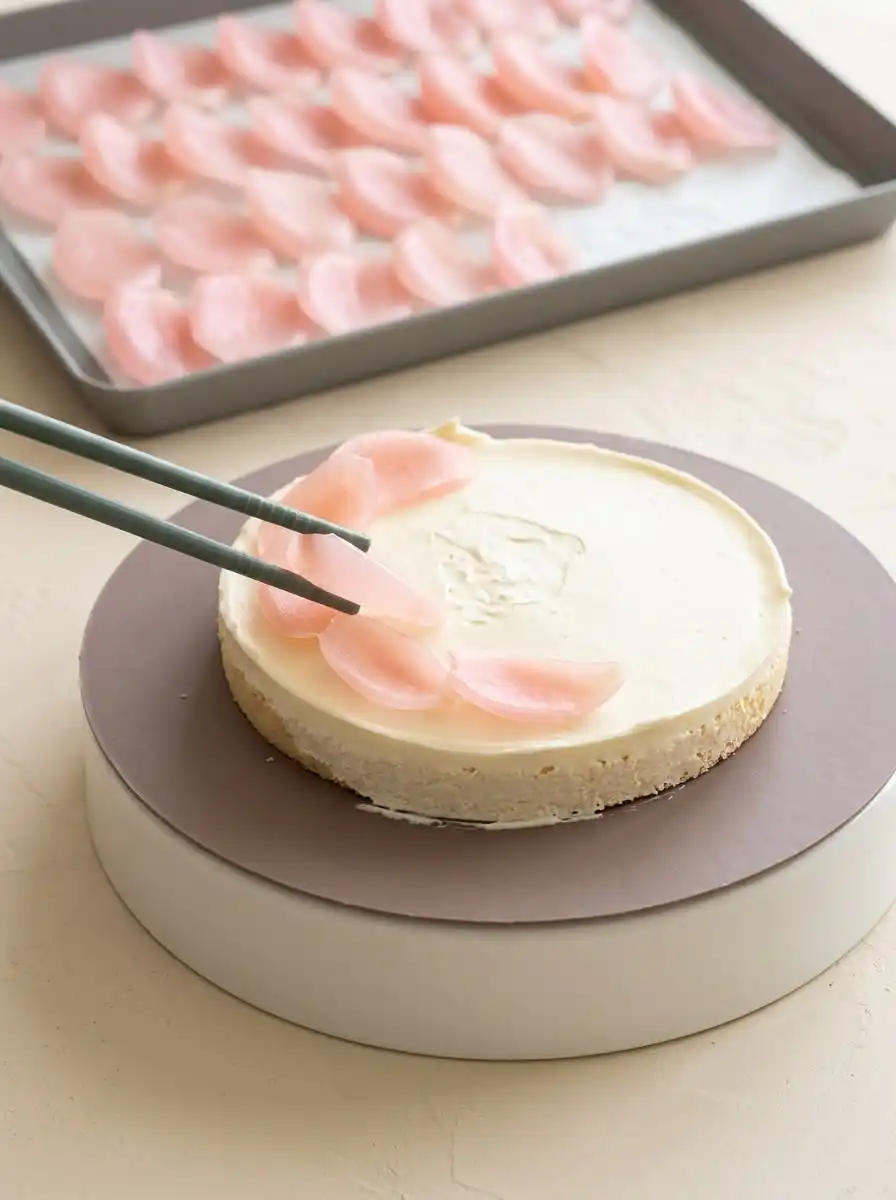
Step 1: Reduce the Fresh Peach Purée
Begin by washing, peeling, and slicing your fresh peaches, then blend them in a food processor until completely smooth. Transfer this liquid to a small saucepan over medium-low heat, stirring frequently with a wooden spatula to prevent scorching. Let the mixture simmer patiently until it reduces to exactly two cups, which should take about twelve to fifteen minutes. Once thickened and fragrant, remove it from the stove and let it cool completely on the counter.
Step 2: Prepare the Tender Sponge Batter
Preheat your baking oven to 350 degrees Fahrenheit and prepare four six-inch round pans with a light coating of nonstick cooking spray. In a spacious mixing bowl, combine the yellow cake mix, instant vanilla pudding powder, egg whites, sour cream, vegetable oil, vanilla, a pinch of salt, and a touch of almond extract. Pour in one cup of your cooled peach purée, which will infuse the batter with natural flavor. Stir the mixture gently until it forms a thick, smooth batter, being careful not to overmix, which can make the finished sponge tough.
Step 3: Bake and Cool the Cake Layers
Divide your thick batter evenly among the four prepared baking pans, smoothing the tops with the back of a spoon. Slide them into the warm oven and bake for twenty-three to twenty-five minutes, or until a wooden tester inserted into the center comes out with only a few moist crumbs. Allow the pans to rest on a wire cooling rack for five minutes, letting the heat dissipate slowly. Carefully run a thin knife around the edges, then invert the pans to release the golden layers, allowing them to cool completely before assembly.
Step 4: Whip the Heavy Cream to Stiff Peaks
Place your clean stand mixer bowl and whisk attachment into the freezer for ten minutes to chill, which helps the cream whip more efficiently. Pour your cold heavy cream into the chilled bowl and begin whipping on medium speed, gradually increasing to high as it starts to thicken. Watch the texture closely, whipping until the cream holds firm, stiff peaks that do not slide when the bowl is tilted. Transfer this cloud of whipped cream to a separate dish and store it in the refrigerator to keep it cool while you prepare the fruit base.
Step 5: Cook the Gelatin Mousse Base
Pour another cup of your reduced peach purée into a small saucepan, then stir in the gelatin, sugar, and a pinch of salt. Place the pan over medium heat, stirring constantly until the gelatin dissolves and the mixture begins to bubble gently at the edges. Remove the saucepan from the stove immediately, then stir in the fresh lemon juice and pure vanilla extract. Prepare an ice water bath in a large bowl, place the bottom of your warm saucepan directly into the cold water, and stir the mixture constantly until it thickens into a glossy, pudding-like consistency.
Step 6: Fold and Chill the Peach Mousse
Remove the chilled whipped cream from your refrigerator and gently spoon it into the thickened, cooled peach gelatin base. Using a wide silicone spatula, fold the two mixtures together using slow, sweeping motions to keep the texture light and airy. Continue folding until no white streaks remain and the mousse is a uniform, delicate pastel orange color. Set this beautiful cream aside in a cool place, ready to be layered between your soft, waiting sponges.
Step 7: Assemble the Cake and Chill
Place your first golden cake layer onto a sturdy pedestal or serving plate. Spread a third of your fresh peach mousse evenly over the surface, smoothing it to the edges. Gently place the second sponge layer directly on top, repeating the process with another layer of mousse until all four cake layers are stacked high and straight. Slide the assembled cake into the refrigerator for fifteen minutes, allowing the mousse to set firmly and lock the layers in place.
Step 8: Apply the Peach Watercolor Cake Design Frosting
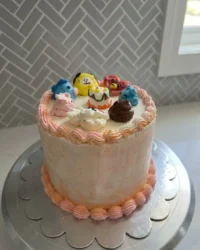
Beat your unsalted butter, salt, powdered sugar, vanilla, almond extract, and heavy cream until it forms a fluffy, pale frosting. Coat the entire exterior of the chilled cake with a thin layer of this cream to seal in any stray crumbs, then refrigerate for thirty minutes. Divide the remaining frosting into three bowls, leaving one white, tinting one soft pink, and tinting the third a delicate peach shade using yellow and red gel colors. Use an offset spatula to paint thick, artistic patches of pink, peach, and white around the cake, then smooth them together to create a stunning watercolor effect.
Getting the Texture Right

To achieve a silky finish, temperature is everything. When assembling the layers, make sure your sponge cakes are completely cool to the touch. If you attempt to spread the cool mousse onto even slightly warm cake layers, the gelatin will melt, leading to a collapsed dessert. Patience is the secret here; letting the cakes rest on a wire rack for at least an hour will save your presentation.
If your buttercream looks curdled or split during the whipping process, here is why and how to fix it. This separation happens when the butter and heavy cream are at different temperatures, preventing them from emulsifying properly. To fix this, wrap a warm, damp kitchen towel around the bottom of the mixing bowl while whipping on high speed, or microwave a tiny portion of the frosting for five seconds and whip it back in to restore a smooth, velvety consistency.
When folding the whipped cream into the peach reduction, avoid using a heavy hand. A heavy hand deflates the trapped air bubbles, leading to a dense, rubbery mousse instead of a light cloud. Use a wide rubber spatula, cut down the center of the bowl, sweep around the bottom, and fold over. This slow, circular motion preserves the delicate volume of the whipped cream.
To paint the watercolor colors successfully, your crumb coat must be completely cold and firm. A soft crumb coat will mix with your colored frosting patches, muddying the clean pastel lines. Let the crumb-coated cake chill in the refrigerator for at least thirty minutes before applying your pink and peach patches. For more ideas on beautiful decorations, you can read our guide on the fresh peach cake recipe to learn about rustic fruit toppers.
When cooling your gelatin peach base in the ice water bath, do not walk away from the stove. The gelatin will set quickly around the cold edges of the saucepan, creating rubbery lumps if left un-stirred. Continuous stirring with a spatula helps the mixture cool uniformly into a smooth, pudding-like gel. This step is crucial for achieving that melt-in-the-mouth texture we desire.
If you find the colors are blending too much into a single orange shade, your offset spatula may be too warm or you may be smoothing too many times. Wipe your spatula clean after every stroke to keep the shades distinct. For those looking to perfect their watercolor application technique, studying the original peach watercolor recipe can offer excellent visual guidance.
Frequently Asked Questions
What colors do you mix to get a peach watercolor effect?
To achieve a beautiful peach color, begin by mixing a generous amount of yellow gel food coloring into your white buttercream base. Once you have a soft yellow hue, add a microscopic dot of red gel food coloring and stir thoroughly. Slowly adjust with tiny touches of red or pink until you reach a warm, delicate peach shade that mimics the soft flesh of fresh fruit.
What accent colors pair best with a peach watercolor cake?
Soft pastel tones are the ideal companions for this delicate dessert style. Pale blush pink, dusty rose, and muted sage green complement the warm peach notes beautifully without overwhelming the eye. For a more modern look, you can add small touches of ivory or a dusting of golden sprinkles to finish the top.
What type of flowers look best on a peach watercolor cake?
Soft, romantic blossoms like garden roses, ranunculus, and sweet peas look remarkably beautiful arranged on top of this cake. White, cream, and pale pink flowers harmonize with the painted buttercream patches wonderfully. Always remember to wrap the stems in floral tape or insert them into water picks before placing them in the cake.
Can you flavor a peach watercolor cake naturally?
Yes, this recipe relies on a reduced fresh peach purée to provide authentic fruit flavor and a beautiful natural sweetness. Cooking the sliced peaches down on the stove concentrates their essential juices while removing excess water that could ruin the cake structure. A tiny drop of pure almond extract also helps highlight the natural stone-fruit notes in the sponge.
What is the best frosting for a watercolor effect?
A classic American buttercream or a silky Swiss meringue buttercream is the ideal choice for this artistic design. These frostings are smooth, stable, and spread easily, allowing the colors to glide and blend together without tearing. Avoid using whipped cream or cream cheese frosting for the outer watercolor layer, as they are too soft to hold the painted shapes.
Are peach watercolor cakes good for weddings?
These elegant designs are incredibly popular for spring and summer weddings because of their romantic, artistic appearance. The soft blending of pastel shades looks beautiful under the natural afternoon light of an outdoor reception. They offer a unique, modern alternative to traditional plain white wedding cakes while remaining sophisticated.
Can you make a square peach watercolor cake?
You can easily adapt this design to a square layout by baking the batter in square baking pans of similar size. When frosting a square cake, pay close attention to keeping the corners sharp as you glide your offset spatula. The painted watercolor strokes look beautiful on flat square panels, giving the dessert a modern, canvas-like appearance.
Make It Yours
Baking is a personal journey, and there are many ways to adapt this recipe to suit your table. While the soft colors and sweet peach tones are beautiful on their own, you can easily shift the flavor profile or structural layout. Here are three elegant ways to modify this recipe to match the changing seasons or special family gatherings.
First, you can easily transform this recipe into a stunning two layer watercolor buttercream cake by baking the batter in larger nine-inch pans. This adjustment reduces the cake layers to two thick, pillowy sponges, making it easier to transport for outdoor celebrations. You will still have plenty of sweet peach mousse to spread thickly between the golden layers, giving you a rustic yet modern aesthetic.
Second, you might consider infusing the peach purée with a touch of fresh herbs. Simmering a few sprigs of fresh basil or lemon thyme with the peaches creates a delightful depth. This subtle herbal warmth pairs beautifully with the sweet almond notes in the sponge, bringing a sun-soaked garden aroma to your dessert plate.
Third, for a late-autumn twist, you can swap the fresh peaches for ripe plums or apricots. The gentle tartness of plums provides a beautiful deep-pink color to the mousse and sponge, which contrasts wonderfully with the sweet vanilla buttercream. This simple fruit swap allows you to enjoy the same melting texture all year round.
Coffee & Cake Pairings
When it is time to bring this beautiful creation to the table, the setting should reflect the patient care that went into baking it. I love serving a slice of this cake in the late afternoon, as the sun begins to dip low and cast warm shadows across the room. The soft pastel layers look stunning on white porcelain plates, especially when accompanied by a scatter of fresh, sliced peaches and a handful of crushed green pistachios.
To balance the sweet, fruity notes of the mousse, offer your guests a warm beverage that cleanses the palate. A small cup of dark, unfiltered Turkish coffee or a bitter black tea is the traditional accompaniment in my home. The intense, roasty depth of the coffee contrasts beautifully with the melting vanilla buttercream, making each bite of cake feel even more luxurious.
If you are preparing this dessert for a larger gathering, it pairs wonderfully with other fruit-forward treats. Consider placing a rustic peach buttercream birthday cake nearby to offer a beautiful contrast between structured watercolor designs and traditional home-style frosting. This thoughtful layout means your dessert table has something for every palate, from the light and airy to the richly decadent.
Let It Rest, Then Slice
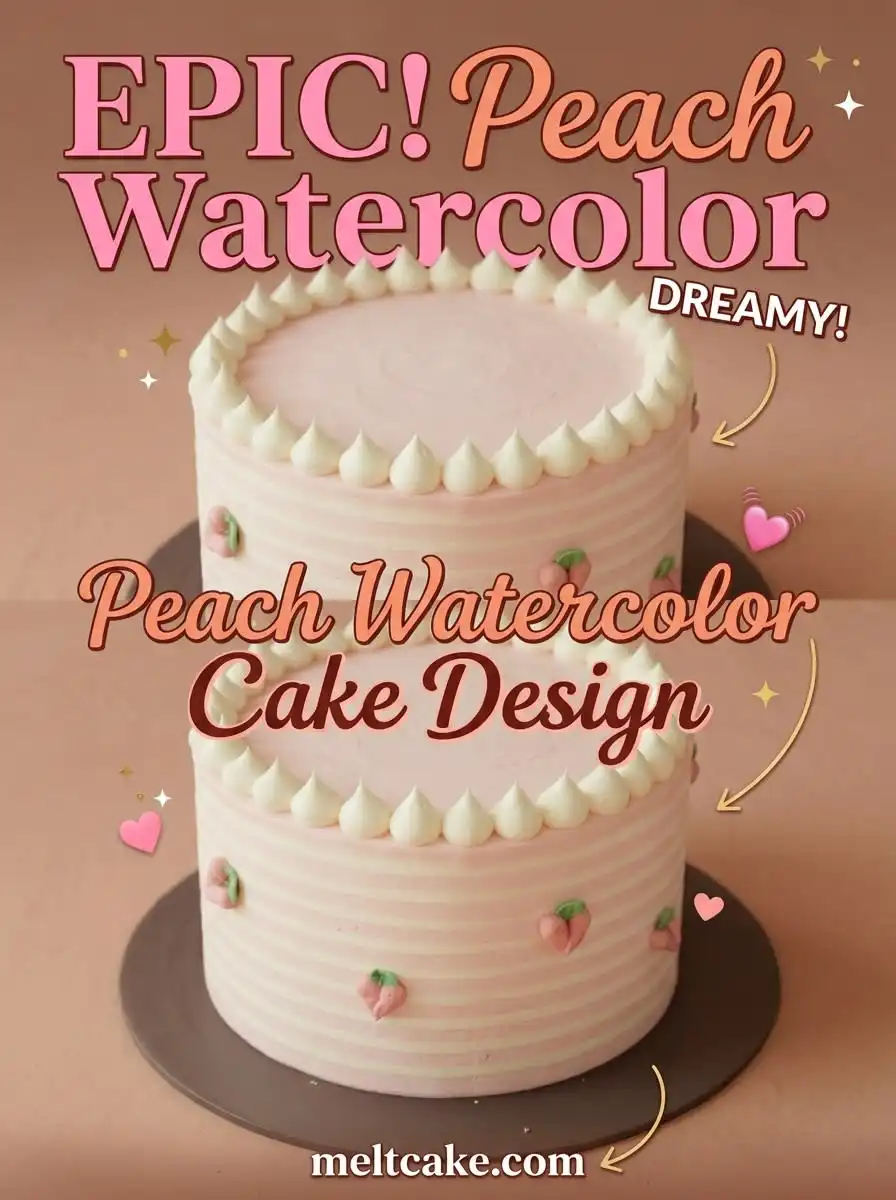
Baking a cake of this beauty is a slow, meditative act that pays off the moment your fork glides through the soft layers. It reminds us that the best things in life require a little patience, from reducing the fresh summer fruit to letting the finished cake rest in the cold overnight. When you finally share these painted slices with your family, you are offering them a piece of your heart and the warmth of your kitchen.
If you find yourself longing for another sweet, stone-fruit project, I invite you to try our rustic brown butter fresh peach cake for a different textural experience. Each recipe celebrates the simple, timeless joy of working with fresh ingredients and waiting for the magic to happen. Gather your loved ones around the table, pour a warm drink, and let the sweetness of the afternoon linger.
We would love to see your artistic baking creations at home. Please share your beautiful painted designs with our community and connect with us on Pinterest, Facebook, and TikTok for more patient baking inspiration. Let us keep the sweet tradition of slow baking alive, one beautiful slice at a time.