My early pastry training emphasized that striking visuals must never compromise crumb structure. The Red, White, and Blue Marble Cake is a masterclass in this philosophy. By carefully controlling batter viscosity and layering technique, we achieve a patriotic visual triumph without sacrificing the melt-in-the-mouth tenderness of a classic vanilla sponge. Precision here yields a truly spectacular result.

This cake relies on cake flour and buttermilk to build a structural foundation that is infinitely tender. The precise alternating of colored batters creates a stunning internal pattern while maintaining consistent moisture levels from crust to core. It stands as a beautiful, technically sound centerpiece for any summer gathering.
Structural Brilliance Meets Textural Perfection
This cake balances visual triumph with a beautifully tender mouthfeel. The combination of whole eggs and egg whites creates a stable yet light crumb, allowing the red and blue marbling to hold its shape flawlessly during the bake. You will appreciate how the acidity of the buttermilk tenderizes the gluten network, yielding a crumb that practically dissolves on the tongue.
Simultaneously, the cake maintains enough structural integrity to slice cleanly and hold its majestic bundt shape. It is the ideal intersection of methodical mixing technique and striking presentation. When you respect the precise temperatures required for the emulsion, you are rewarded with a dessert that is as texturally superior as it is beautiful.
Print
Red, White, and Blue Marble Cake
- Total Time: 1 hour 25 mins
- Yield: 12 servings
- Diet: Vegetarian
Description
This visually stunning Bundt cake features a tender vanilla sponge with patriotic swirls of red and blue. Using precise temperature control and a layered batter technique, it delivers a professional-grade crumb that is as moist as it is beautiful.
Ingredients
- 3 cups cake flour
- 1 tablespoon baking powder
- 1/2 teaspoon salt
- 1 cup unsalted butter, room temperature
- 2 cups granulated sugar
- 3 large eggs, room temperature
- 2 large egg whites, room temperature
- 2 teaspoons vanilla extract
- 1 cup buttermilk, room temperature
- Red gel food coloring
- Blue gel food coloring
Instructions
- Preheat oven to 350°F (175°C) and thoroughly grease and flour a 12-cup Bundt pan, ensuring every crevice is coated.
- In a stand mixer fitted with the paddle attachment, cream the room-temperature butter and sugar for 3 to 4 minutes until pale and fluffy.
- Add the whole eggs and egg whites one at a time, mixing well after each addition to stabilize the emulsion, then stir in the vanilla extract.
- Gently mix in the buttermilk followed by the sifted dry ingredients on the lowest speed just until the flour streaks disappear.
- Divide the batter by placing 1 1/2 cups into two separate bowls; tint one portion red and the other blue using gel food coloring.
- Using a 1/4-cup measure, layer scoops of plain, red, and blue batter sequentially into the pan without stirring to create organic marbling.
- Bake for 50 to 70 minutes until a skewer emerges clean, then cool in the pan for exactly 15 minutes before inverting onto a wire rack.
Notes
To ensure the best release from your Bundt pan, use a baking spray that contains flour or create a paste of equal parts melted butter and flour to brush into every detail. For the most vibrant colors without affecting the bake, always use high-quality gel or paste food coloring rather than liquid drops. Ensure all cold ingredients are brought to true room temperature to prevent the batter from curdling during the creaming process.
- Prep Time: 25 mins
- Cook Time: 60 mins
- Category: Dessert
- Method: Baking
- Cuisine: American
The Technical Foundation of the Crumb
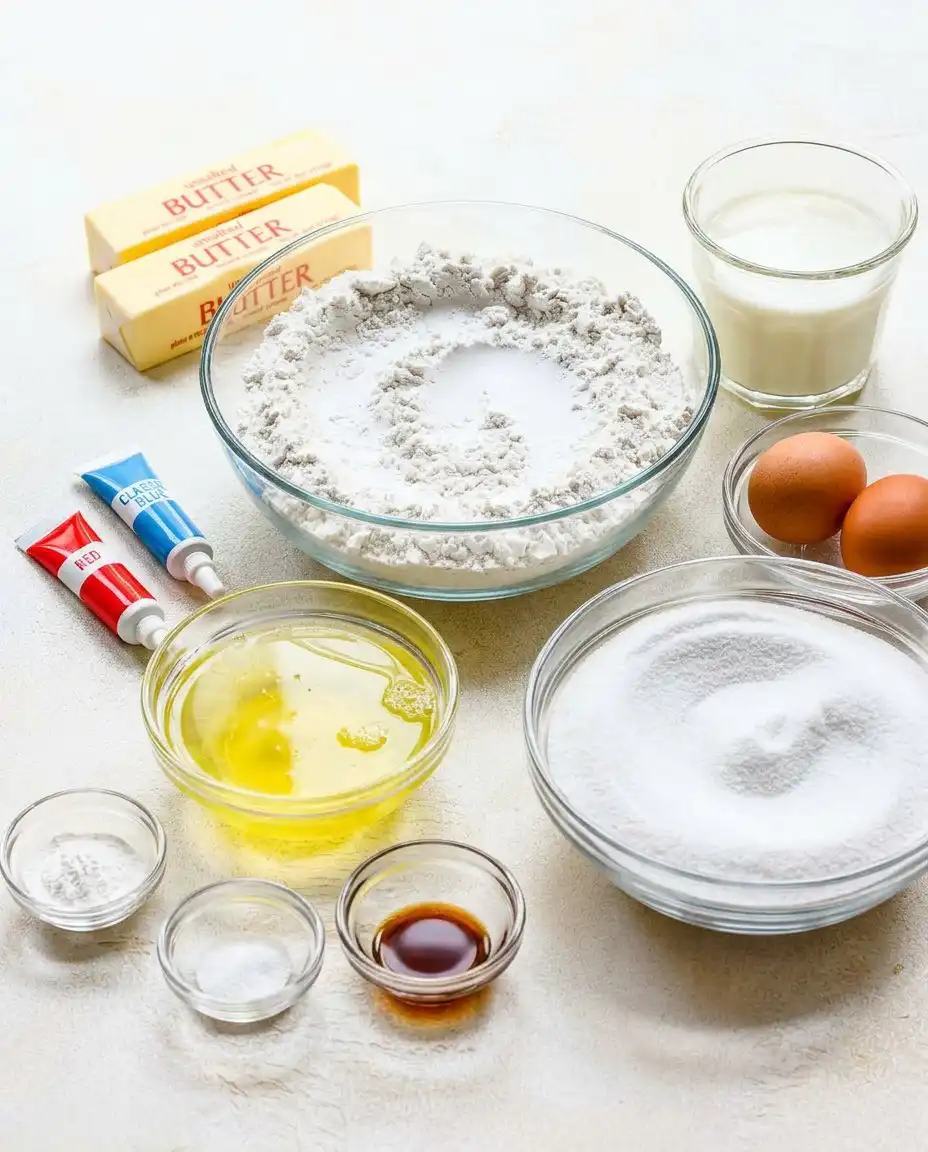
Achieving a flawless crumb requires absolute precision with your ingredients. Temperature control is non-negotiable here; your fats and liquids must be perfectly synchronized at room temperature (around 68°F / 20°C) to form a stable, air-trapping emulsion.
- Cake Flour: The lower protein content (typically 7-9%) is critical here. It prevents excess gluten development, yielding a soft, velvety crumb that melts beautifully on the palate.
- Buttermilk: The lactic acid weakens strong gluten networks and activates the baking powder immediately. This provides an incredibly soft texture and a slight tang that balances the sugar.
- Butter (Room Temperature): Aerating the butter properly with the granulated sugar establishes the micro air pockets necessary for a tight, even crumb structure.
- Whole Eggs and Egg Whites: The yolks provide rich fat for moisture, while the extra whites offer critical structural support, keeping the cake light without collapsing under the dense weight of the batter.
- Gel Food Coloring: Liquid coloring alters the hydration of your divided batter, which can lead to uneven baking. Opting for a concentrated gel provides vibrant color without compromising the specific gravity of the cake.
Methodical Construction of the Marble
Step 1: Prepare the Pan and Oven
Preheat your oven to 350°F (175°C). Meticulously grease and flour a 12-cup Bundt pan, getting into every single crevice. A perfectly released cake depends entirely on this foundational step.
Step 2: Establish the Emulsion
In the bowl of a stand mixer fitted with the paddle attachment, beat the room-temperature butter and granulated sugar until pale and exceptionally fluffy. This aeration process takes about 3 to 4 minutes on medium-high speed.
Step 3: Incorporate the Proteins
Add the whole eggs and egg whites one at a time. Mix thoroughly on medium speed after each addition, allowing the fat and water emulsion to stabilize. Stir in the vanilla extract until fully incorporated.
Step 4: Alternate Dry and Liquid Ingredients
Mix in the buttermilk until just combined. Gently add the sifted cake flour, baking powder, and salt. Mix on the lowest speed just until the dry streaks disappear. Do not overmix, or you risk developing tough gluten strands.
Step 5: Divide and Tint the Batter
Divide the batter carefully. Scoop out 1 ½ cups of batter into a separate bowl for the red layer, and another 1 ½ cups into a third bowl for the blue. Leave the remaining batter plain. Carefully mix red food coloring into the first portion and blue coloring into the second until completely uniform, using gentle folding motions to protect the air bubbles.
Step 6: Construct the Marbling
Using a ¼-cup measure, drop one scoop of plain batter into the prepared pan. Using a separate scoop, drop ¼ cup of the red batter directly on top of the plain. Finally, drop ¼ cup of the blue batter on top of the red. Continue alternating until all batters are depleted. Tap the pan firmly on the counter twice to eliminate large air pockets. Do not stir or swirl with a knife.
Step 7: Bake and Unmold
Bake for 50 to 70 minutes. The cake is done when a wooden skewer inserted into the center emerges clean, with perhaps one or two moist crumbs attached. Allow the cake to cool in the pan on a wire rack for exactly 15 minutes to let the structure set before inverting it onto the rack to cool completely.
Precision Secrets for a Flawless Bake
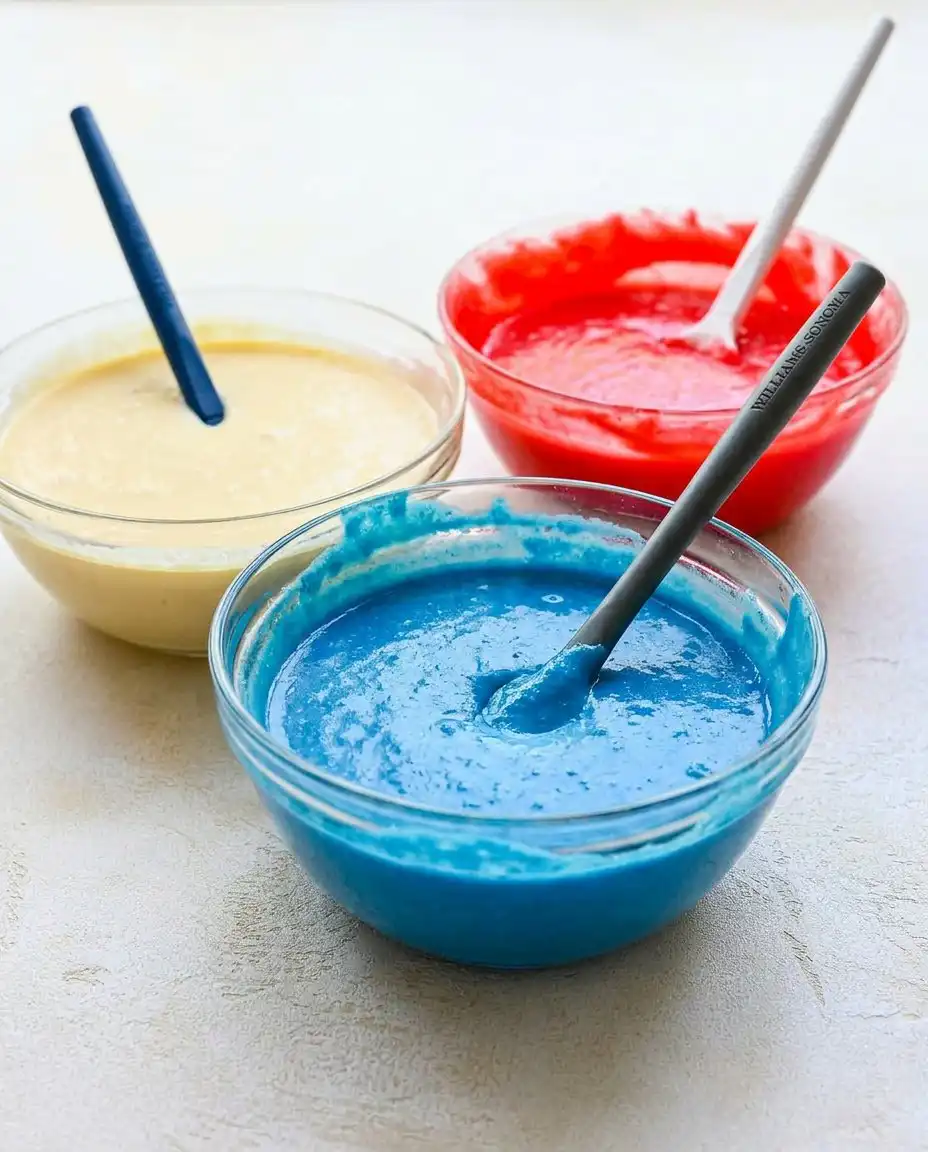
The difference between a dense, heavy sponge and a delightfully tender crumb lies heavily in temperature management. If your buttermilk or eggs are cold, they will shock the butter, breaking the delicate emulsion and resulting in a greasy, uneven bake. Always bring ingredients to room temperature before beginning. When dividing your batters, handle them gently. Overworking the colored portions will develop more gluten in the red and blue sections, leading to uneven, tough spots in your finished slice.
For those who appreciate absolute precision in their batters, applying the exact same thermal discipline found in our vanilla cake will yield vastly superior results here. Furthermore, resist the temptation to swirl the batter in the pan with a skewer. Dropping the colors sequentially builds organic, striking striations naturally as the cake rises and expands in the oven.
Structural Tweaks and Flavor Modifications
While the vanilla base provides excellent structural integrity, you can introduce different aromatic profiles by carefully swapping the extracts. A touch of almond extract pairs beautifully with the vanilla, offering a marzipan-like aromatic profile that complements the buttery crumb without altering the hydration of the batter.
If you are baking for a non-patriotic occasion, you can omit the food coloring entirely or change the hues to suit the event. You could even incorporate finely milled freeze-dried fruit powders into the colored batters for a natural tint, though you must monitor this closely as powders absorb ambient moisture. For a variation that introduces tangier citrus notes while maintaining structural beauty, study the mechanics of our lemon rainbow cake, which relies on similar division principles.
Presentation Precision and Textural Balance
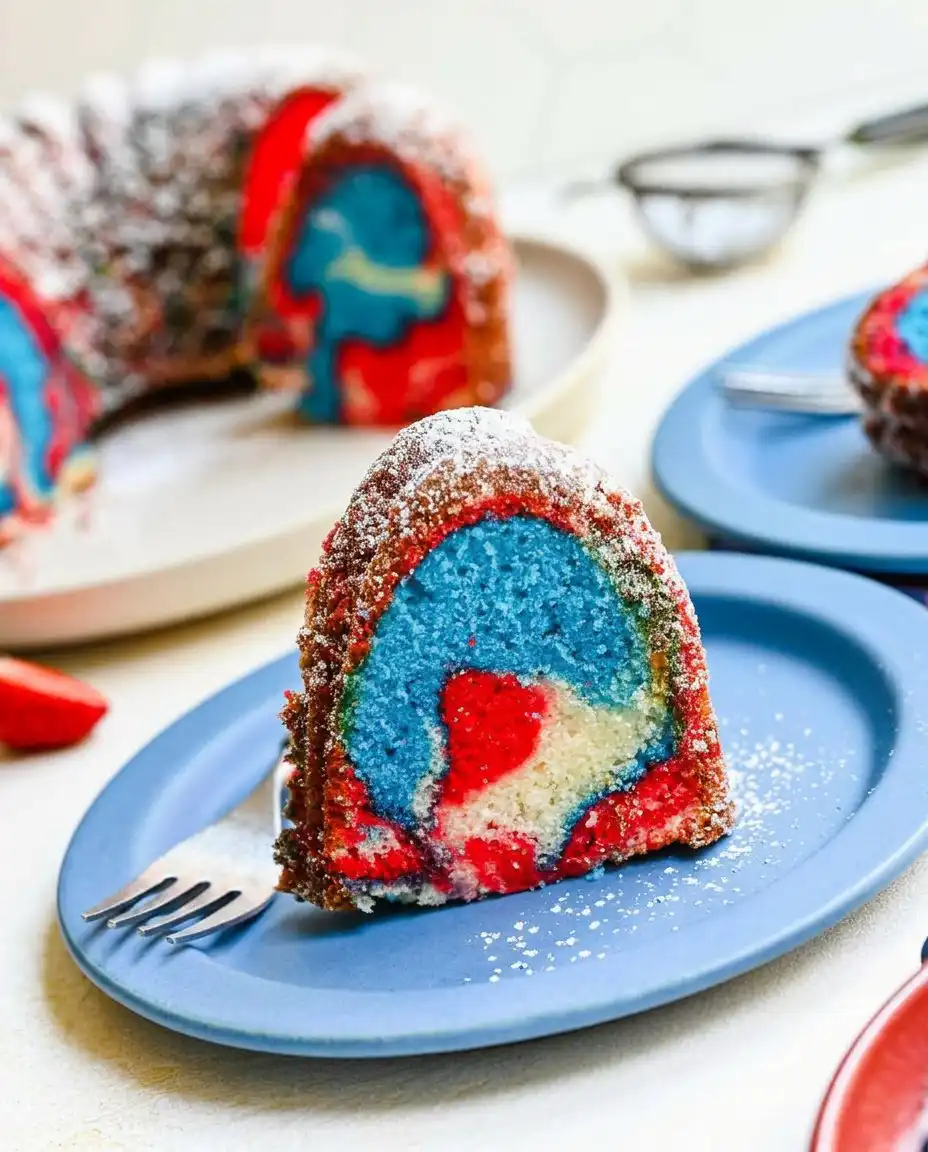
A structurally sound bundt cake demands an impeccably clean cut. Use a long, fine-serrated knife and employ a gentle sawing motion rather than pressing down. Downward pressure will compress the crumb and ruin the striking visual impact of your marbling. Always serve this cake at room temperature; chilling it solidifies the butter, robbing you of that magnificent, melt-in-the-mouth texture we worked so hard to achieve.
This cake pairs beautifully with lightly sweetened chantilly cream or fresh summer berries, providing an acidic contrast to cut the richness of the butter crumb. For further inspiration on pairing vanilla-based sponges with fresh fruit presentations, refer to the plating techniques used for our strawberry vanilla cake. If you wish to study the original adaptation of this specific batter architecture, you can review the creator’s technical notes right here.
Master the Craft of the Marbled Crumb
Achieving the perfect Red, White, and Blue Marble Cake is a true testament to the beauty of baking science. By respecting ingredient temperatures and observing strict mixing limits, you construct a dessert that boasts both striking visual architecture and an exquisitely tender crumb. Once you master the mechanics of alternating batters without over-swirling, you open up endless possibilities for stunning layer cakes and bundts.
For those ambitious bakers ready to tackle another precise marvel, try the technical balancing act of our raspberry white chocolate cake. I invite you to share your baking victories and perfectly marbled slices with us on Instagram or pin your striking creations to Pinterest. For more technical baking wisdom and rigorous pastry discussions, follow our community on Facebook.