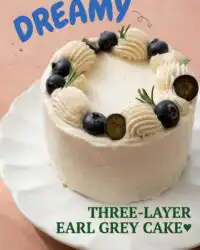
This Three-Layer Earl Grey Cake delivers a tender crumb and citrus-infused cream in under thirty minutes of active baking time, making it the ideal weeknight indulgence for busy schedules.

Achieving that coveted melt-in-the-mouth texture doesn’t require hours of waiting when you have the right shortcut in your pantry. This Three-Layer Earl Grey Cake uses a concentrated tea syrup to lock in moisture and deep botanical flavor without making the sponge heavy. By pairing the floral notes of bergamot with a tangy orange cream cheese frosting, you create a dessert that tastes like an afternoon at a high-end tea house. The result is a fast and luscious treat that proves you can have sophisticated layers even on a Tuesday evening.
Why Fast Doesn’t Mean Dry
Prep: 180 min · Serves: 12 · Difficulty: Medium
- Concentrated syrup creates a tender tea crumb.
- Pudding base frosting guarantees moisture every time.
- Tangy orange zest cuts through the sweetness.
- Fast assembly using six-inch pans for height.
- Professional watercolor finish with minimal effort required.
Gooey center, weeknight timeline is the standard for this classic vanilla bean layer cake level of indulgence.
Get The Full Cake Recipe
Print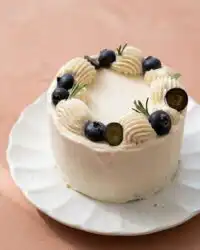
Three-Layer Earl Grey Cake
- Total Time: 205 mins
- Yield: 12 servings
- Diet: Vegetarian
Description
Experience an elegant afternoon tea in cake form with this three-layer Earl Grey sponge featuring a concentrated tea syrup and a tangy orange cream cheese frosting. This refined dessert utilizes clever shortcuts to deliver professional, melt-in-the-mouth results in a fraction of the traditional prep time.
Ingredients
- Whole milk
- Loose leaf Earl Grey tea
- Water
- Granulated sugar
- Sour cream
- All-purpose flour
- Baking powder
- Salt
- Unsalted butter
- Eggs
- Vanilla extract
- Cream cheese
- Orange juice
- Orange zest
- White chocolate
- Heavy cream
Instructions
- Infuse the milk. Simmer the milk, add tea leaves, cover, steep for twenty minutes, then strain and cool to room temperature.
- Prepare tea syrup. Steep tea in boiling water, strain, whisk in sugar, and simmer until reduced to a syrupy consistency.
- Prepare dry mix. Preheat oven to 160°C (fan) or 175°C (standard), grease three six-inch tins, and sift together flour, baking powder, and salt.
- Cream base ingredients. Beat softened butter, Earl Grey syrup, and sugar until pale and fluffy, then scrape down the bowl.
- Add wet ingredients. Reduce mixer speed, incorporate eggs one at a time, then mix in a blend of sour cream, infused milk, and vanilla extract.
- Combine batter. Alternately add the dry and wet mixtures to the butter base, mixing just until incorporated, then divide into prepared tins.
- Bake the layers. Bake for 20 to 25 minutes until a skewer comes out clean, then cool in pans for ten minutes before transferring to a rack.
- Cook pudding base. Whisk flour, sugar, salt, and milk in a saucepan, cook until thick and gloopy, then strain and cover with plastic wrap.
- Whip the frosting. Beat butter until whipped, gradually add cooled pudding base, then fold in cream cheese, orange juice, and fresh zest.
- Assemble and decorate. Stack layers with frosting, crumb coat, chill, finish with a final layer of buttercream, and drizzle with white chocolate ganache.
Notes
- Use a kitchen scale to ensure the precise ratios needed for a tender cake crumb.
- Bring all cold ingredients to room temperature to prevent the batter or frosting from curdling.
- Strain tea leaves thoroughly through a fine-mesh sieve to maintain a smooth texture in the cake.
- Chill the cake completely before adding the ganache drip to ensure the drips set into attractive, controlled droplets.
- Prep Time: 180 mins
- Cook Time: 25 mins
- Category: Dessert
- Method: Baking
- Cuisine: Modern Fusion
Simple Ingredients
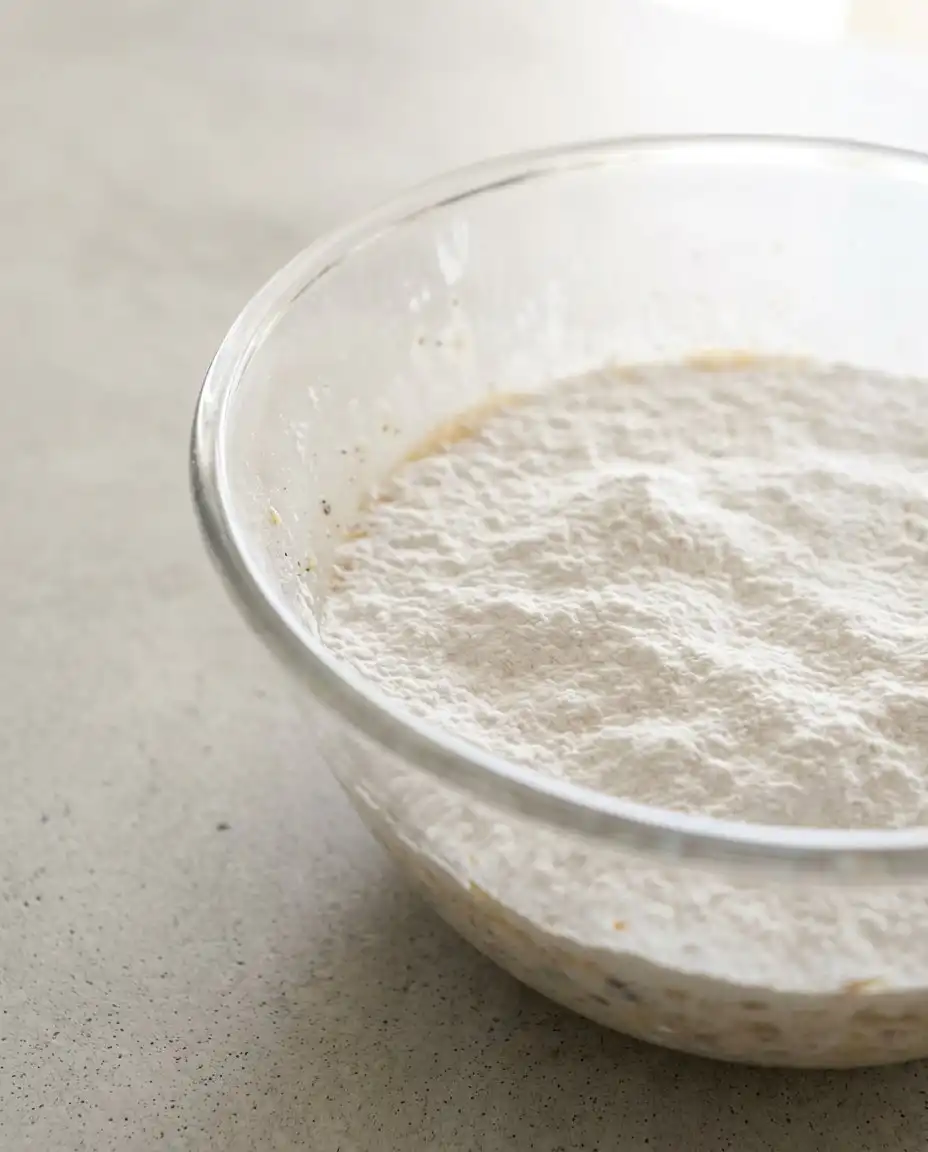
Creating a sophisticated tea-infused dessert relies on a few key pantry staples that work together to mimic hours of slow-soaking. These ingredients focus on maximum moisture retention and bright, clean flavors that allow the Earl Grey to shine without being overpowered by sugar.
- Loose Leaf Earl Grey Tea: Using whole leaves instead of bags provides a more robust, natural bergamot aroma that persists through the baking process.
- Earl Grey Sugar Syrup: This homemade shortcut acts as a moisture magnet for the cake layers, preventing them from drying out in the oven.
- Sour Cream: Adding this high-fat dairy component ensures the crumb stays soft and tender rather than crumbly or tough.
- Orange Juice and Zest: The acidity in the citrus reacts with the cream cheese to create a bright, refreshing contrast to the floral tea.
- All-Purpose Flour: This provides the necessary structure to support three tall layers without making the cake feel dense or heavy.
- Unsalted Butter: Using softened butter at room temperature allows for a pale, fluffy base during the creaming stage.
| Ingredient | Why It Matters |
|---|---|
| Earl Grey Syrup | Infuses deep flavor and locks in moisture during baking. |
| Sour Cream | Provides the luscious texture required for a soft crumb. |
| Orange Zest | Adds essential oils that brighten the botanical tea notes. |
| Pudding Base | Creates a stable, melt-in-the-mouth buttercream texture. |
| Room Temp Eggs | Incorporates easily for a smooth and even cake batter. |
From Bowl to Spoon
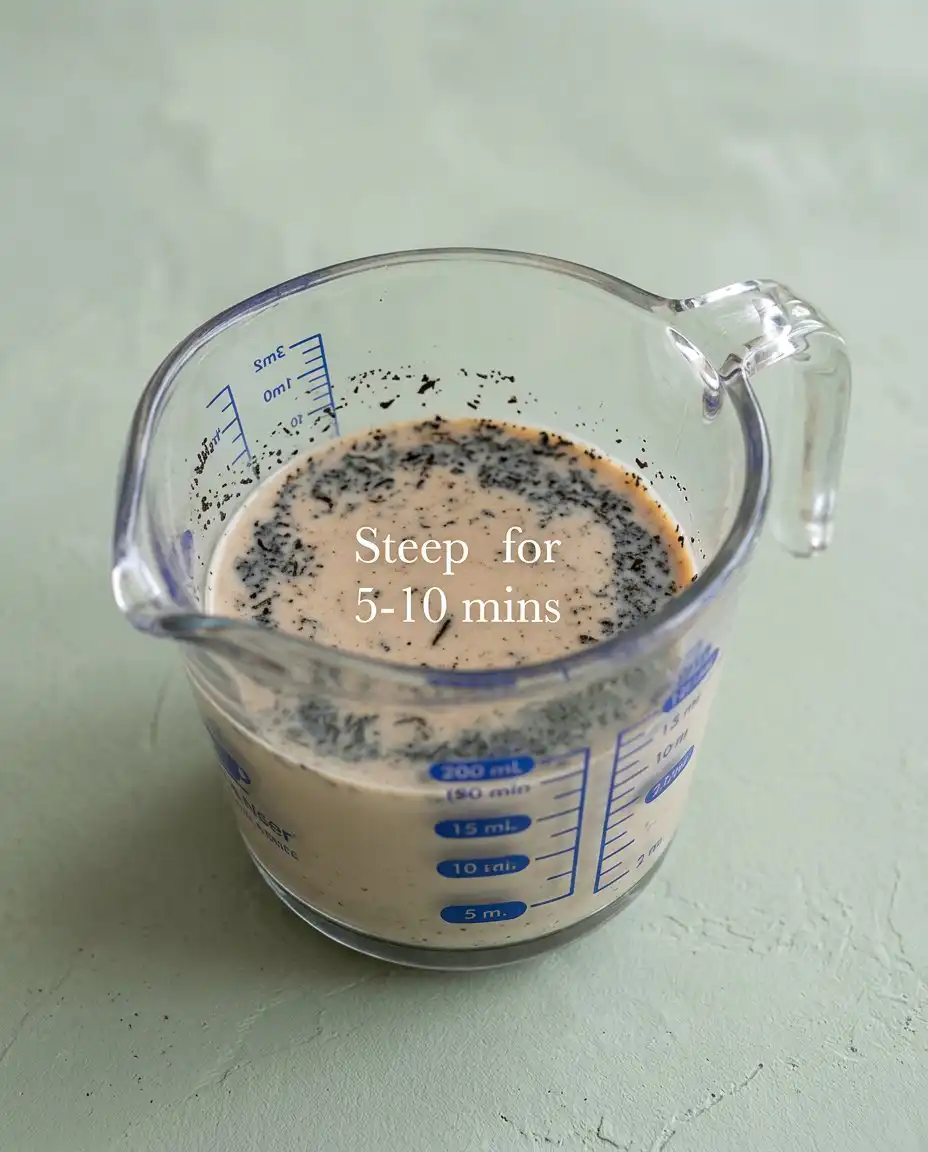
Step 1: Infuse the Earl Grey Milk
In a small heavy-bottomed pot, bring your whole milk to a light simmer until small bubbles form around the edges. Add the loose leaf tea, cover the pot with a small plate to trap the steam, and let it steep for twenty minutes. Once the milk is dark and fragrant, strain it through a fine-mesh sieve to remove the leaves and allow it to reach room temperature. This infused liquid provides the foundational flavor that makes the sponge so aromatic.
Step 2: Prepare the Concentrated Syrup
Bring the water to a rapid boil and pour it over the tea leaves, letting them steep for five minutes for maximum strength. Strain this concentrated tea into a saucepan and whisk in the granulated sugar until it is fully dissolved. Simmer this mixture over medium heat until it reduces slightly and coats the back of a spoon. This syrup is the secret to a fast and luscious texture that stays moist for days.
Step 3: Mix the Dry Ingredients
While the liquids are cooling, preheat your oven to 160°C for fan-assisted models or 175°C for standard ovens. Grease three six-inch round cake tins and line the bottoms with parchment paper to ensure an easy release. Sift the all-purpose flour, baking powder, and salt together in a medium bowl. Whisking these dry components ensures the leavening agents are distributed evenly for a consistent rise.
Step 4: Cream the Three-Layer Earl Grey Cake Base
In the bowl of your stand mixer, combine the softened butter, the cooled Earl Grey syrup, and the granulated sugar. Beat these together on medium-high speed for approximately three minutes until the mixture looks pale and has a fluffy, whipped appearance. This aeration is vital for a light sponge that won’t feel heavy on the spoon. Scrape the sides of the bowl to ensure every bit of butter is incorporated.
Step 5: Incorporate the Eggs and Liquids
Reduce the mixer speed to medium-low and add the eggs one at a time, making sure each is fully absorbed before adding the next. In a separate measuring jug, whisk together the sour cream, infused tea milk, and vanilla extract. These wet ingredients should be at room temperature to prevent the butter from curdling. Slow and steady incorporation here protects the delicate emulsion you have built.
Step 6: Final Batter Assembly
Add the dry ingredients and the wet mixture to the butter base, alternating between the two and starting and finishing with the flour. Mix for no more than fifteen seconds after each addition to prevent overworking the gluten. You want a batter that is smooth and thick, smelling strongly of bergamot and cream. Divide the batter evenly between your prepared tins to ensure the layers bake at the same rate.
Step 7: Bake to Golden Perfection
Slide the tins into the center of the oven and bake for 20 to 25 minutes. You will know they are ready when a skewer inserted into the center comes out with only a few moist crumbs attached. The tops should be springy to the touch and the edges should just begin to pull away from the sides of the pans. Let them rest for ten minutes before transferring to a wire rack to finish cooling.
Step 8: Cook the Pudding Frosting Base
In a small saucepan, whisk together the flour, sugar, salt, and milk for the buttercream. Cook over medium-high heat, stirring constantly to prevent the bottom from scorching, until the mixture becomes very thick and gloopy. This pudding-style base is the key to a stable frosting that doesn’t rely on excessive powdered sugar. Strain it into a shallow dish and cover with plastic wrap directly on the surface to prevent a skin from forming.
Step 9: Whip the Orange Cream Cheese Frosting
Beat the butter for five minutes until it looks like whipped cream, then add the cooled pudding base one spoonful at a time. Once smooth, fold in the room temperature cream cheese, orange juice, and fresh zest. This creates a frosting that is incredibly light yet holds its shape perfectly for stacking. The citrus oils will bloom in the fat of the butter, creating a refreshing aroma that fills the kitchen.
Step 10: Assemble and Decorate
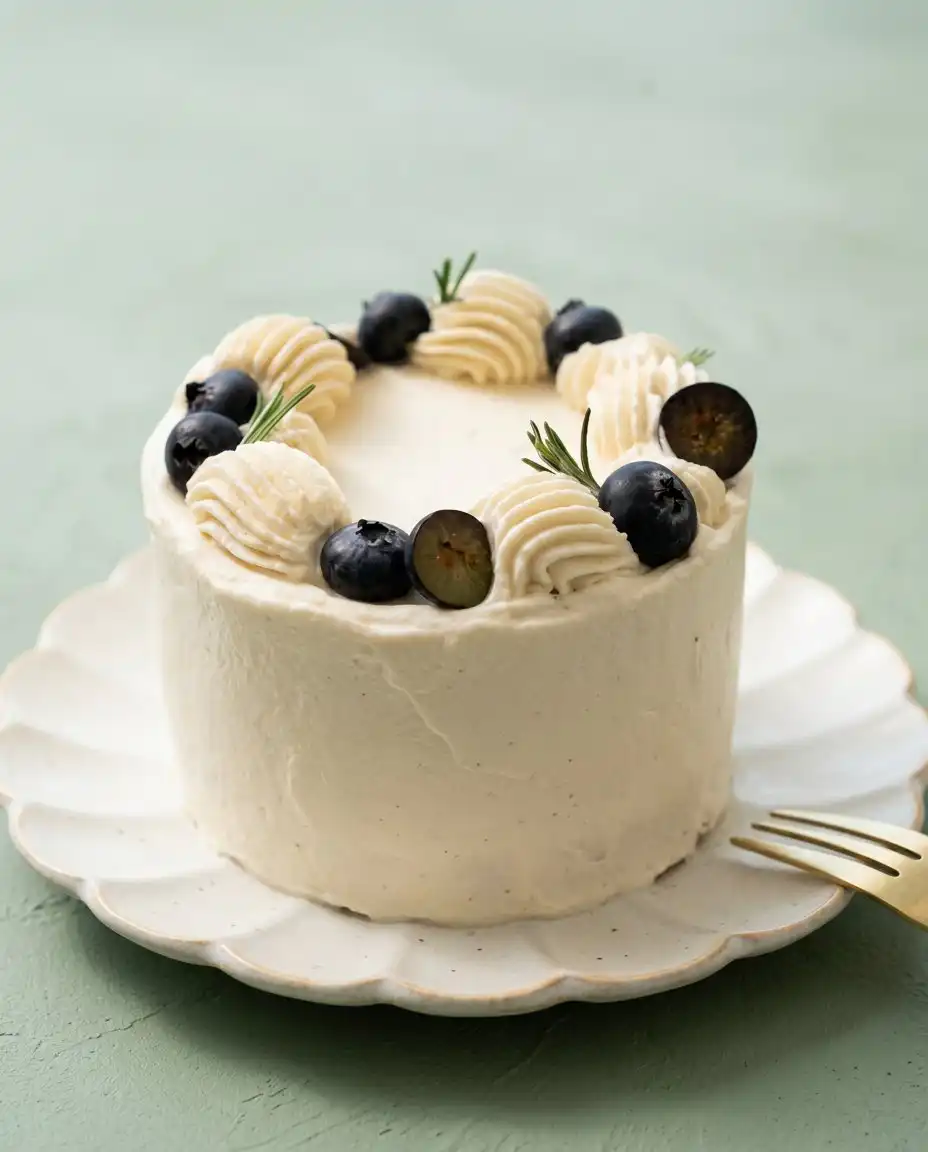
Stack the layers with a generous amount of frosting between each, then apply a thin crumb coat to the exterior. After a brief chill in the fridge, apply the final layer of buttercream and create a watercolor effect with small dabs of colored frosting. Prepare the white chocolate ganache by pouring warm cream over the chocolate and letting it sit before stirring. Pour the thickened ganache over the cold cake to create elegant drips that set quickly.
Keep It Luscious
Always use a kitchen scale to measure your ingredients by weight rather than volume. Baking is a science of ratios, and a few extra grams of flour can turn a tender tea sponge into something dry and bready. By weighing your flour and sugar, you ensure the same melt-in-the-mouth result every single time you bake.
If your buttercream looks curdled or lumpy, it is likely because the pudding base or the cream cheese was at a different temperature than the butter. To fix this, simply continue beating the mixture on high speed for several minutes, or briefly warm the bottom of the bowl with a hair dryer to help the fats emulsify. This will restore the smooth, silky texture required for a professional finish.
For the best flavor extraction, how to steep loose leaf tea for baking requires a longer steeping time in milk than you would use for a standard cup of tea. The fats in the milk carry the bergamot oils beautifully, but they need time to draw out the floral notes without becoming bitter. Always strain the leaves thoroughly to avoid a gritty texture in your sponge.
When preparing the white chocolate ganache drip, make sure your cake is thoroughly chilled for at least thirty minutes. If the cake is room temperature, the warm ganache will run all the way to the bottom of the plate instead of stopping in those beautiful, thick droplets. The temperature contrast is what makes the drip look intentional and neat.
Room temperature eggs are a non-negotiable part of this process. Cold eggs will shock the creamed butter and cause the batter to break, which leads to an uneven crumb. If you forgot to take them out of the fridge, place the eggs in a bowl of warm water for five minutes to take the chill off quickly.
Avoid over-mixing the batter once you add the flour. You should stop the mixer as soon as the last streaks of white disappear to keep the cake light. Over-mixing develops too much gluten, which results in a tough, rubbery texture that ruins the delicate nature of the Earl Grey infusion. This moist devils food layer cake uses a similar mixing technique to maintain its softness.
Frequently Asked Questions
Can I use tea bags instead of loose leaf tea?
Yes, you can use tea bags if that is what you have on hand, though you may need to use 4-5 bags to match the intensity of loose leaves. Cut the bags open to measure the weight of the tea if possible. The flavor might be slightly more subtle, but the cake will still be delicious.
How should I store this cake to keep it moist?
Store the cake in an airtight container or wrap it tightly in plastic wrap before placing it in the refrigerator. Because of the cream cheese in the frosting, it must stay chilled to remain safe to eat. Take it out thirty minutes before serving to let the butter soften for the best texture.
Why is my pudding base for the frosting lumpy?
Lumps usually form if the milk mixture isn’t whisked constantly while heating or if the heat is too high. If this happens, simply strain the mixture through a fine-mesh sieve while it is still warm to remove any cooked flour bits. This ensures your final buttercream is perfectly smooth and luscious.
Can I make the cake layers in advance?
Absolutely, these layers actually benefit from being made a day ahead as the tea flavors have more time to develop. Wrap the cooled sponges tightly in plastic wrap and store them at room temperature or in the freezer. Cold layers are also much easier to frost and stack without sliding.
What is the best way to get a clean ganache drip?
The secret is the temperature of both the ganache and the cake. Let the ganache sit for about ten minutes until it feels slightly cool to the touch but is still pourable. Use a piping bag or a spoon to test one small drip on the back of the cake before doing the whole perimeter.
Can I freeze the assembled cake?
This cake freezes surprisingly well for up to one month if wrapped correctly. Flash freeze the cake for an hour first so the frosting is hard, then wrap it in two layers of plastic wrap and one layer of foil. Thaw it overnight in the refrigerator before bringing it to room temperature for serving.
Why did my cake sink in the middle?
A sunken center usually indicates that the oven door was opened too early or the cake was underbaked. Make sure your oven is properly preheated and use a thermometer to check the internal temperature. Avoid peeking at the cakes until at least the eighteen-minute mark to keep the heat consistent.
Fast Flavor Swaps
If you want to lean into a more Mediterranean profile, replace the orange zest with lemon and add a teaspoon of dried culinary lavender to the milk infusion. The lavender complements the bergamot in the Earl Grey perfectly, creating a floral bouquet that is incredibly sophisticated. This variation works especially well for spring gatherings where a lighter flavor profile is preferred.
For a deeper, more honeyed sweetness, replace half of the granulated sugar in the tea syrup with a high-quality clover honey. This addition gives the cake a sticky, nectar-like quality that pairs beautifully with the tangy cream cheese frosting. You can find more inspiration for floral bakes in this rose water layer cake recipe which uses similar infusion techniques.
If you are a fan of London Fog lattes, add a half teaspoon of extra vanilla bean paste to both the cake batter and the frosting. This reinforces the creamy, comforting notes of the tea while making the citrus pop. You can even top the cake with a few sprigs of fresh rosemary for an earthy, aromatic finish that looks stunning on any dessert table.
Spoon It While It’s Warm
This dessert is best enjoyed at room temperature to allow the orange cream cheese frosting to reach its full melt-in-the-mouth potential. Serve generous slices alongside a steaming pot of the same Earl Grey tea used in the batter to reinforce those floral bergamot notes. The combination of the warm beverage and the cool, citrusy cake creates a sensory experience that feels like a true indulgence. For a slightly different flavor profile, you might also enjoy the textures found in this three layer italian cream cake.
For a more formal presentation, garnish each plate with a thin slice of fresh orange or a few edible flower petals. The bright orange contrast against the tea-flecked sponge makes for a beautiful visual that requires very little effort. If you are serving this for a special occasion, a small dollop of lightly sweetened whipped cream on the side can add an extra layer of luxury. The watercolor frosting effect already looks professional, so keep the plating simple and elegant.
Tuesday-night molten cake? Absolutely possible, but this layered masterpiece is just as fast when you prep the components in stages. You can even serve it as a centerpiece for a weekend brunch or a late-night dessert with friends. The sophisticated flavors make it feel like a high-effort bake, but the quick timeline means you won’t be stuck in the kitchen all evening. The balance of tea and citrus makes it a refreshing finish to any meal, whether it’s a simple pasta or a more elaborate roast.
A Quick Last Note
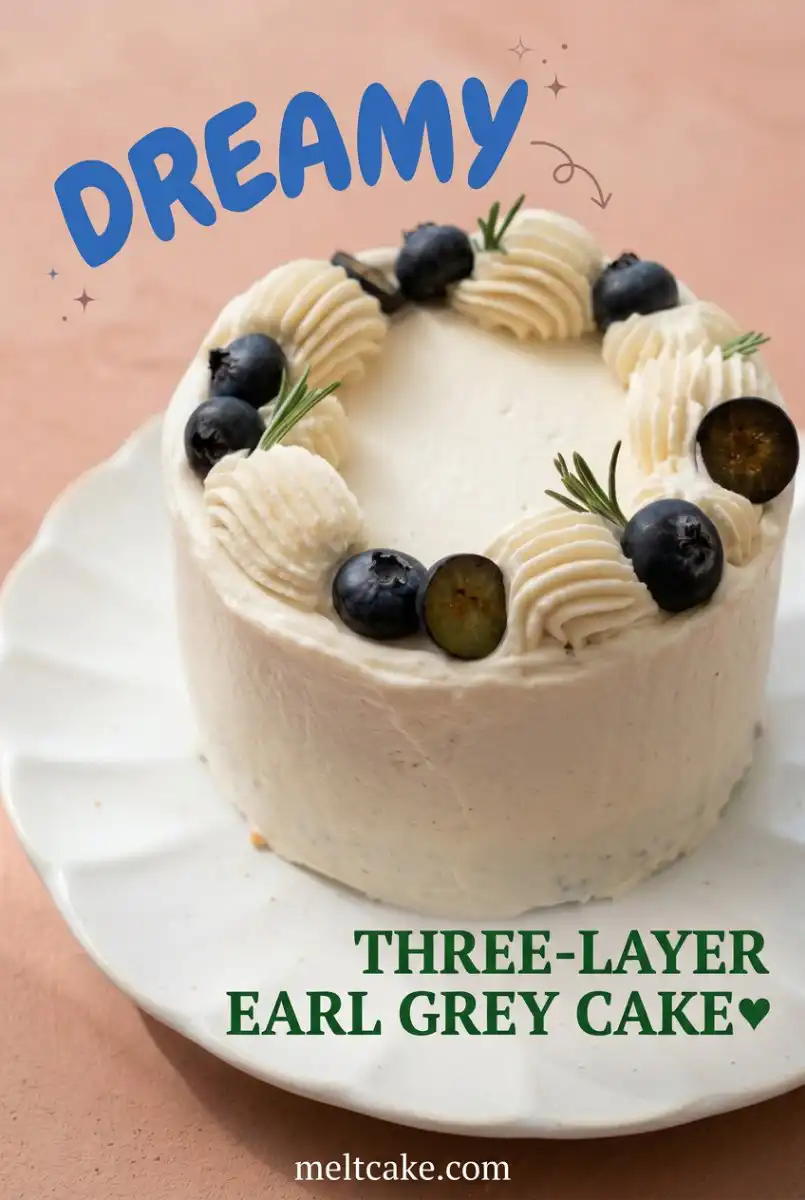
I hope this recipe shows you that a weeknight can still deliver a sophisticated, multi-layered treat without the stress of an all-day baking project. The combination of tea-infused sponge and orange frosting is a classic for a reason, offering a balance of flavors that is both comforting and refined. Once you master the shortcut of using a pudding base for your frosting, you will find yourself reaching for this technique for all your future bakes. If you love this style of cake, you should also try my two layer boston cream cake for another luscious texture win.
Baking should be an indulgence, not a chore, and these quick techniques ensure you get the best results every time. I would love to see your watercolor frosting designs and hear how the Earl Grey syrup worked for you. Please share your creations and join our community of busy bakers who refuse to compromise on flavor or texture. Let us know in the comments if you added any of your own flavor swaps to make this recipe your own.
Save this shortcut for your next craving and follow us for more fast and luscious recipes that fit into your real-life schedule. You can find more inspiration and connect with other bakers on our social channels.